Seeking Replacements for Aperture (Part 4): Perfect Browse and Perfect Suite

AMITIAE - Thursday 14 May 2015
|
Seeking Replacements for Aperture (Part 4): Perfect Browse and Perfect Suite |
|
|
|
By Graham K. Rogers
With a lack of enthusiasm for a switch to Adobe's Lightroom when Aperture does finally disappear, I have spent some time seeking out possible alternatives. Last week I examined three: the Open Source Darktable; Nikon's Capture NX-D and AfterShot 2 Pro from Corel. Although each of these had a number of strong points - whether it be editing, metadata handling or ease of use - not one gave me the basic feature of importing files direct from a camera (or card). None of them was able to handle an Aperture library.
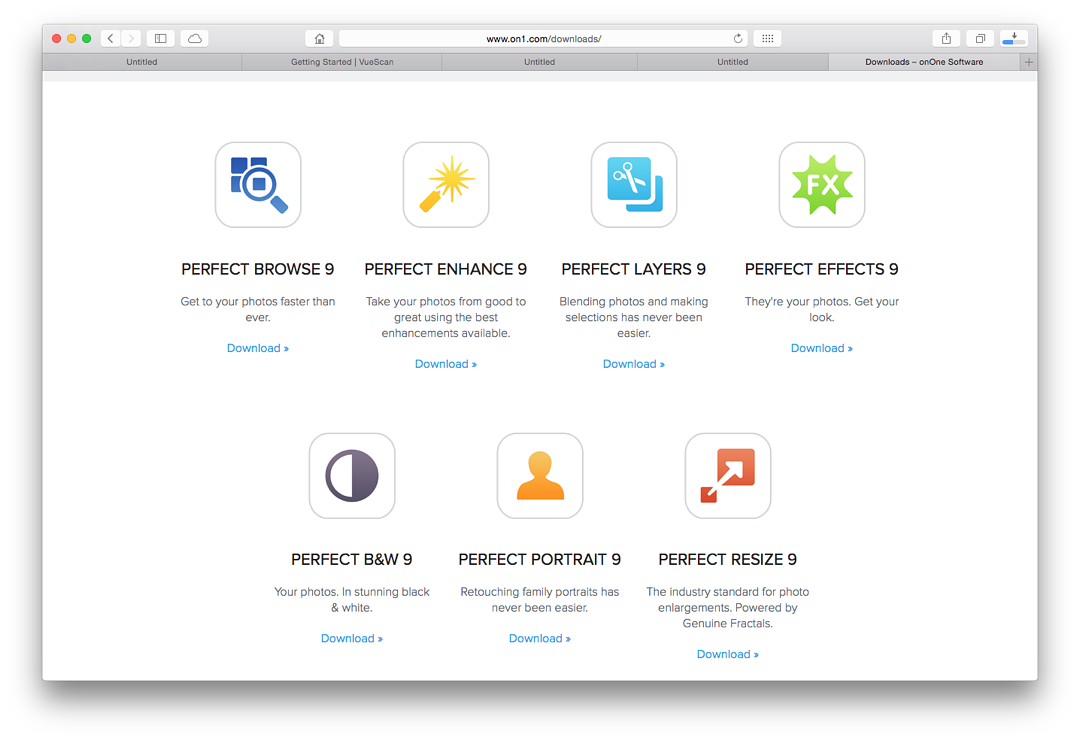
Depending on the source of the download, the price differs, with the On1 developer site offering Perfect Browse for $59.95 as opposed to $19.95 on the Mac App Store; and the full suite being priced in the Mac App Store at $79.99 (the same as Aperture had been) or $129.99 on the website, the same as Adobe Lightroom. Both applications are also available in free 30-day trial versions.
Neither download was perfect due in part to the Apple sandboxing, but while Perfect Browse arrived as a disk image, Photo Supreme was a package and needed me to use the Open menu, then confirm and confirm again that I really did want to install this.
Perfect BrowseThe basic requirement of any proper workflow software is to be able to import images. Those I examined earlier needed me to set up a file structure separately and then import, which is doing only half the job. It would also be nice if I had direct access to Aperture libraries, although I am not holding my breath for this.When I opened Perfect Browse 9 (v. 9.5), sources available to me were shown in a panel to the left. As well as those on the computer and the external disks connected at the time, a number of other links were shown: Dropbox, Google Drive, One Drive and iCloud PhotoStream. I do not use Google Drive or One Drive and have only a few images in Dropbox (for transfer only). iCloud is another matter, but this is not iCloud Library. Thumbnails of those images available loaded quickly. Looking into the disk that held the Aperture libraries, I was not surprised to see that they did not show up; but in compensation, older iPhoto libraries were shown, although navigating the folders that contained separate projects was a little slow. At least I could get to them.
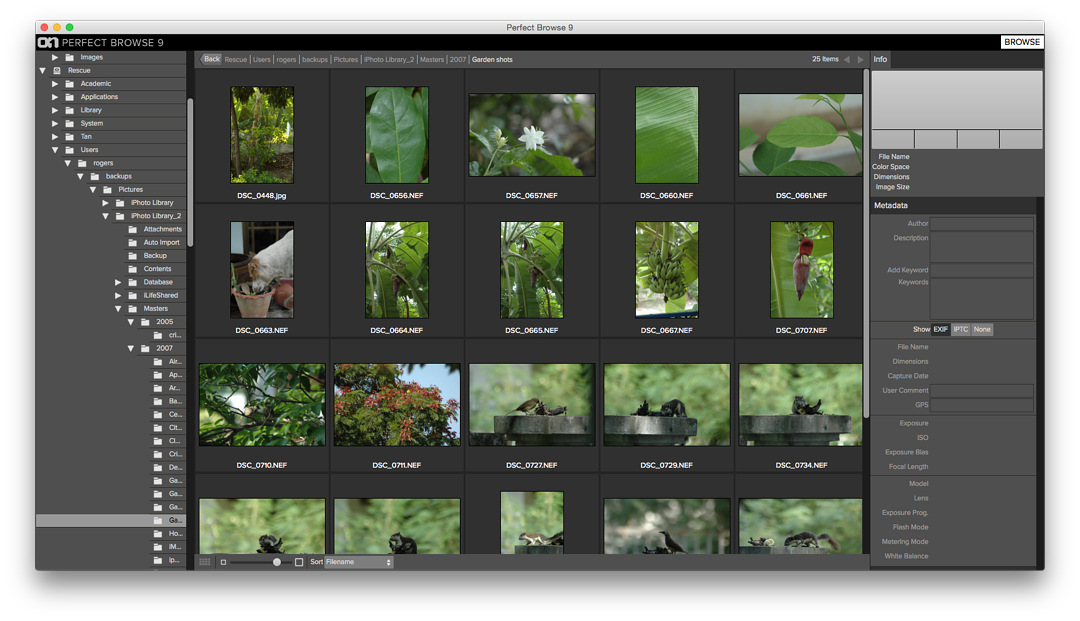
I selected all of the images and created an album. I could also have done this by dragging the images into a small panel for albums. I quit the application and ejected the SD card. When I restarted Perfect Browse, the album was shown, but no images were available. I quit Perfect Browse again and created a folder in the Images folder on the hard disk as I had done for the three previous applications. On the SD card in a folder were the RAW (NEF) images, JPGs and and an XMP file related to one of the images, which would have been created when I added the GPS data. Selecting only the NEF images, I dragged these into the new folder on the external disk, ejected the card and restarted the application once again. The folder was listed in Perfect Browse and contained the images. As I added GPS data to two of them, so a pair of XMP files appeared on the disk. I deleted two files in Perfect Browse and they also disappeared from the folder (they were in Trash). While I was able to edit any of the images using an external editor, this would not be enough for my needs, so I downloaded the full suite (trial version). That was 595 MB allowing me enough time to make some tea.
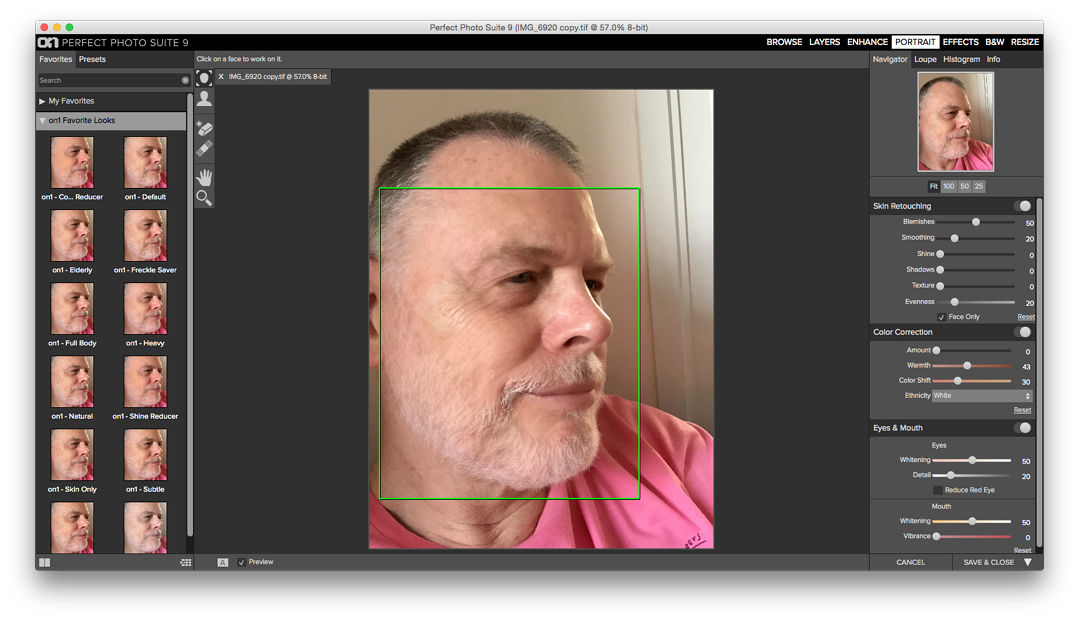
Perfect Photo SuiteThe installation of Perfect Photo Suite was around 650 MB on my hard disk. When started there was an option for users to view demo videos. In the Applications folder, I now had a Perfect Browse 9 folder and a Perfect Suite folder. The components for Perfect Suite were self-contained so I removed the Perfect Browse files including the cache.As I expected, the actions and options were the same as for my Perfect Browse standalone test. However, at top right of the main panel is access to the other components of the suite: Layers, Enhance, Portrait, Effects, B & W, and Resize. When any of these was accessed a panel appeared to show settings options. The default image was for PSD (Photoshop), although TIFF and JPG - both marked "No Layers" - were also available. With RAW images, I was not given the option to Edit Original. With the exception of Layers, I looked at each of the components in the order they are shown on the panel:
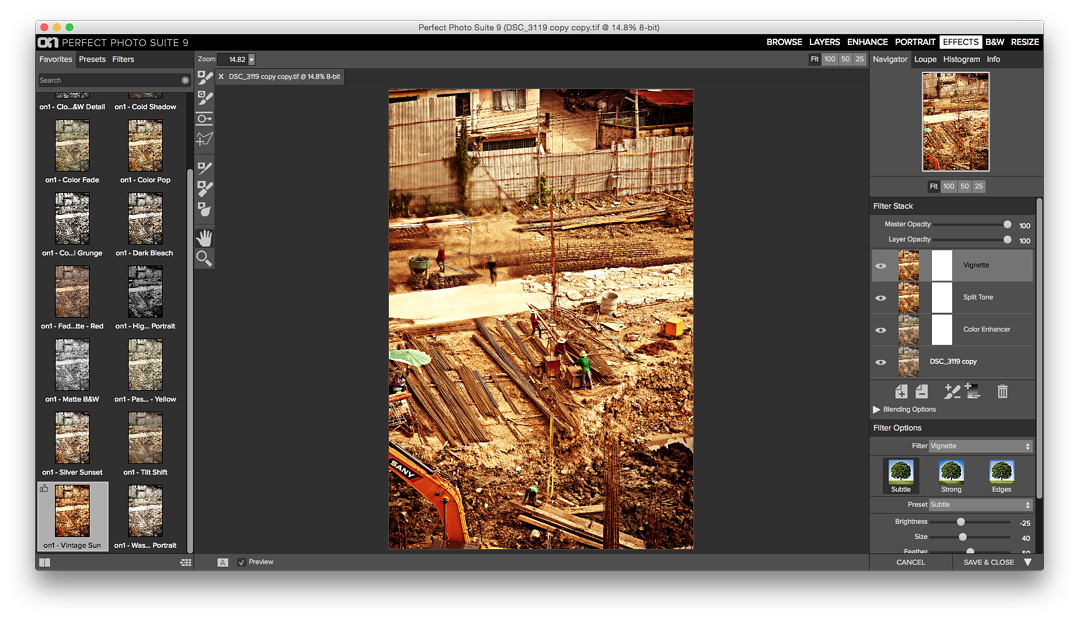
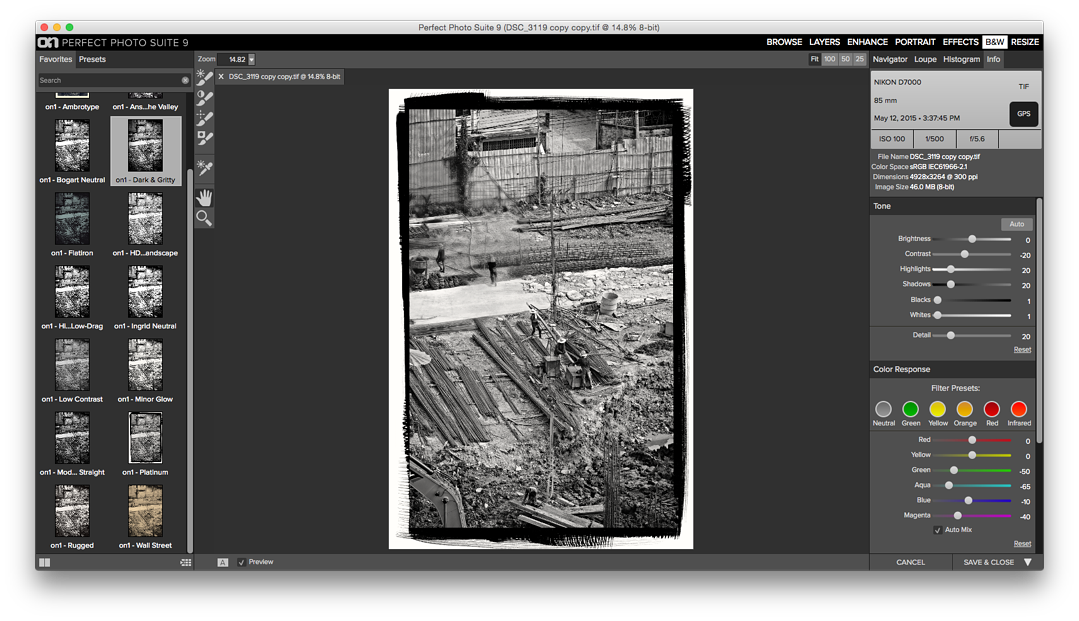
When applying any effect, I found there was a slight delay (around 1 second). Each selection has its own independence and I found that I needed to switch between panels for the best output: this meant saving an image each time, closing the panel, then opening another. I do not regard this as efficient and prefer all tools available at the same time.
Coming soon:Seeking Replacements for Aperture (Part 5): ID Imager Photo Supreme
See also
Graham K. Rogers teaches at the Faculty of Engineering, Mahidol University in Thailand where he is also Assistant Dean. He wrote in the Bangkok Post, Database supplement on IT subjects. For the last seven years of Database he wrote a column on Apple and Macs. He is now continuing that in the Bangkok Post supplement, Life. |
|

For further information, e-mail to
Back to
eXtensions
Back to
Home Page
