|
By Graham K. Rogers
Apple's Mac OS X was recently updated to version 10.10, Yosemite. There have been some changes to System Preferences. Printers & Scanners preferences has a panel similar to the one in the last two versions of OS X. The way printers may be connected uses simple methods for home users, while there are features available for those with more complex needs, such as in offices.
The Printer & Scanners preferences panel allows users to control the setting up and use of printers, scanners and suitable fax machines attached to the computer (or that the computer may access via a network). Settings may be different depending on computers, networks and printer being used.
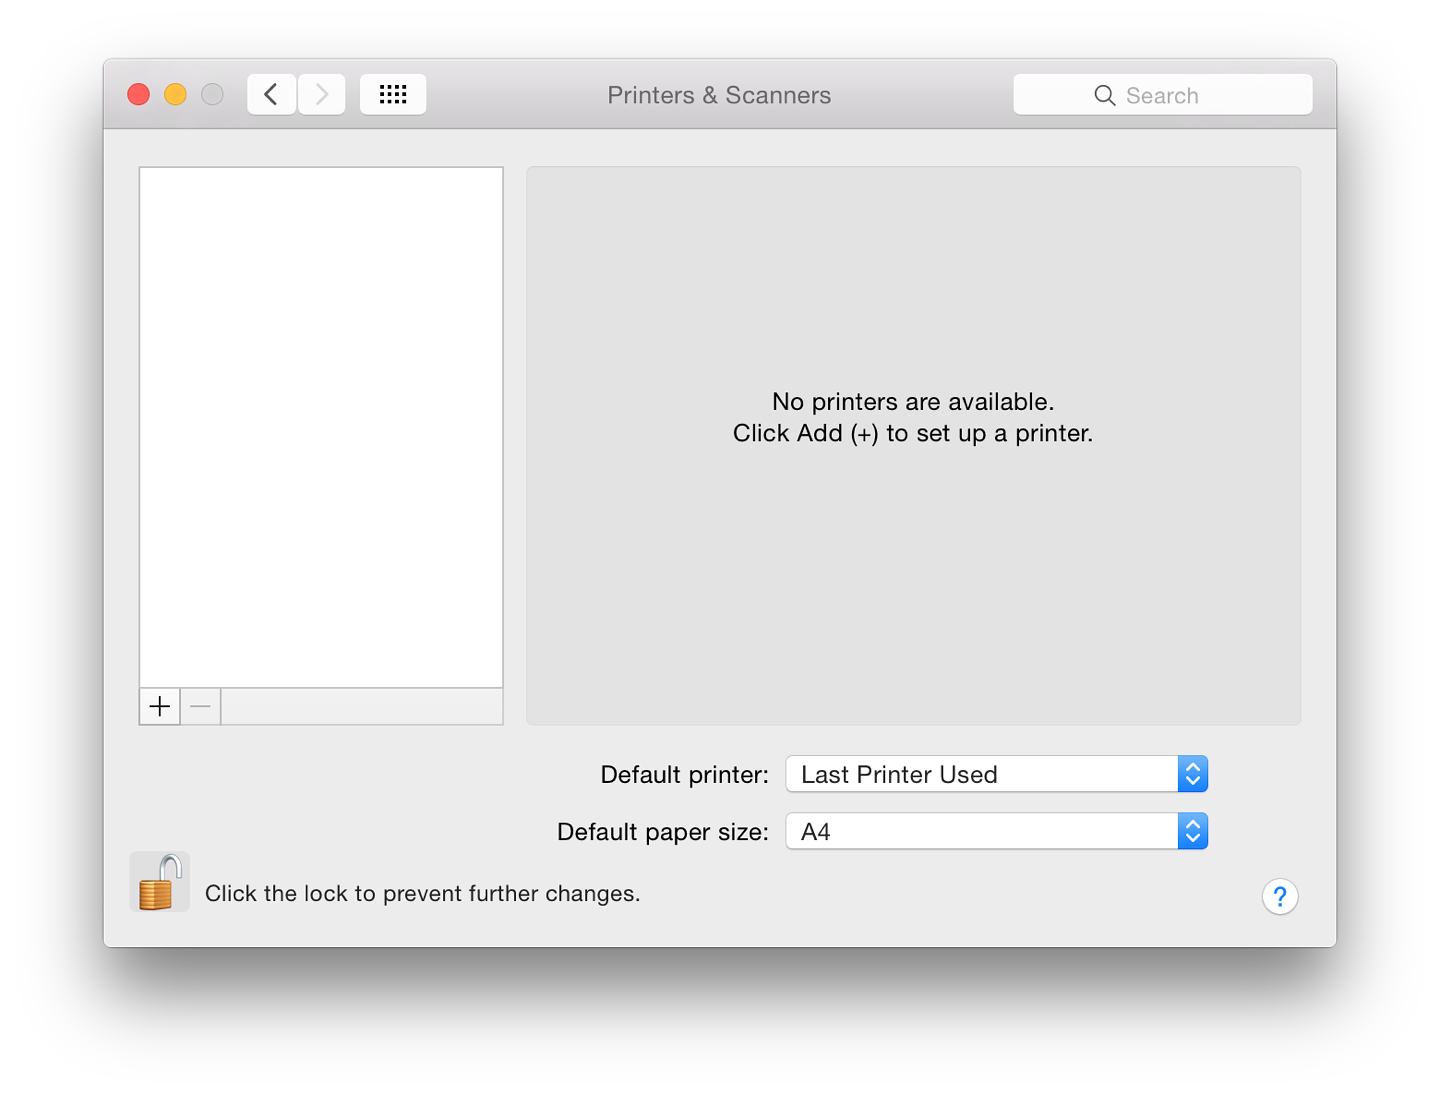
Clicking on the printer icon in System Preferences reveals a 3-part panel. On a new installation, no devices are identified. To the left is a pane that will show any installed printer; the main section provides details of printers highlighted in the left-hand pane.

As part of that information, two buttons are available: "Open Print Queue" and "Options & Supplies. . ." which will display information including ink levels. At the bottom of the panel are a button to select the default printer and a button to select the default paper size. On a new installation this may show US Legal so may need to be changed to A4 for those users in other regions.

To add a printer (or other suitable device), click on the + icon at the bottom left when the printer is connected. Depending on the installation, either a simple menu appears or a panel that shows different types of connection.
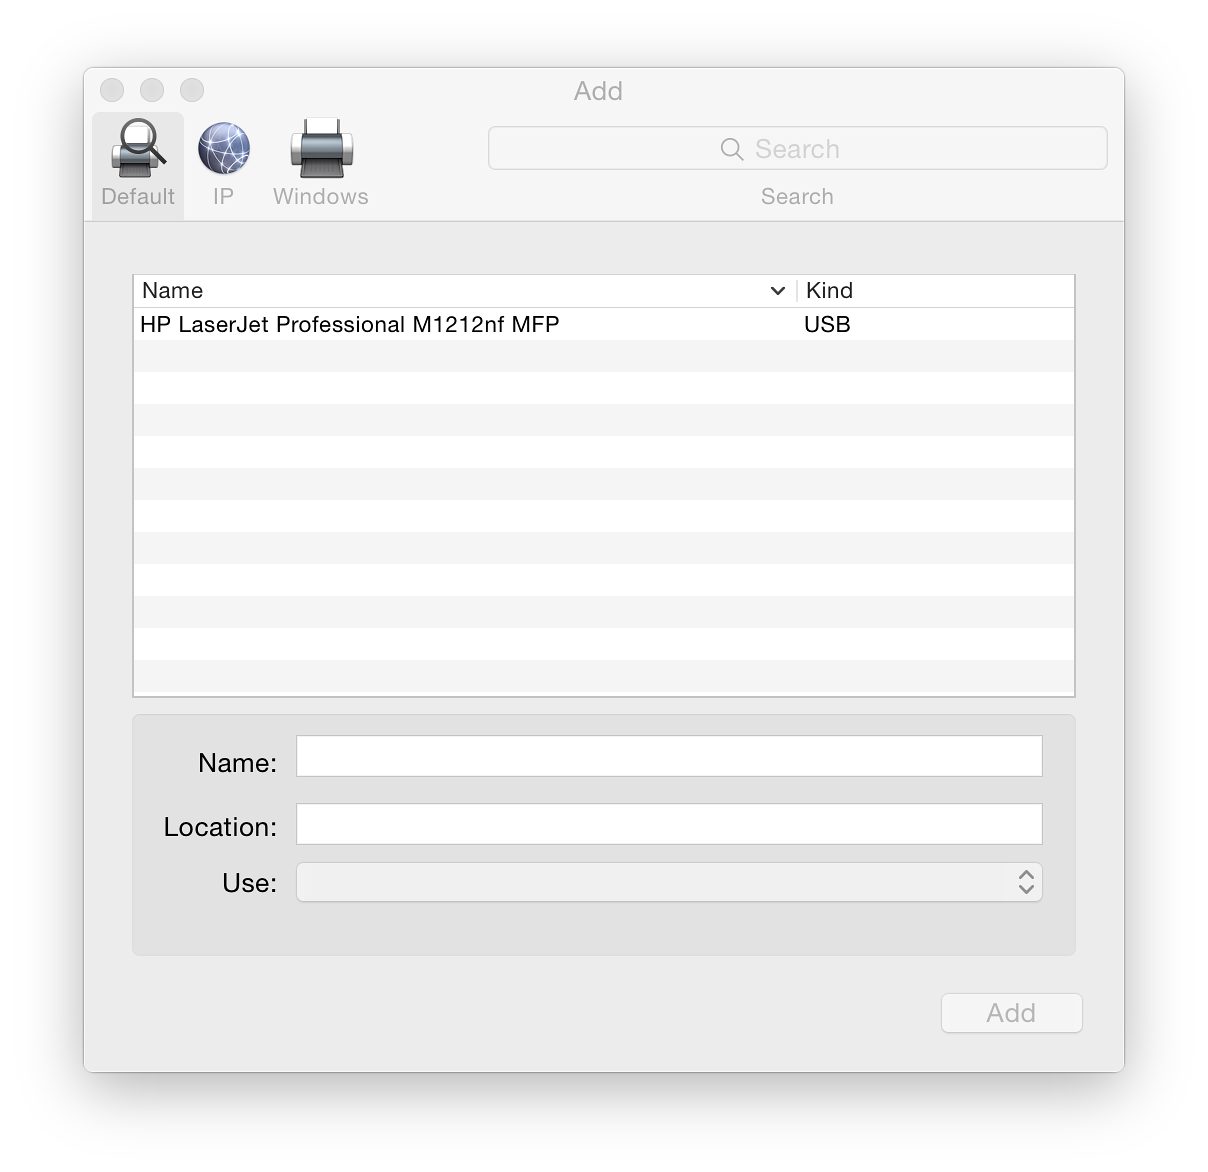
The simple menu will identify any printers available either linked by cable or on the same network (Nearby). The 3 section panel shows Default, IP and Windows. Default shows any printers that may be shared or are already installed, including USB printers.
The panel marked IP has two sections. At the top is a box for entering a printer IP number. This can be found in the settings of a suitable printer (or by asking a technician). Below is a button for selecting which protocol to use: LPD or Line Printer Daemon (default on my computers), Internet Printing Protocol (IPP), or HP Jetdirect - Socket.
- The Internet Printing Protocol (IPP) first needs entering of a valid IP number and selection of a printer from a menu. Again, there are printer choices offered;
- Line Printer Daemon (LPD) is similar to the IPP method although this may integrate better with OS X.
- The other IP connection method shown is HP JetDirect Socket, which may be needed when a printer from Hewlett-Packard is used.
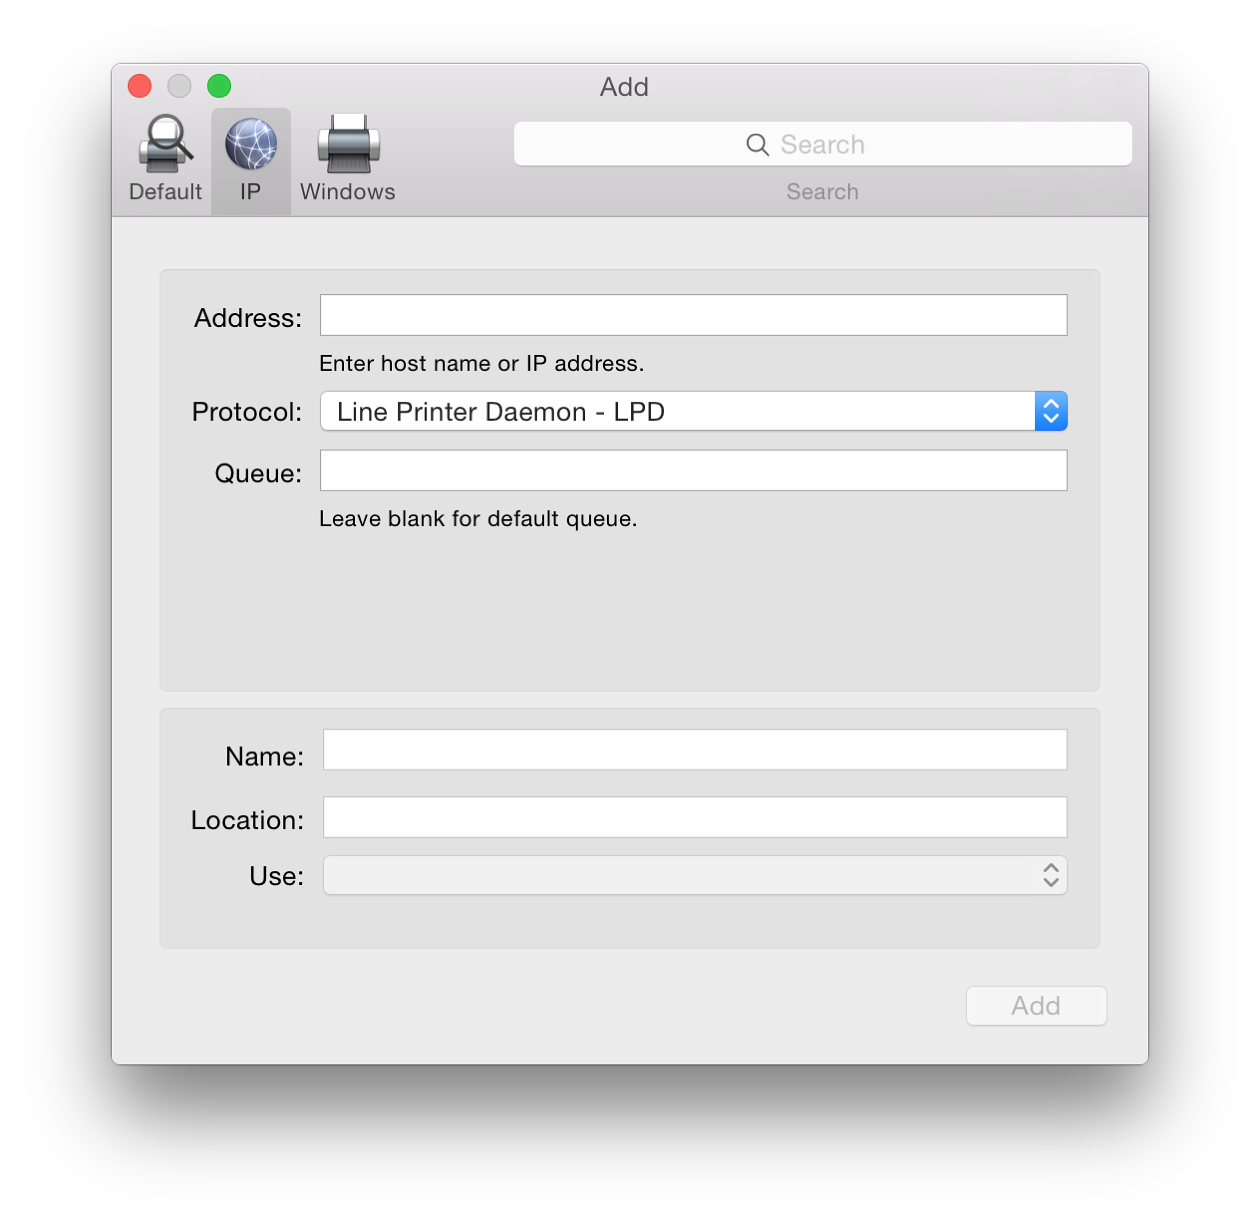
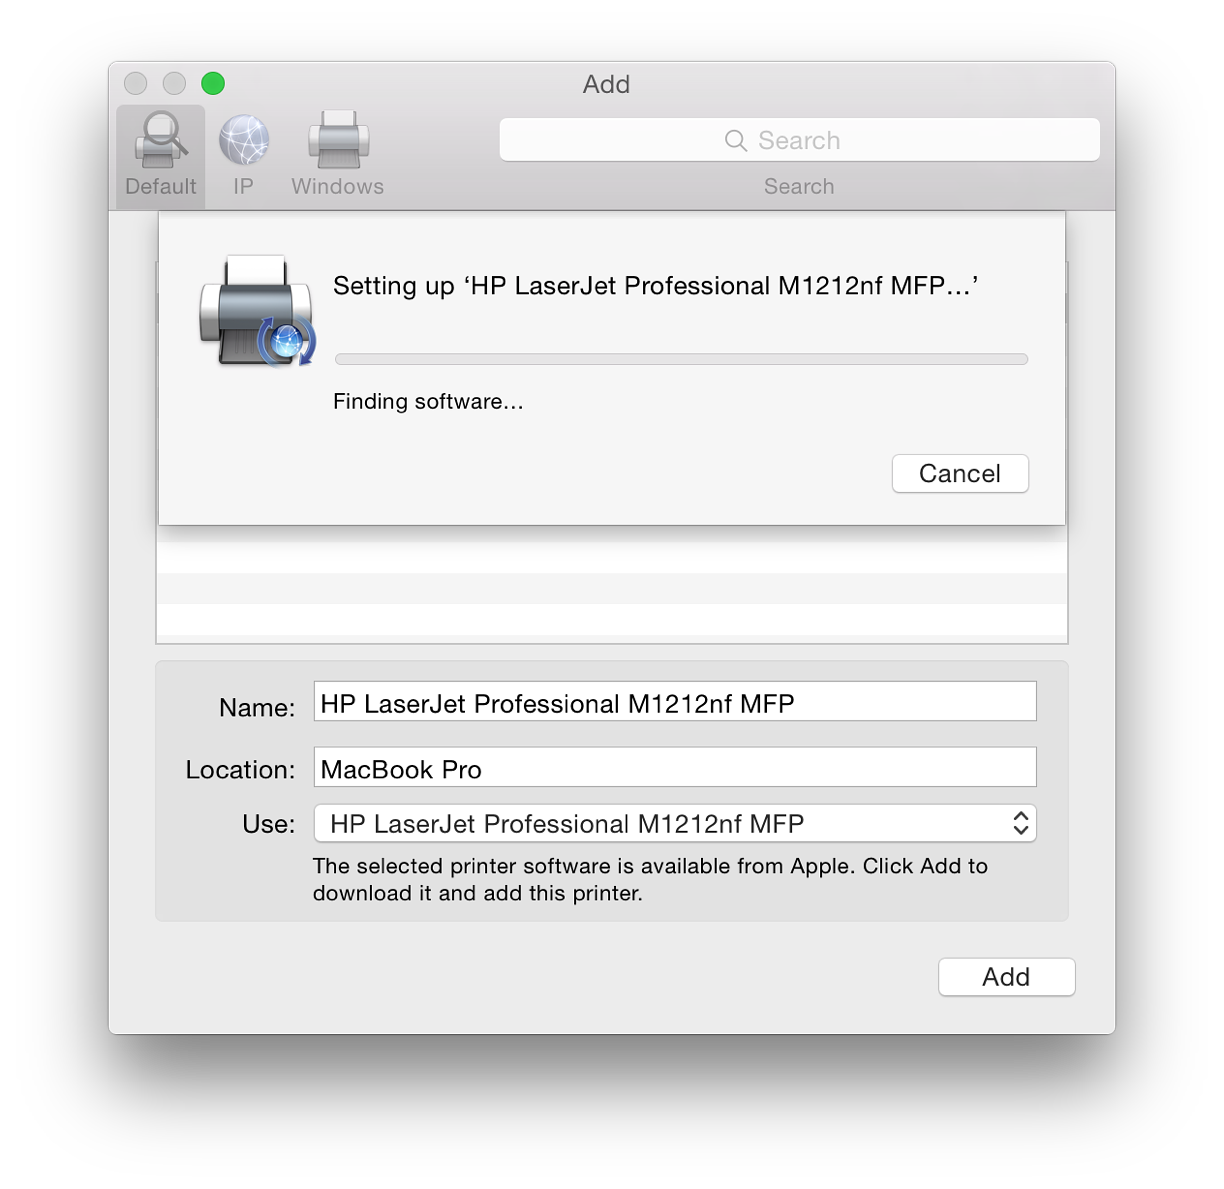
Below is a text box for "Queue" which is left blank for the default queue. The lower half of the panel has spaces for name/location of the printer
The final installation method, Windows, is for working with printers installed in a Windows workgroup environment. The panel has 2 panels for entering information.
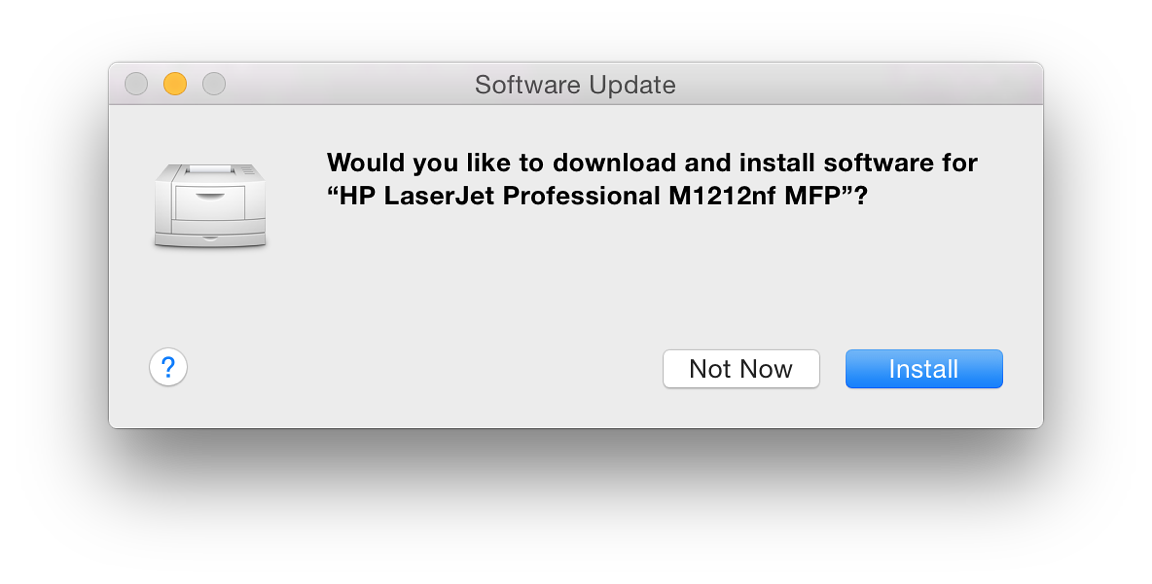
When I connected to a WiFi network, other printers were identified and I was able to add them. If the software is unavailable, OS X may offer to install generic printer software instead or will use the already installed Gutenprint drivers.
At the bottom of the information panel of Printer preferences are buttons allowing users to open the Print Queue and "Supply Levels" (see below). Also available are buttons to select the default printer and the default paper size. The default printer may be set to "Last Printer Used" or switched to any device recognised.
When a printer is highlighted in the main Printers & Scanners panel, we may access two buttons: Open Print Queue and Options & Supplies. The first reveals a panel with icons for device management: Pause and Settings. This is greatly simplified from earlier. The panel also indicates if the printer is available or not connected.
Supply Levels has different panes depending on the printer highlighted. These may include General, with information about the printer; and Supply Levels, such as ink (also available in the Open Print Queue panel). Other options include Driver, which shows any available information about the current driver; and Utility which has a button that opens a separate printer-specific application when pressed. Not all printers will have this.
Note: some users have reported that when trying to add a printer in a user account, a dialogue panel appears asking for Admin name and Password to be entered, but that it is not possible to add any text. This may be resolved by Cancelling the action and quitting System Preferences. In the Admin account, open Printers & Scanners preferences; delete any printers no longer needed; and add the new one. Log out of the Admin account and return to normal working in the user account.
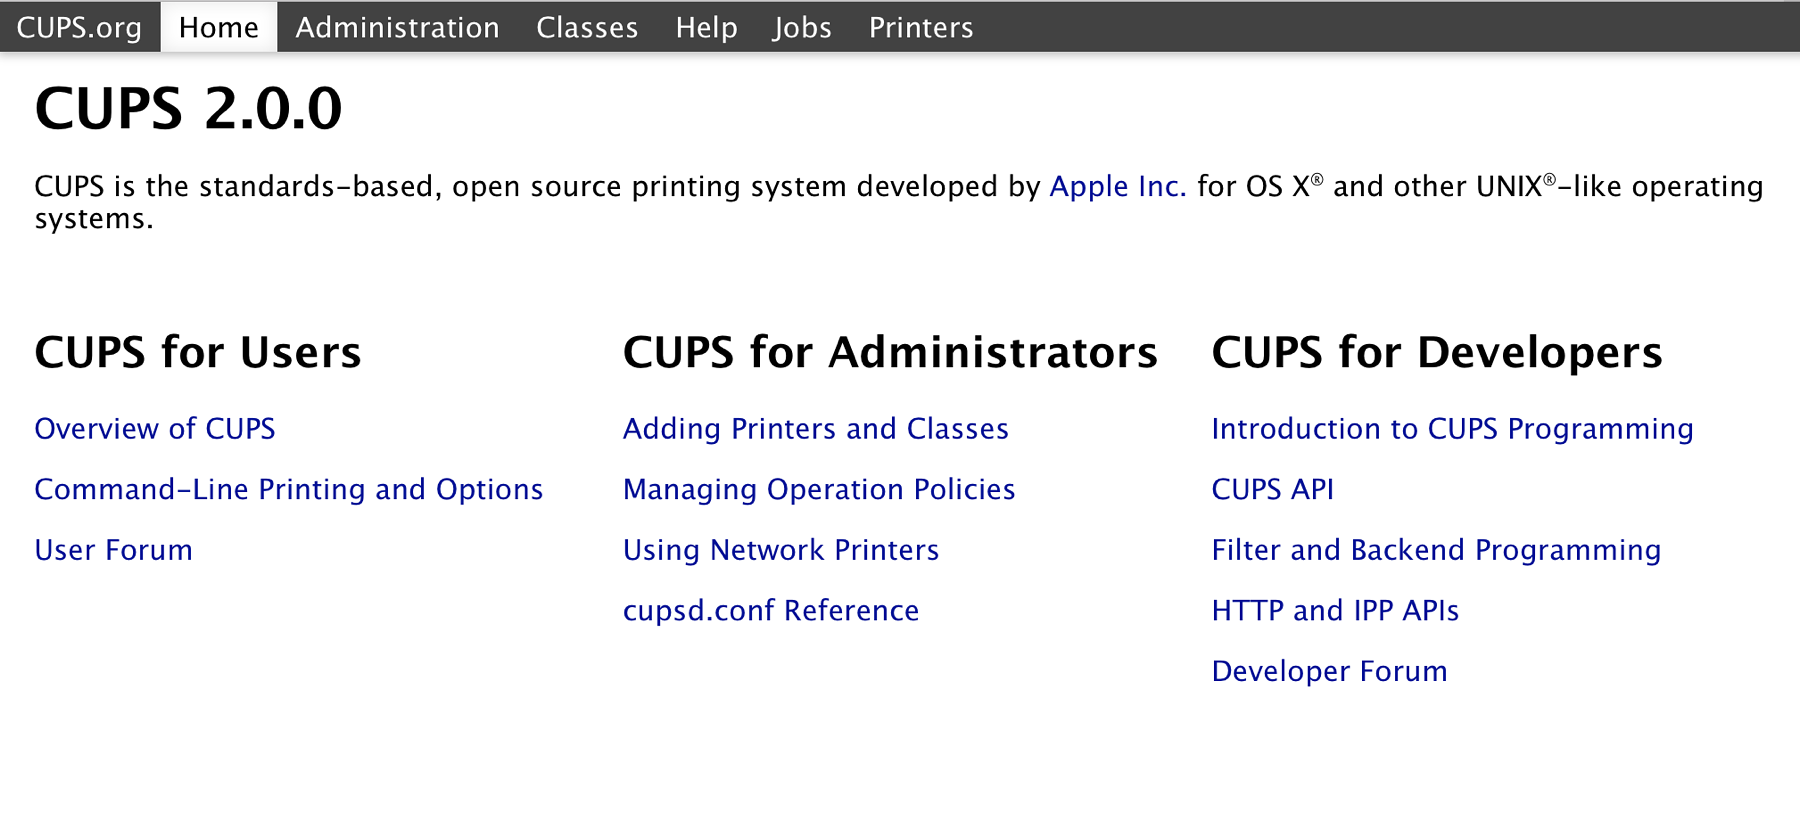
Some users may also wish to try the CUPS software that is installed with all Macs. This was open source, but was purchased by Apple a couple of years ago. By entering 127.0.0.1:631 in a browser (if enabled) a printer management system is made available. CUPS may not be available on a new installation. A user would need to run the command,
cupsctl WebInterface=yes
in Terminal first.
See Also:
How to access your Mac's printer from anywhere (Topher Kessler, MacIssues)
See Also:
Graham K. Rogers teaches at the Faculty of Engineering, Mahidol University in Thailand where he is also Assistant Dean. He wrote in the Bangkok Post, Database supplement on IT subjects. For the last seven years of Database he wrote a column on Apple and Macs.
|