|
|

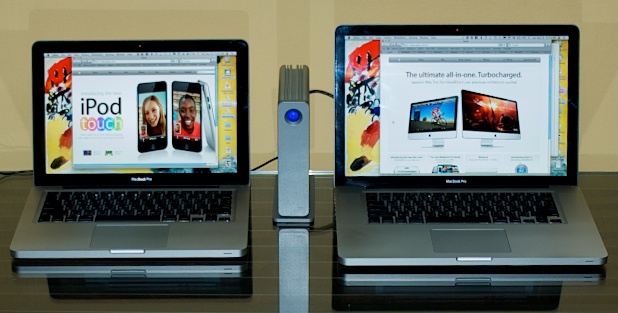
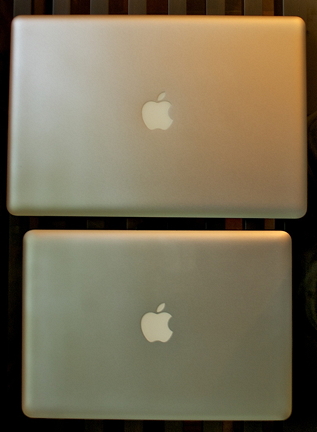
A Brace of Macs
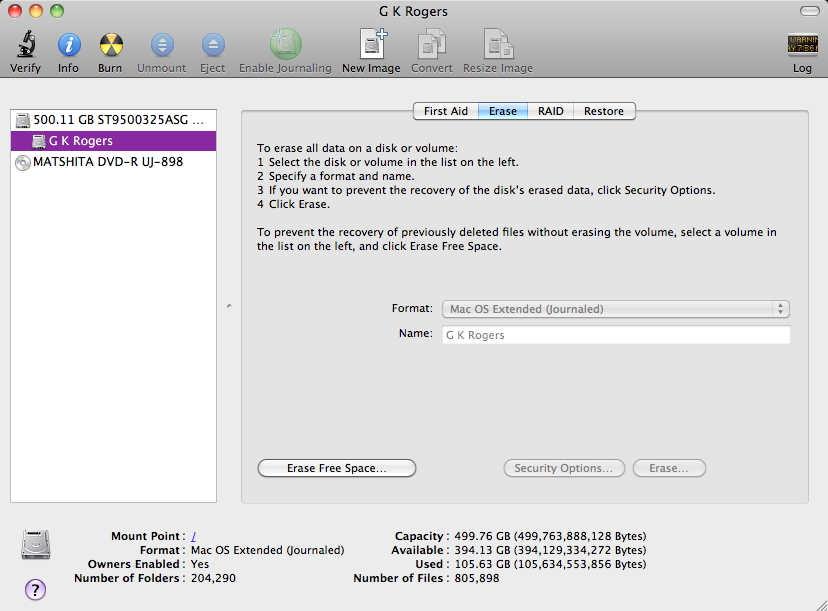
Sitting at my work table while the installation disk started up, I reminded myself what a beautiful machine this is and how the disappointments of freezing had coloured my view. When the disk had started the computer, I selected the language and then, instead of the installation process, accessed the utilities menu. This gives access to several useful functions, including the password reset utility and Time Machine restore. I wanted Disk Utility. I highlighted the disk -- 500.11G Seagate -- and pressed Erase. Mac OS X (extended) was already selected and I gave the disk a name. In the Security Options section were a number of ways to deal with data already on a disk, from "Don't erase data", up to a 35-pass selection. As this suggests, any data is over-written 35 times, almost guaranteeing it is gone forever: this takes many hours. As it was a new disk, I used "Zero Out": writing over data once. I was asked if I really wanted to do this (there is no going back). When I agreed, I was informed this would take 47 minutes. As the process continues estimates fall and rise. I started the process and made some tea.

Disk Utility - Erase Panel
The disk erase took 2 hours. I quit Disk Utility and was returned to the install window. After agreeing to licensing conditions, I highlighted the disk and a green arrow appeared. Before starting to install, I used the Configure button and removed extra languages, saving over 1G, and added Rosetta for some older applications I continue to use. When OS X has been reinstalled, which takes around 40 minutes, the computer restarts and there is Apple's multi-language welcome video. A user is prompted to fill in registration details and create an account. It is useful to have any wifi router password handy. Just before finishing, a screen appears with four choices: to transfer information from another Mac, from another volume on the Mac, from a Time Machine backup, or no transfer. The last enables us to start using the computer immediately.
Mobile Me again paid for itself by synchronising my data: not only for the address book and calendar, but other settings like passwords, and email accounts. When I started Mail, I had to wait while mailboxes were imported, then checked and sent mail immediately: all accounts working properly. As ever, a couple of applications had not had licensing details carried over, but I was able to rescue these fairly quickly with the information I had stored. Some photographs were missing from Aperture so I exported them from the 13" computer and imported them on the 15". Owing to the way Aperture's library works, Time Machine does not back this up when Aperture is running and I had left it open on the 13" Mac for the whole week. Once all was up and running, including the transfer of the iPhone back to the 15" MacBook Pro, I used Time Machine to back up the 15" MacBook Pro, electing to use the same backup that had earlier been used on the 13" computer (which had previously been the 15" backup anyway).
While I was able to restore these computers fairly quickly to a running state with Time Machine, I know that some prefer software that clones the hard disk, like Mike Bombich's Carbon Copy Cloner. Whether the cause of my recent problems with this computer was the hard disk, graphics switching, or a faulty sudden motion sensor (as some have suggested), we may never know. I am back on track with productivity. Warily.
|
|

 I selected Time Machine. When connected, the disk appeared in the panel. I included accounts, applications, settings and data. It took a while to calculate the transfer size (78.2G) and the process took some 35 minutes. I then checked data and settings, also updating OS X to 10.6.4. I knew that there were several updates to track down, but inconveniently Software Update had stopped working although I could access the internet using a browser. As this was the same on all my computers, a restart of the router fixed that.

