Disk Warrior Updated to Version 5 and Available on USB drive: (5) File and Hardware Monitoring Features

AMITIAE - Thursday 12 February 2015
|
Disk Warrior Updated to Version 5 and Available on USB drive: (5) File and Hardware Monitoring Features |
|
|
|
By Graham K. Rogers
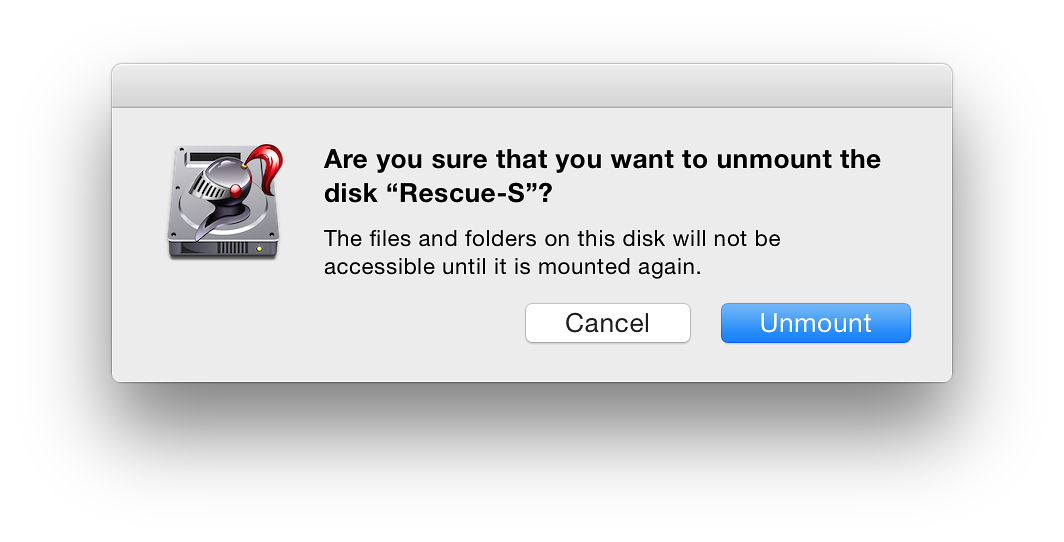
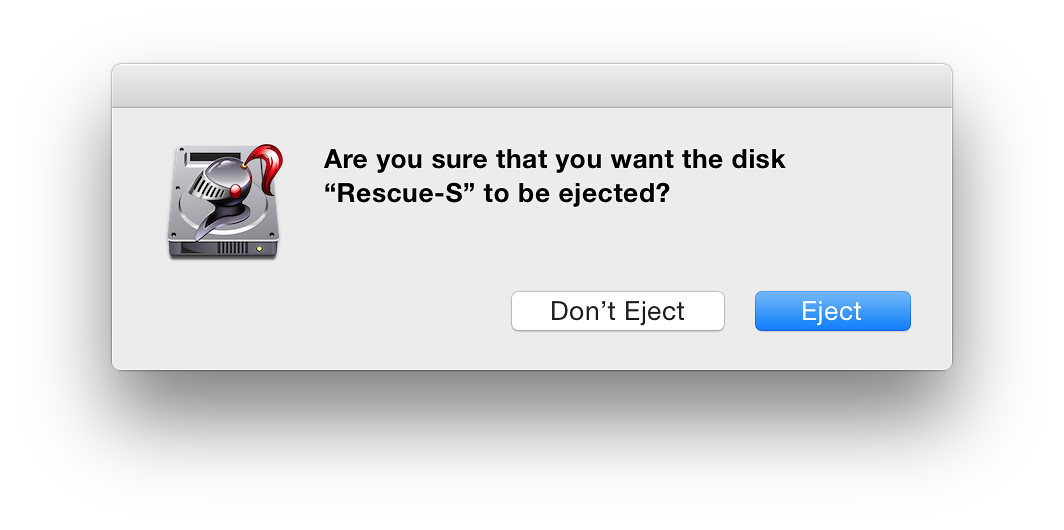
Disk Warrior PanelWhen run from the installation of Disk Warrior on a hard disk, the main panel has six icons on the toolbar. The three to the right are marked i (Information, Unmount and Eject. These last two are greyed out when no relevant disks are found (the startup disk cannot be ejected or unmounted).Attaching a disk changes these icons (along with the disk selector button): the Unmount and Eject icons become live. Pressing either reveals a small panel asking if the user is sure about the action request. Once the disk is elected, the icons return to their greyed-out state after a few seconds.

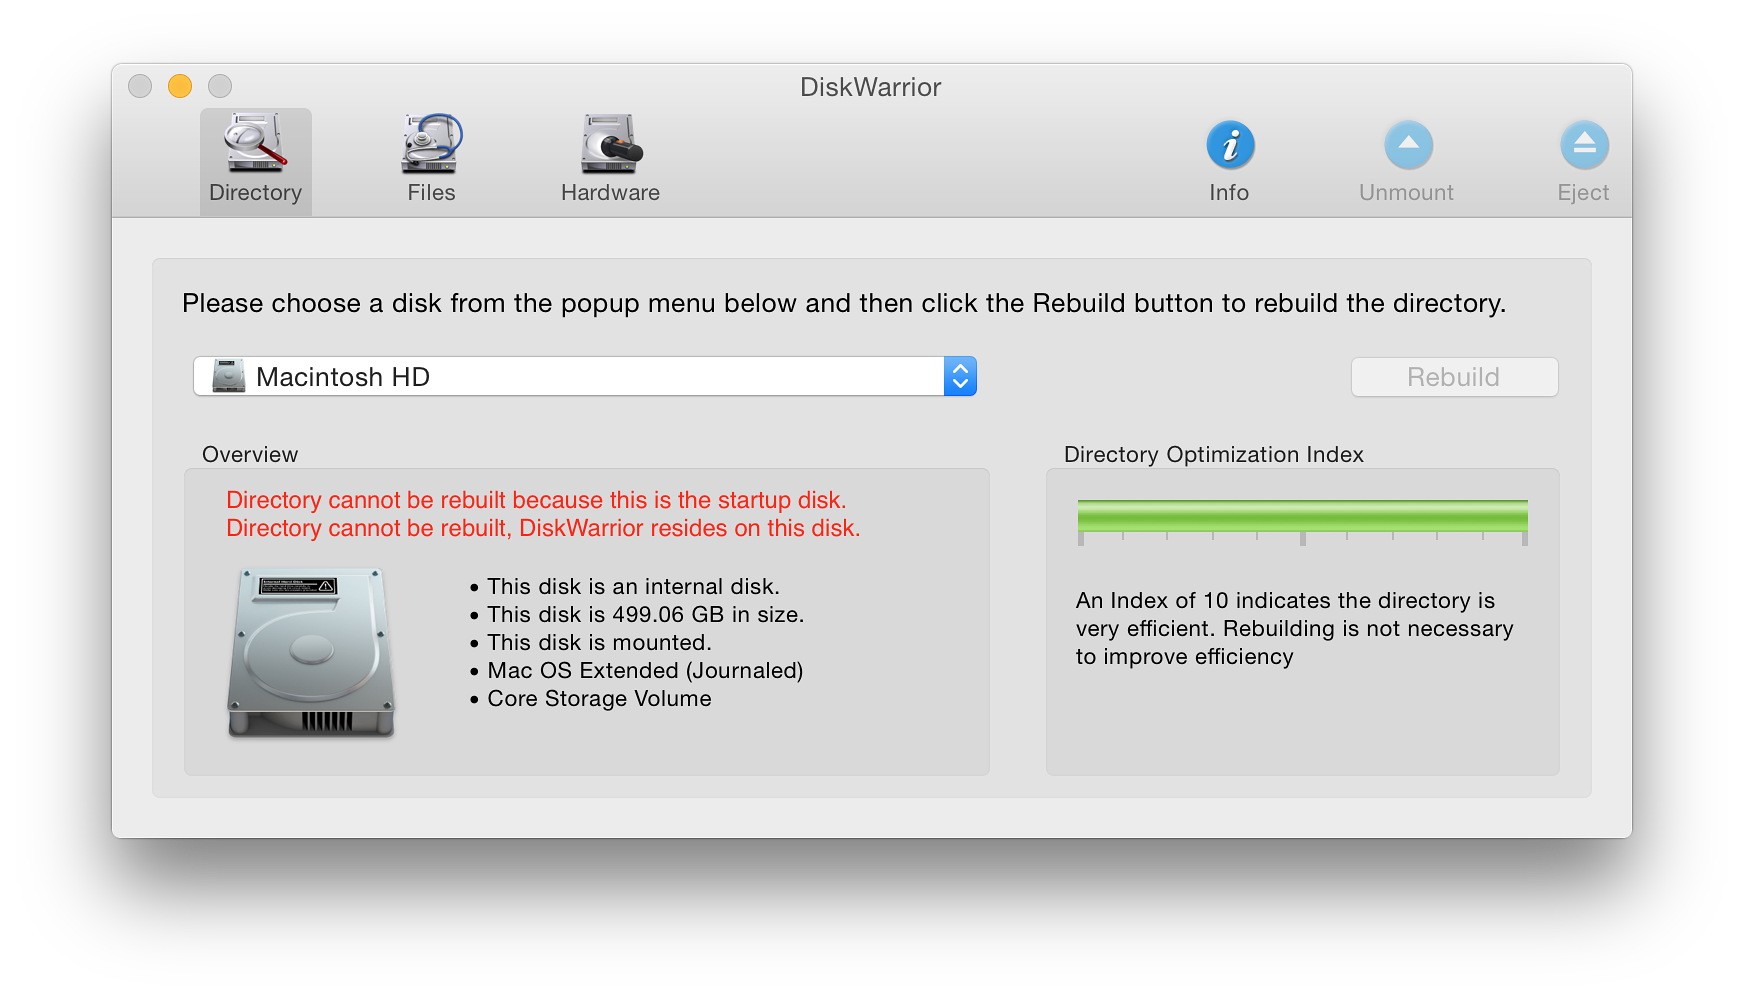
The three icons to the left of the panel are for the tasks that Disk Warrior can carry out on a disk. The first of these Directory will display information about the disk and its optimization status, but it is only possible to use the Rebuild button when the disk selected is one other than the startup disk.
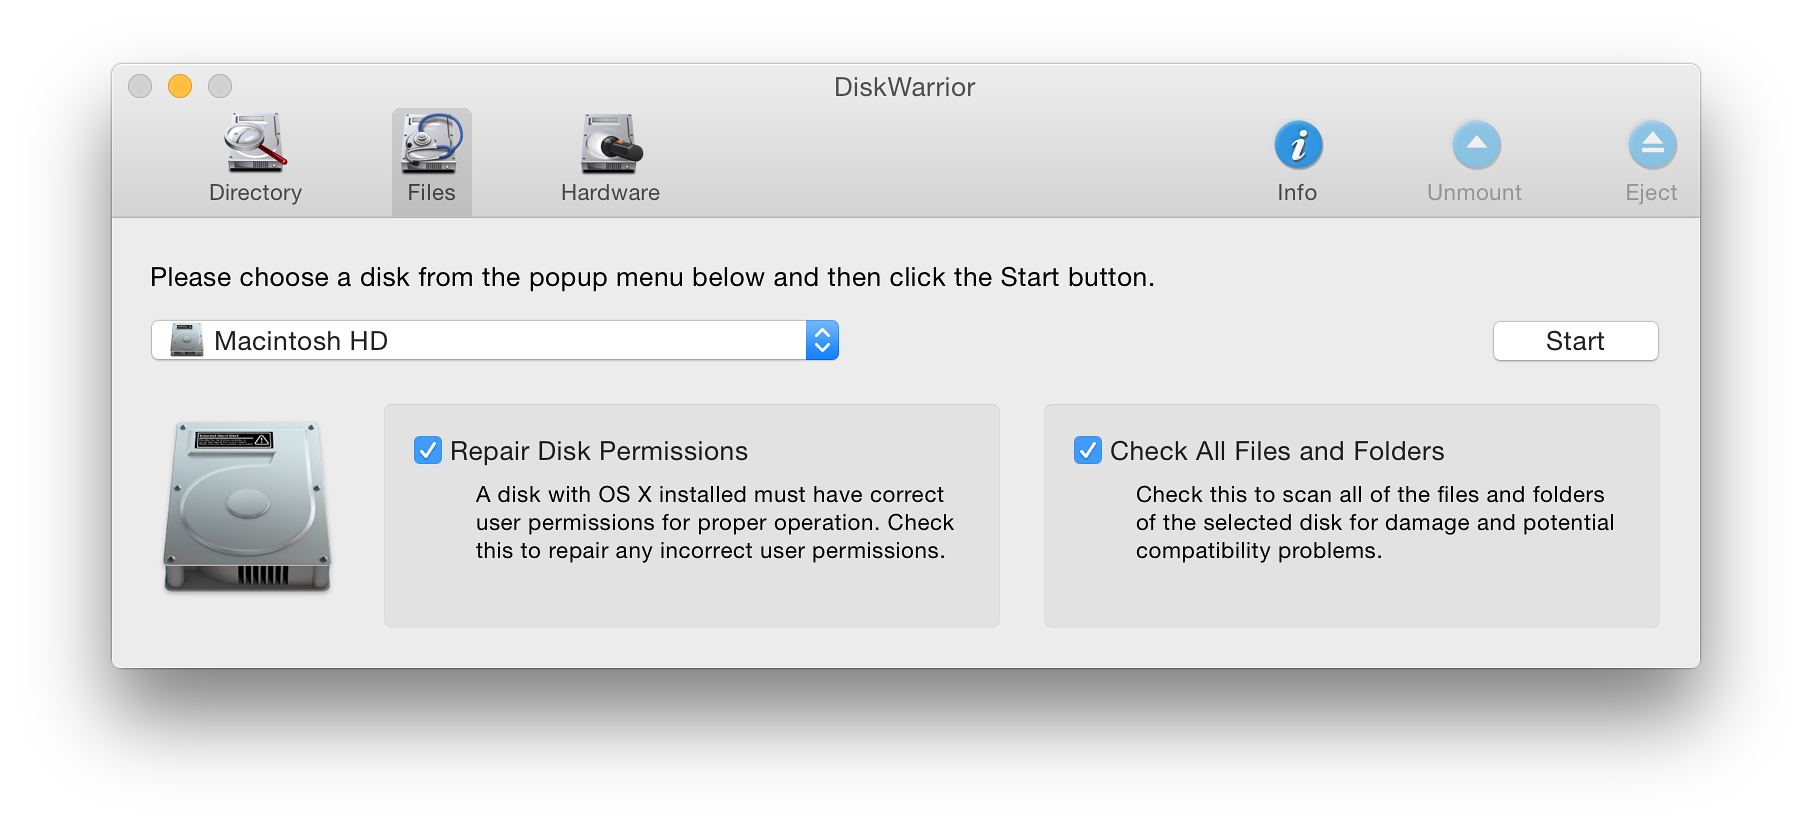
FilesThe first of the additional checks that can be run on a disk is for Files. The panel is in three parts: disk selector button; Repair Disk Permissions; and Check all Files and Folders. The latter two are made active with check boxes and the processes begin when the Start button is pressed. I ran these separately to gauge the time taken on the 512 GB SSD disk I use.
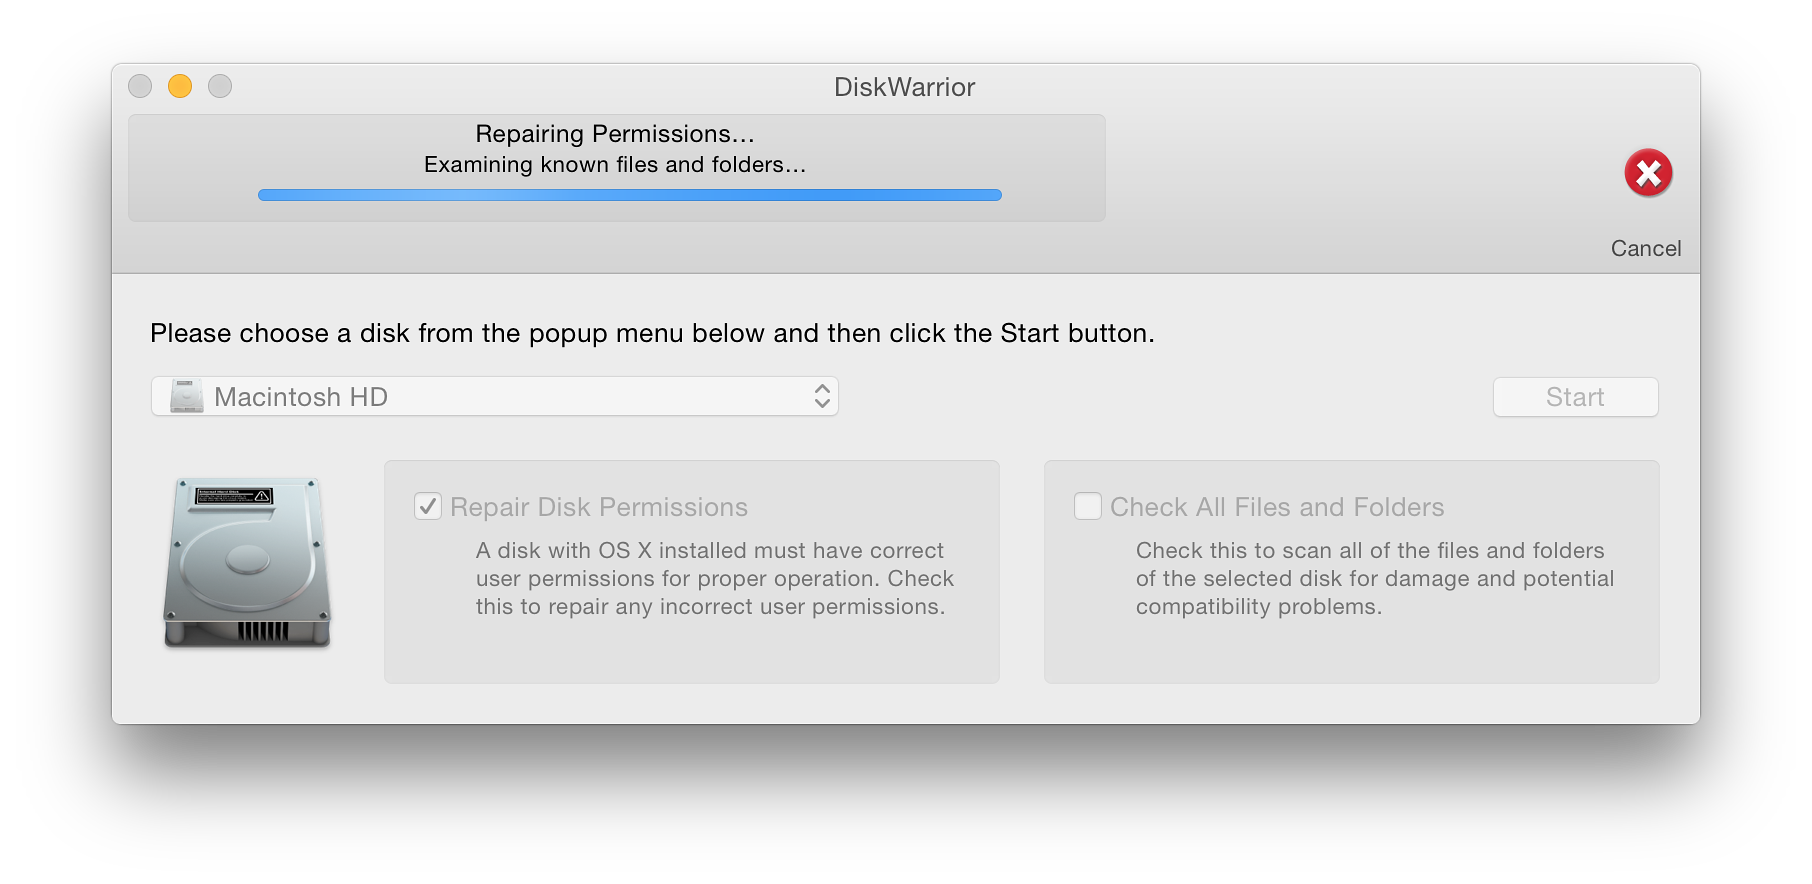
The number of files that had property list and resource data checked was shown, along with the maximum folder depth (24). Two property list files (both Apple and linked to the App Store) were found to be damaged and unrepairable. I deleted those two files then ran the check again. Although these files had been deleted, the utility found hidden versions and again reported them as corrupt. This will need some further investigation. I saved a copy of the report.
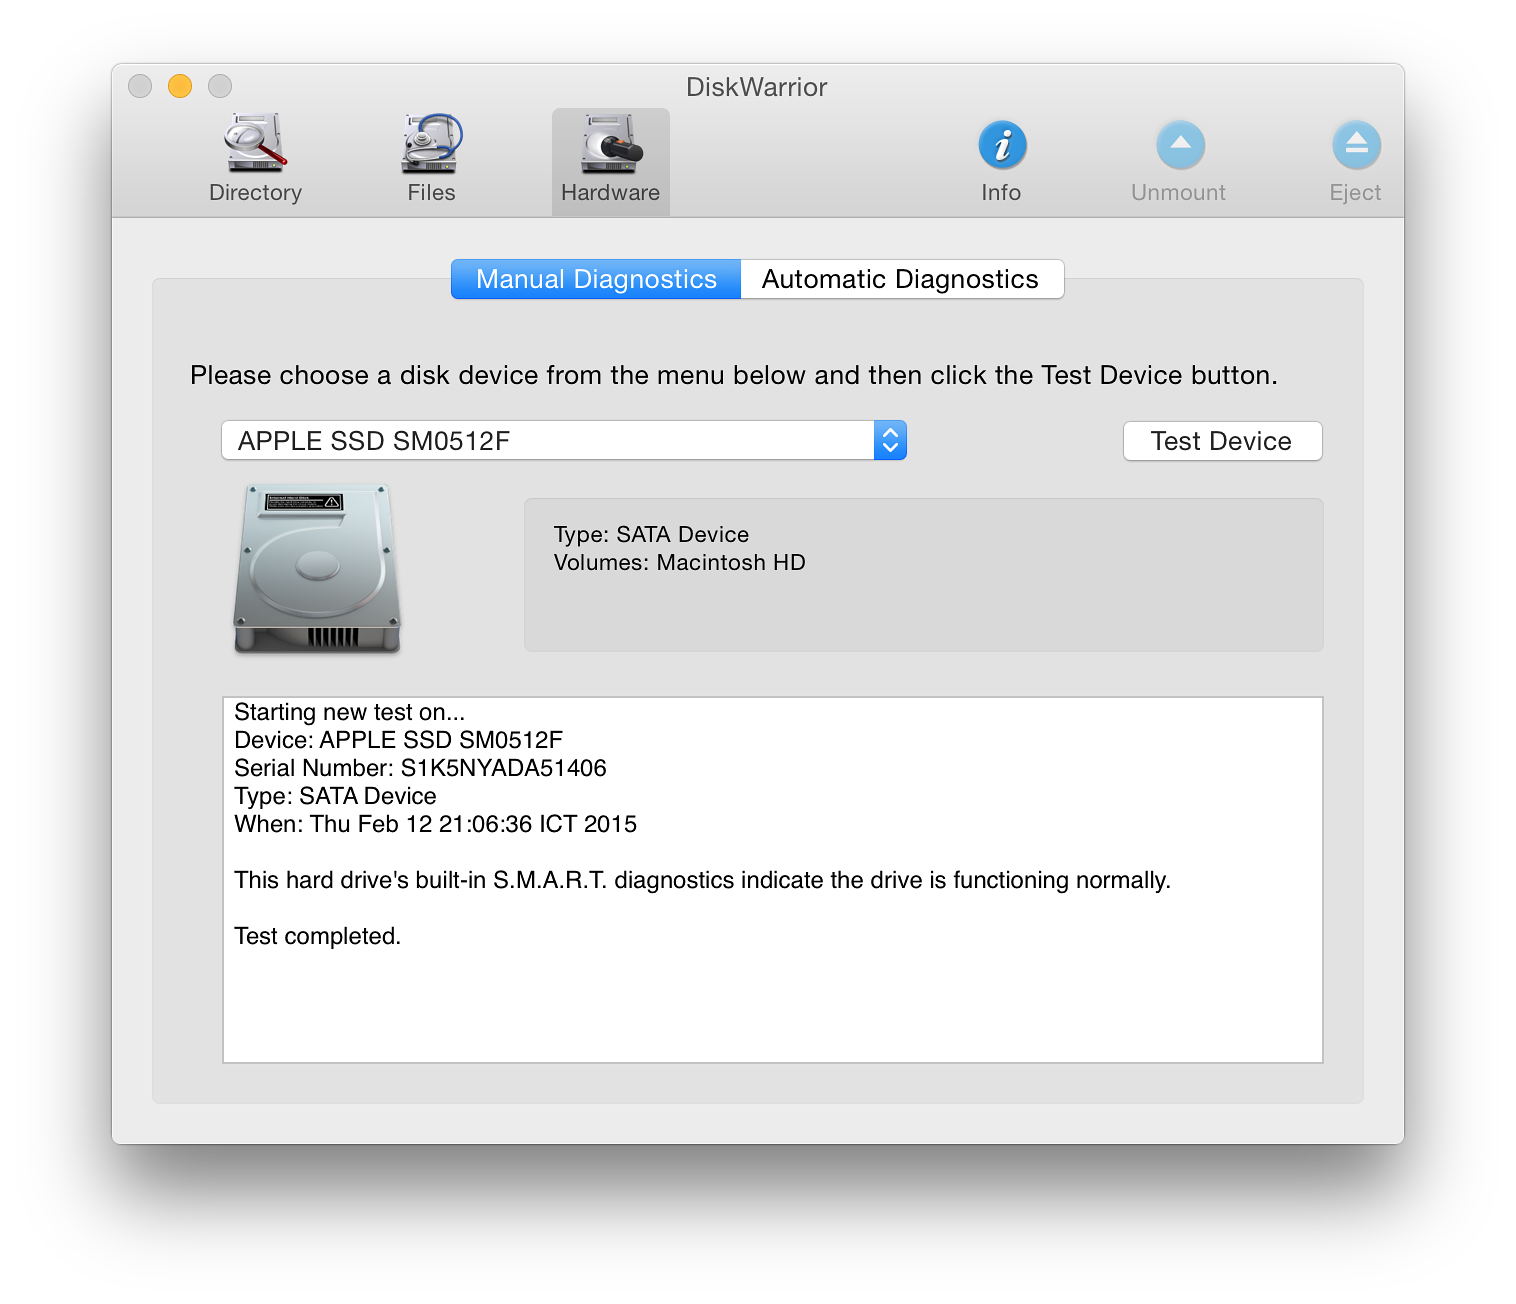
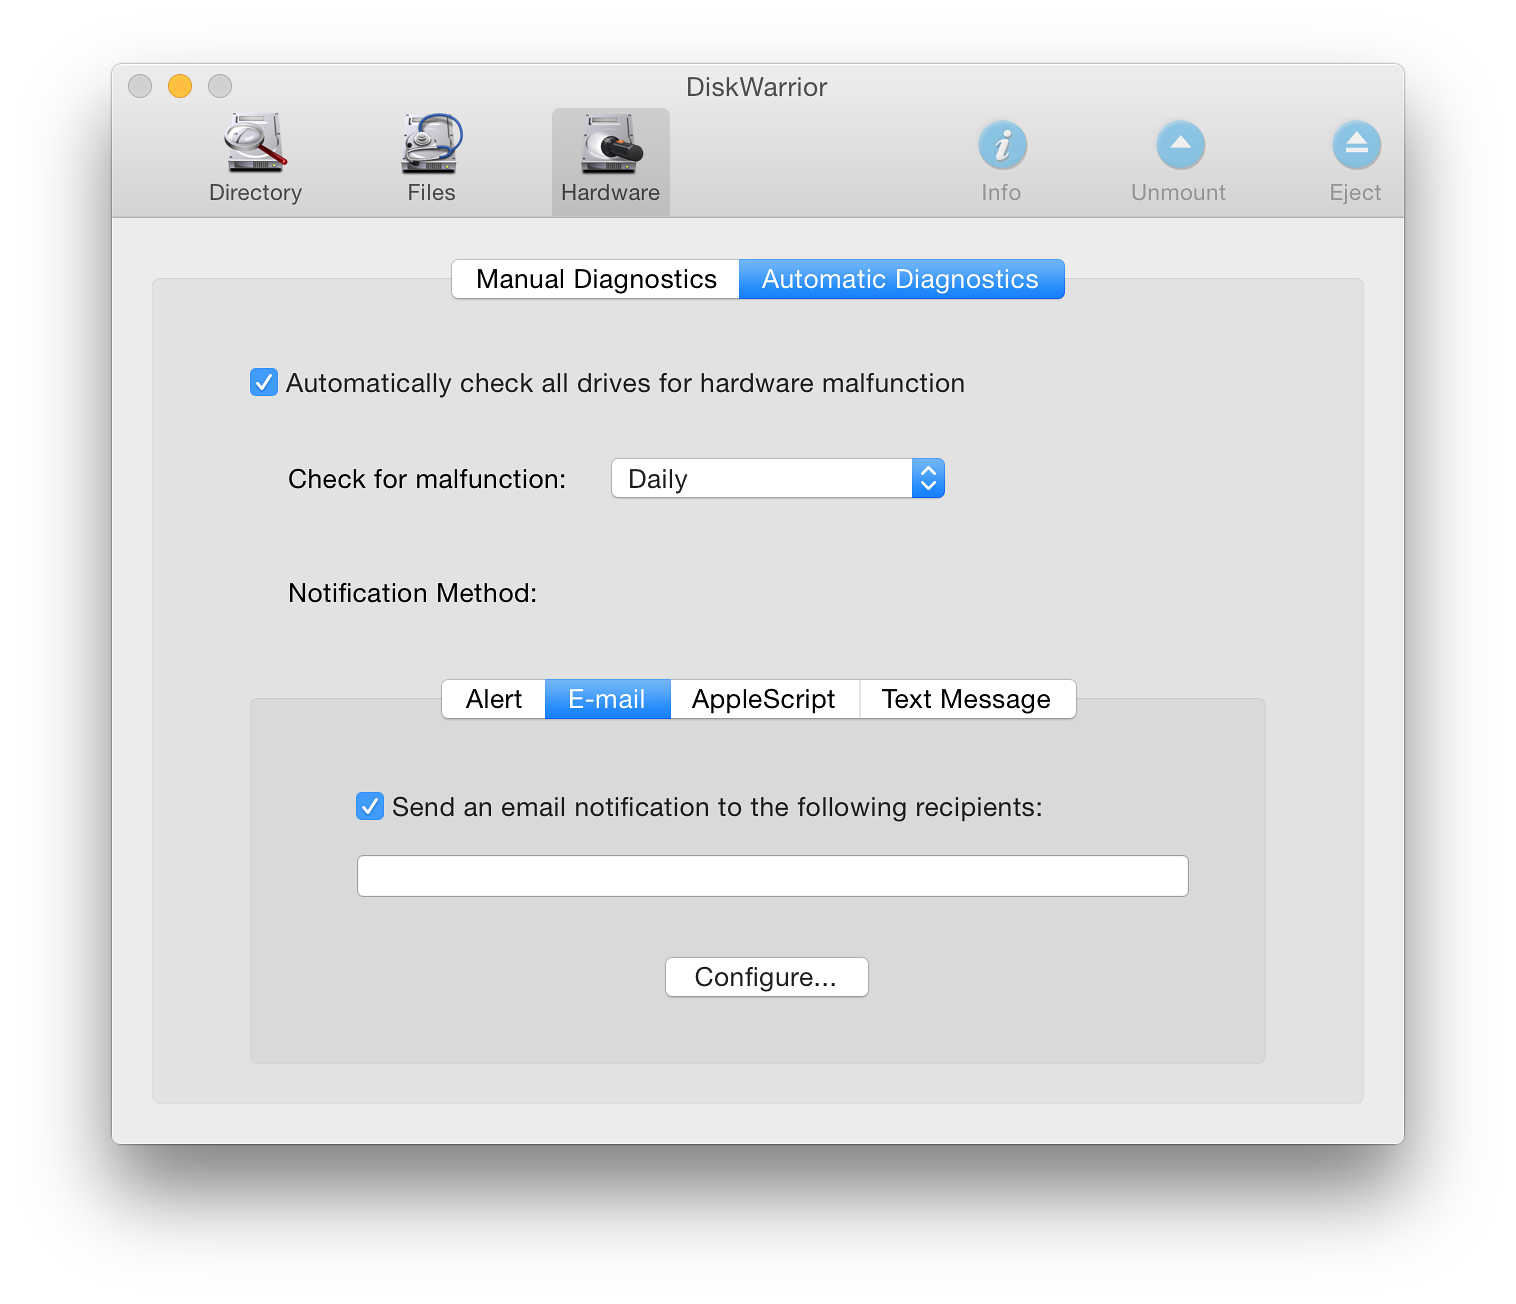
HardwareThe final icon is marked hardware and shows a small flashlight over a disk. Clicking on this icon produced a 2-part panel: Manual Diagnostics; and Automatic Diagnostics.

See Also:
Graham K. Rogers teaches at the Faculty of Engineering, Mahidol University in Thailand where he is also Assistant Dean. He wrote in the Bangkok Post, Database supplement on IT subjects. For the last seven years of Database he wrote a column on Apple and Macs. He is now continuing that in the Bangkok Post supplement, Life. |
|

For further information, e-mail to
Back to
eXtensions
Back to
Home Page