Disk Warrior Updated to Version 5 and Available on USB drive: (2) Installing on the Mac and External Media

AMITIAE - Tuesday 10 February 2015
|
Disk Warrior Updated to Version 5 and Available on USB drive: (2) Installing on the Mac and External Media |
|
|
|
By Graham K. Rogers
There are three basic situations: installation of Disk Warrior onto the hard disk of the Mac (or external disk running OS X); making a rescue disk using a flash drive or other external media; and preparing the DiskWarrior flash drive for newer Macs. As a Mac cannot be started with a version of OS X released before the Mac was made, the older version (which can be used on those machines with 10.4, 10.5 or 10.6) needs to be updated. I cover this in Part 4.
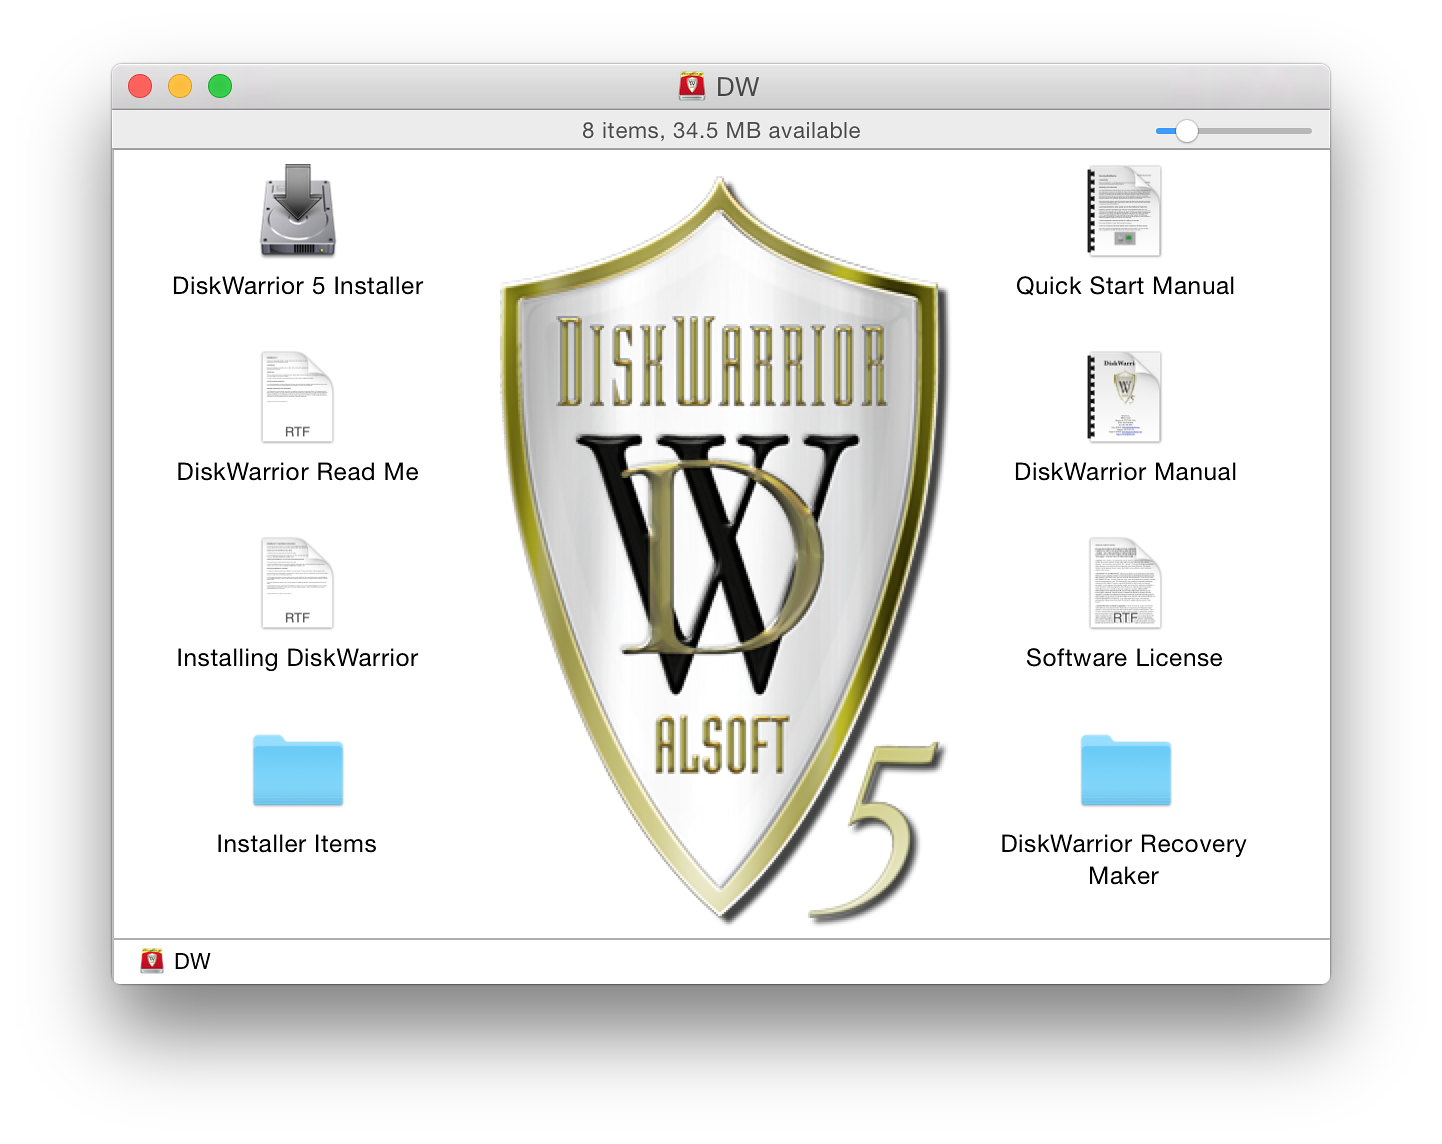
The drive itself contains other applications, as well as the Disk Warrior utility (in the Installer Items folder): DiskWarrior 5 Installer and (in a separate folder) DiskWarrior Recovery Maker. There are also manuals, as well as a basic Read Me file.
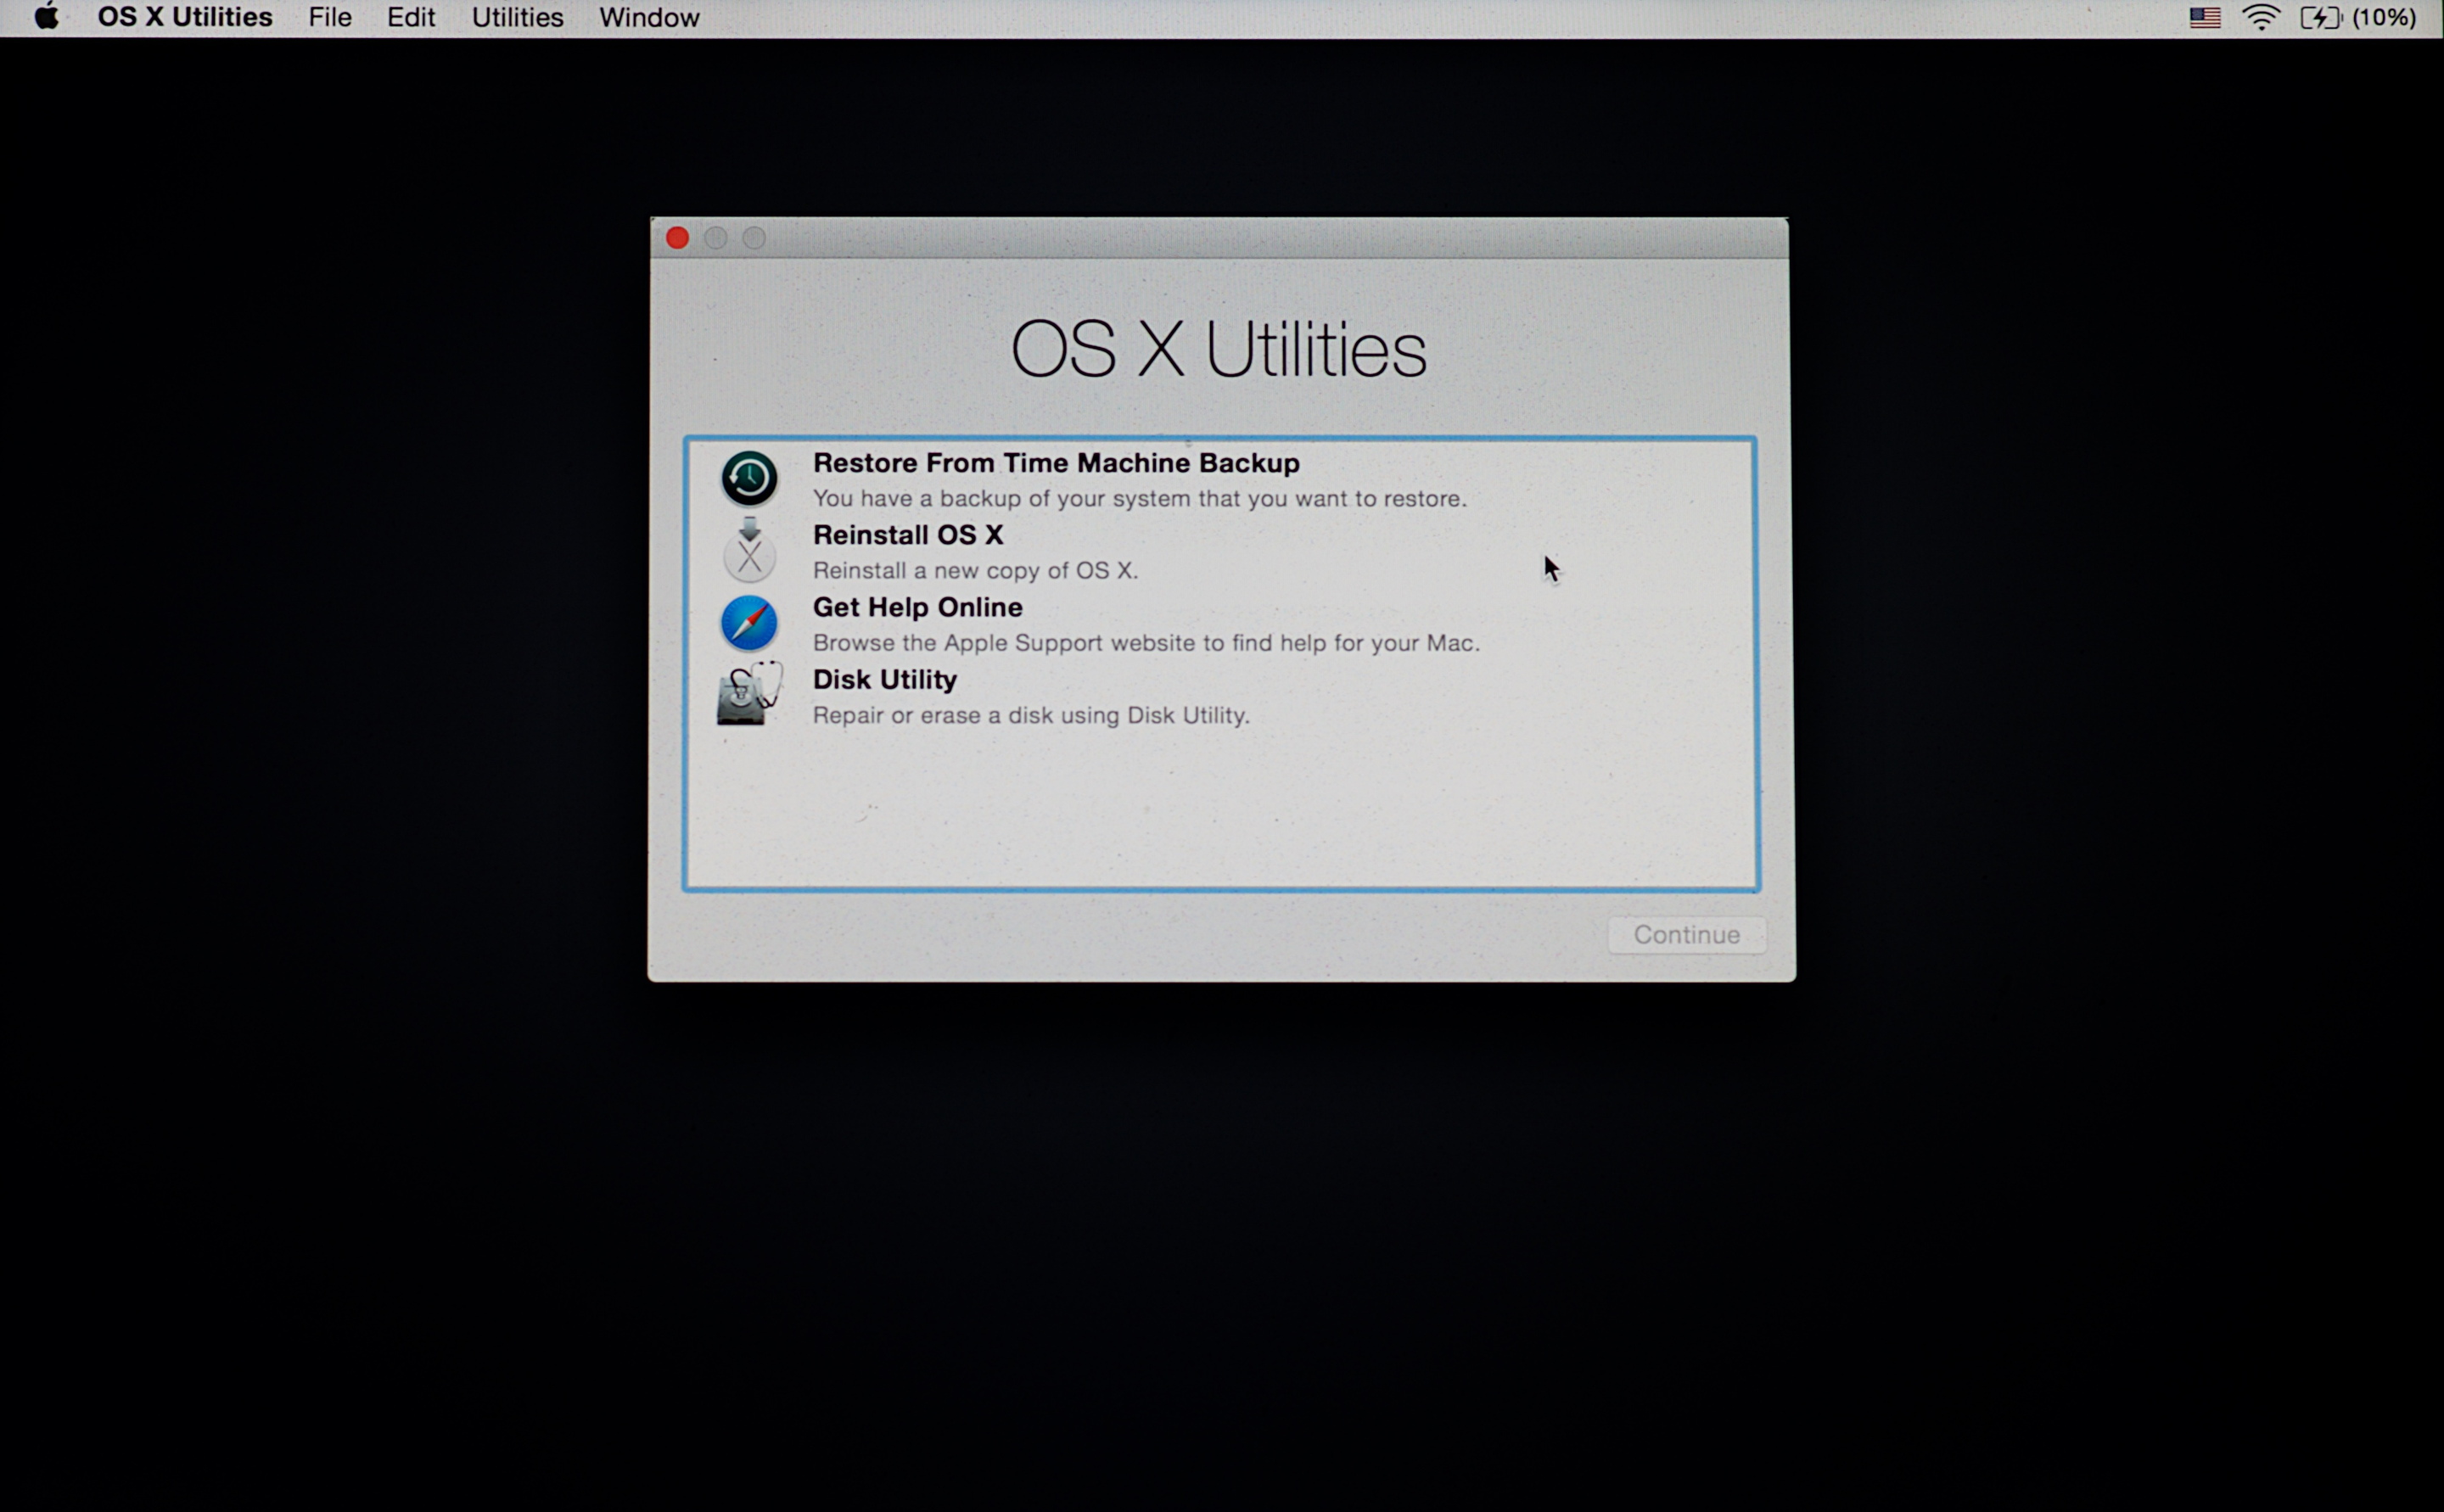
Installing Disk Warrior on the MacWhen I was ready to start the process of installation I switched to the Admin account where I moved the old version of DiskWarrior (4.3) to the Trash, then emptied the Trash. I clicked on the DiskWarrior 5 Installer icon. The process offered to put a version of the utility in the Applications folder, although I could have selected any other suitable location.
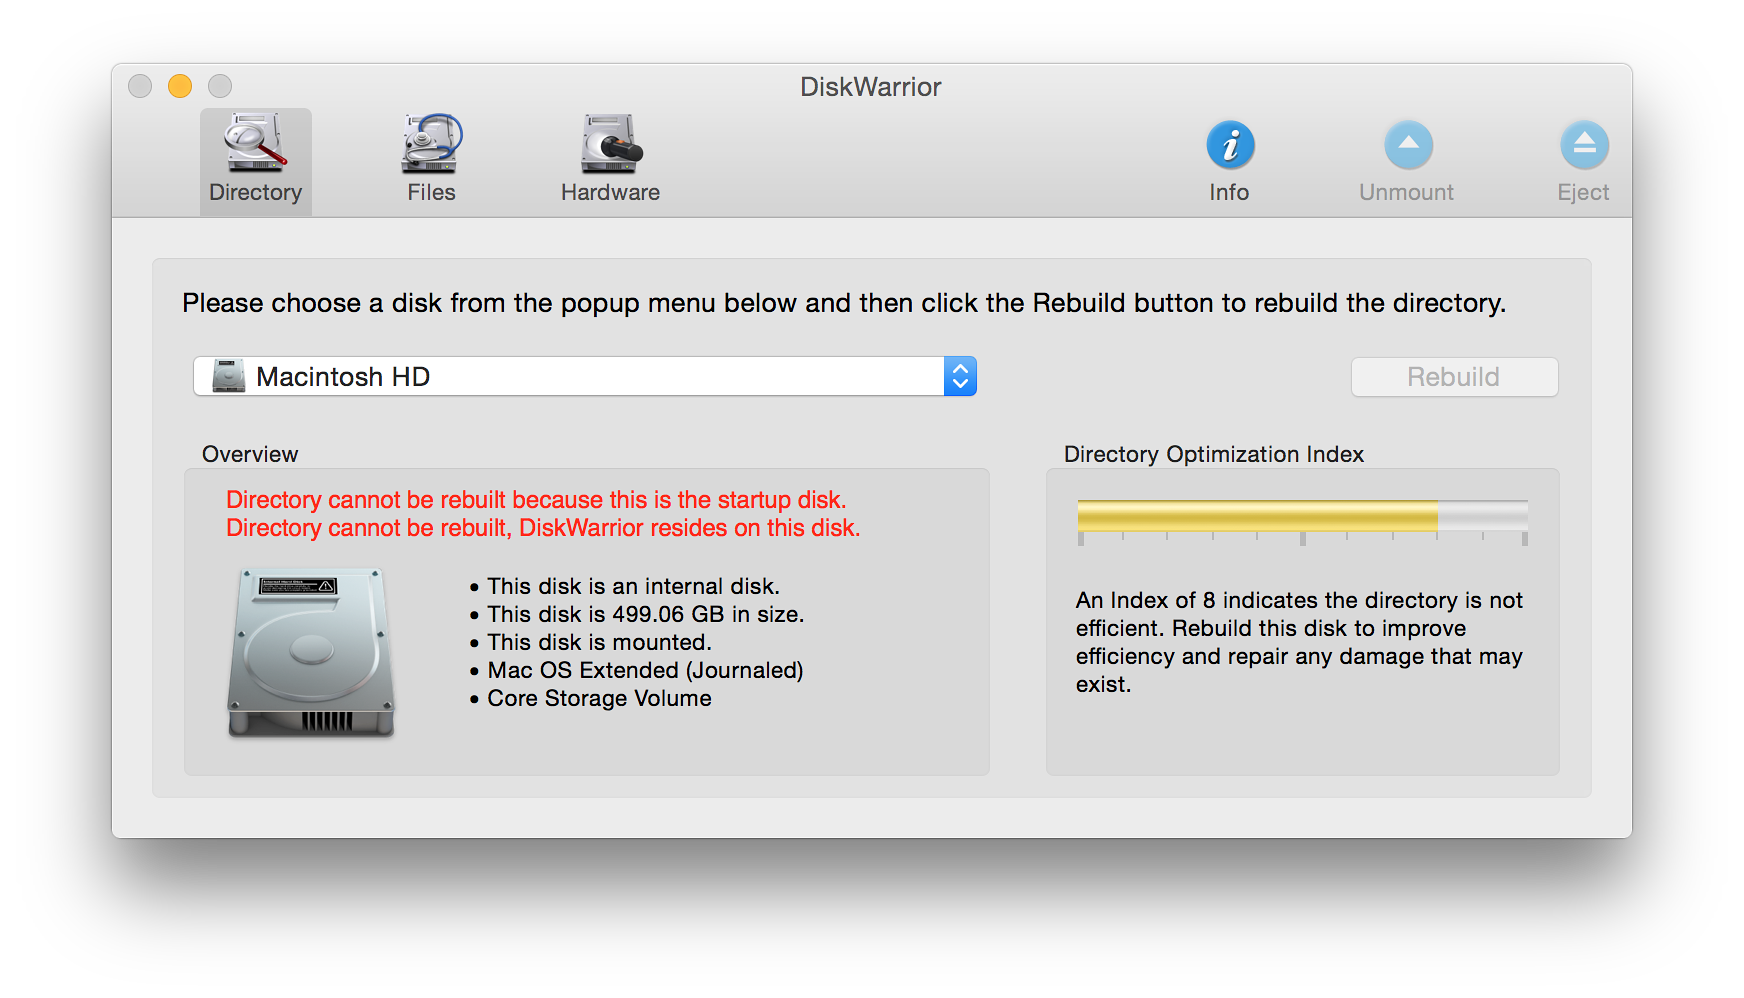
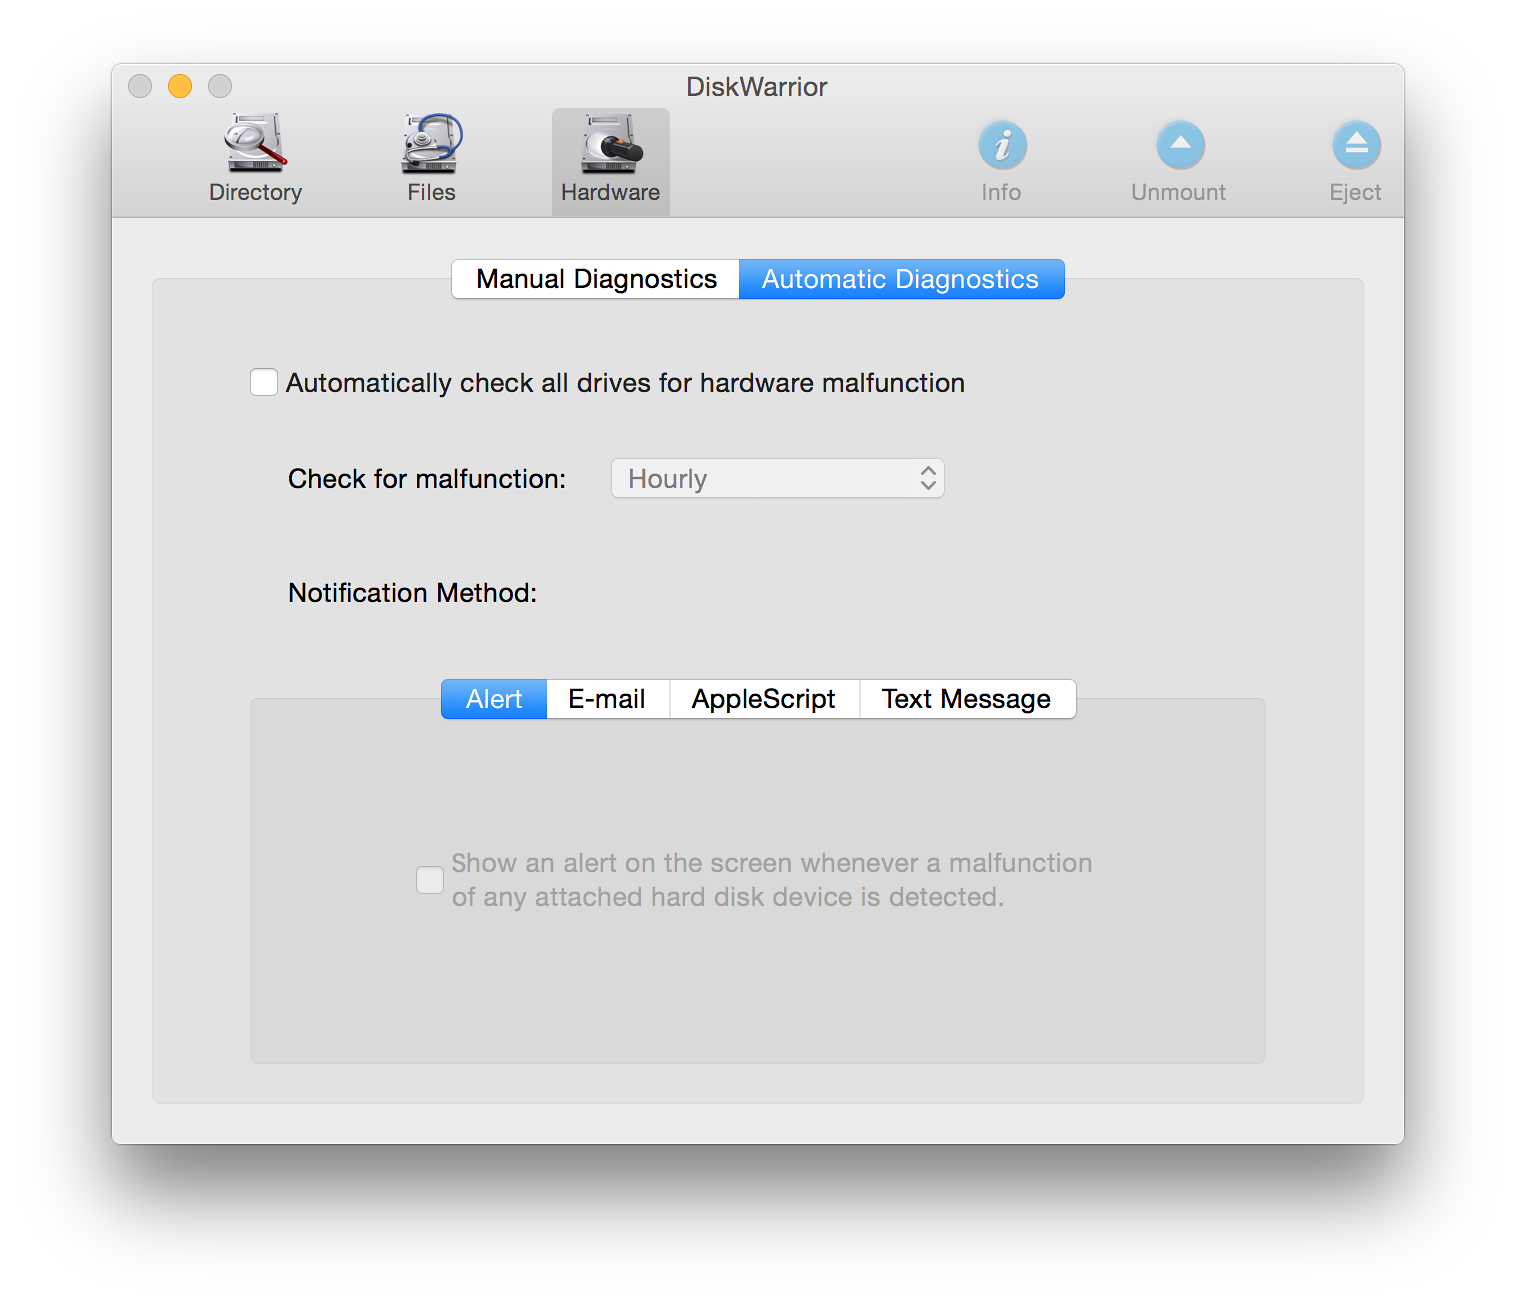
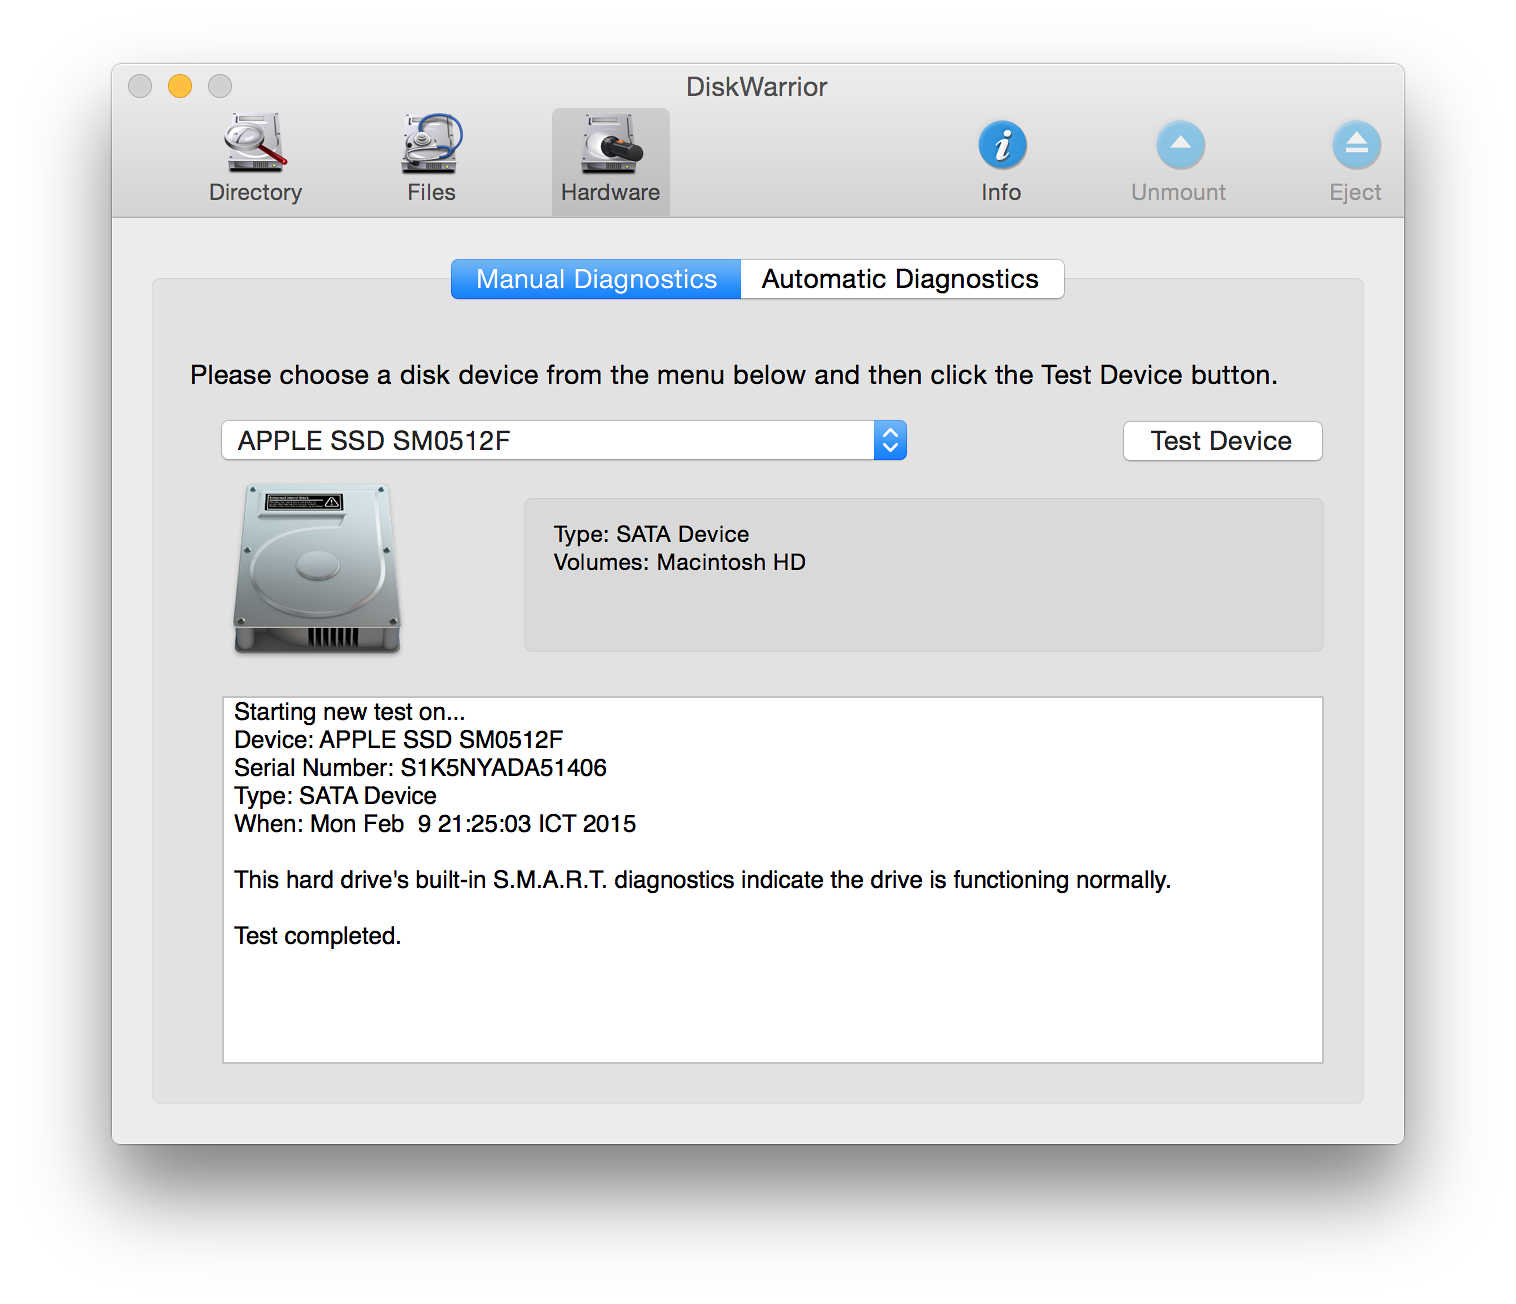
Once installed, I clicked on the icon for an early look at what was there. Only one disk (DiskWarrior repair partition) was shown as available for repair in the redesigned panel. I was able to examine the main disk and check hardware. The disk itself was reported to be OK but not perfect: a yellow bar showed and level 8 was reported. Time for a repair later (but not too late). This is now an automatic check: on previous versions, the user would need to select a separate Graph process.
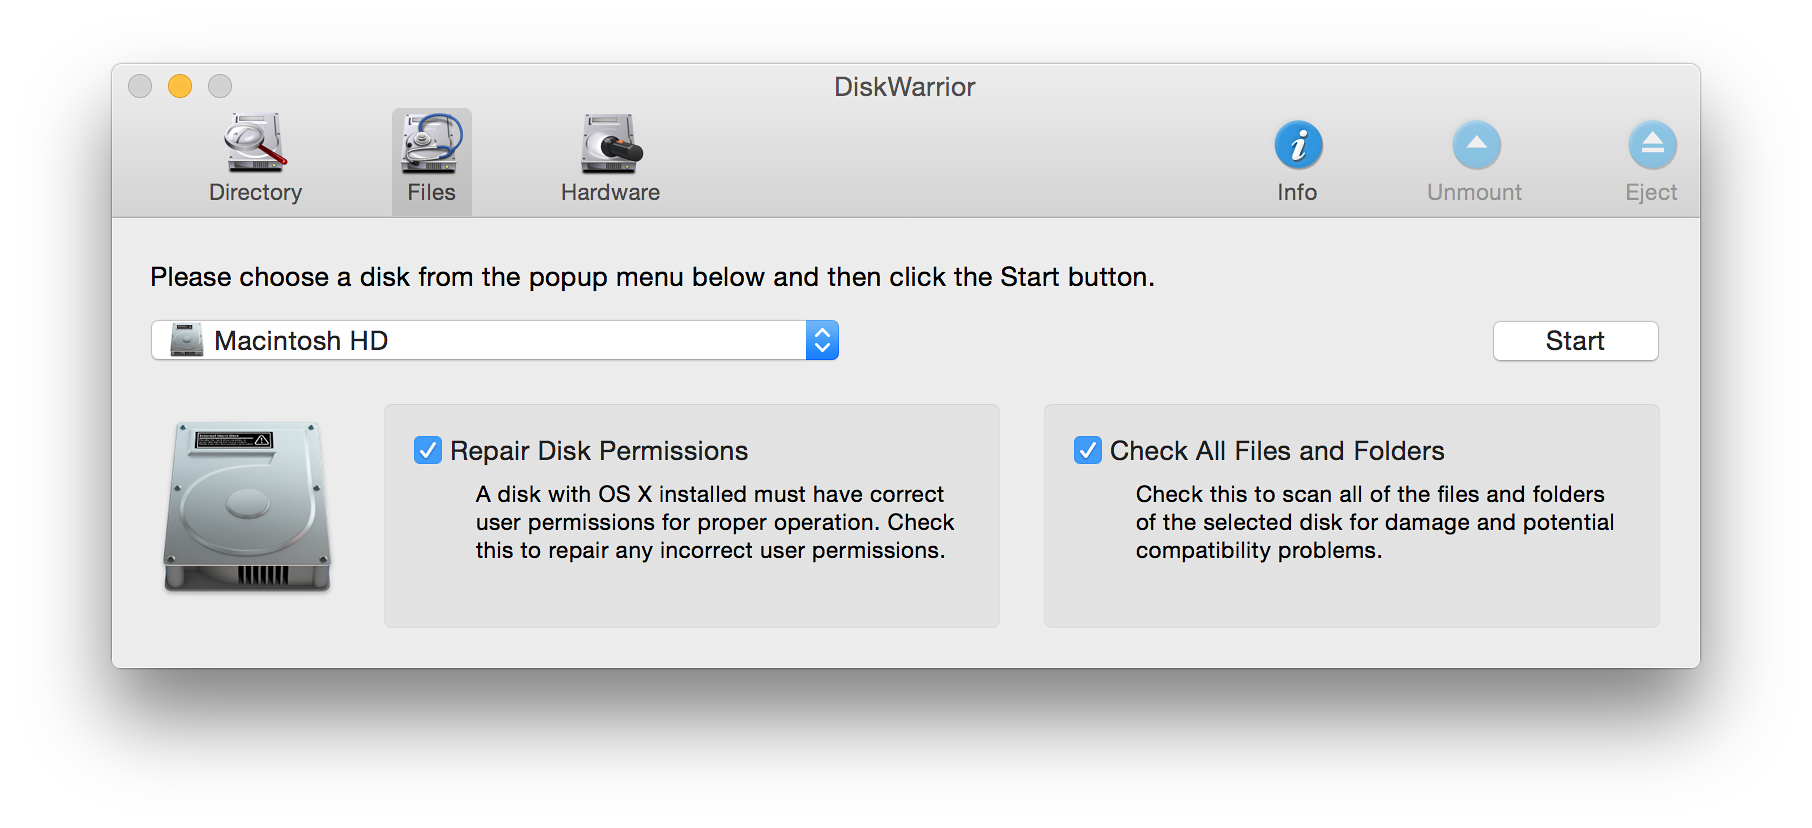
Running and Installing Disk Warrior on a Disk with OS X InstalledI quit DiskWarrior and connected a USB disk that had OS X Yosemite installed. I ran Disk Warrior from the Mac's hard disk and that USB hard disk was shown as one of the available disks. The initial report was a 9 with a green progress bar.
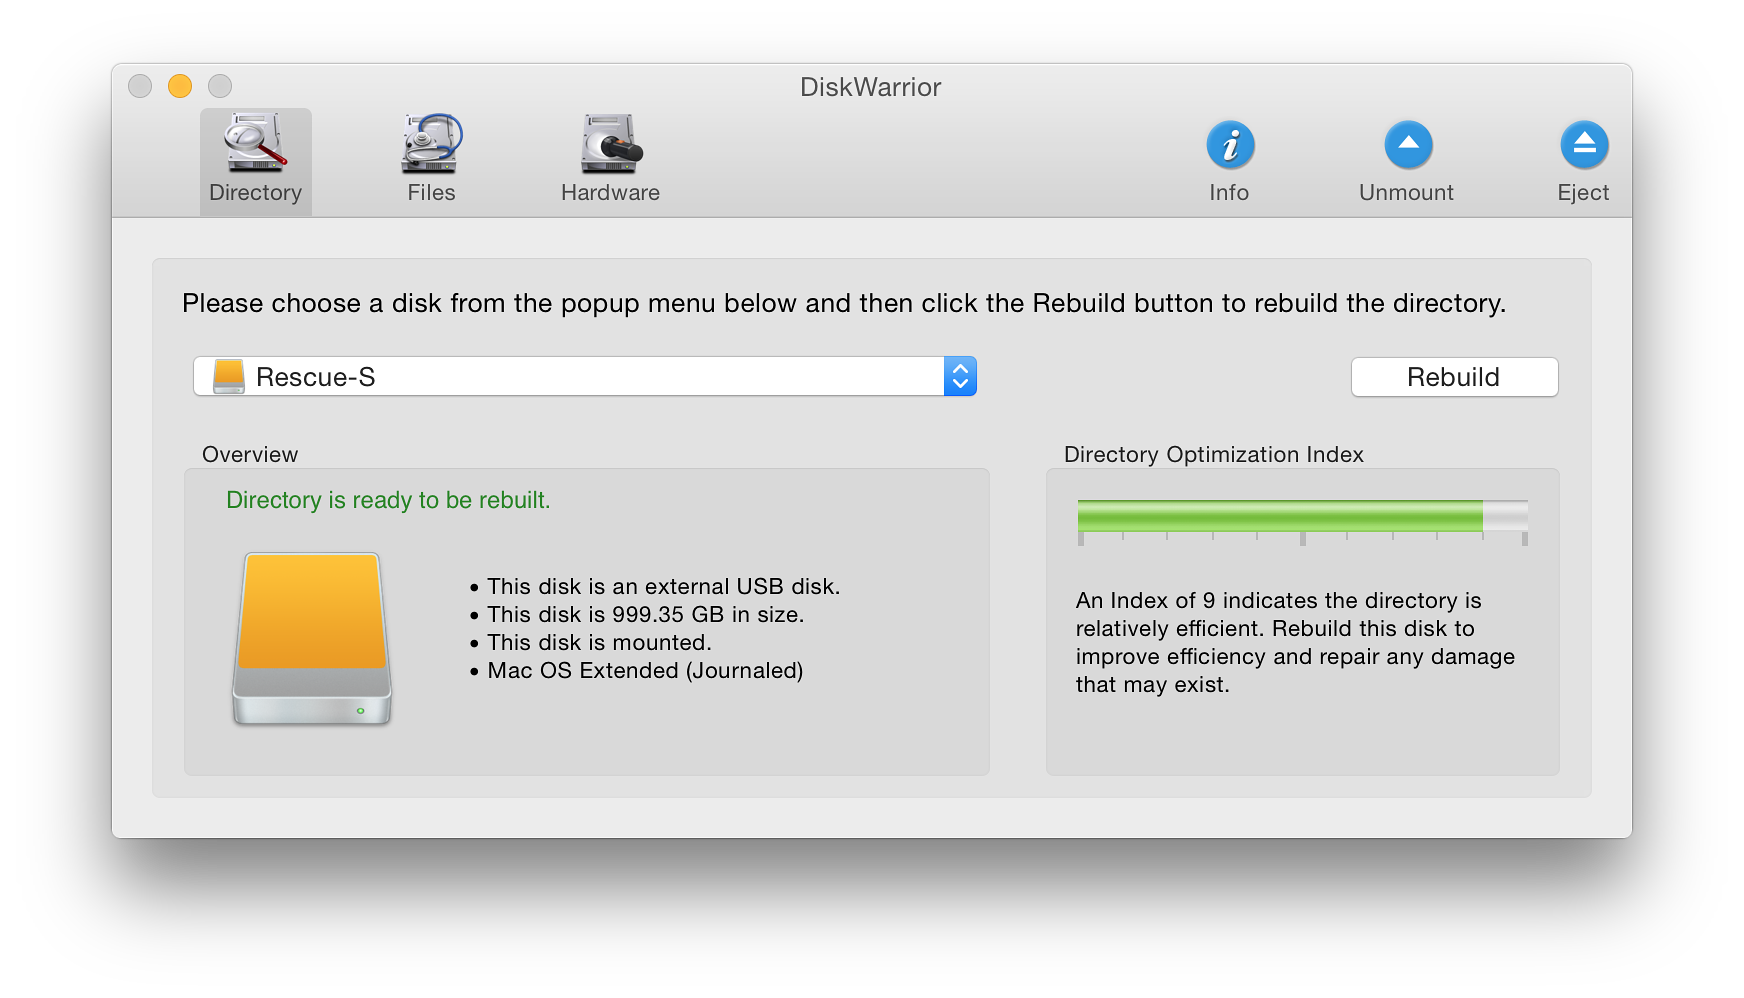
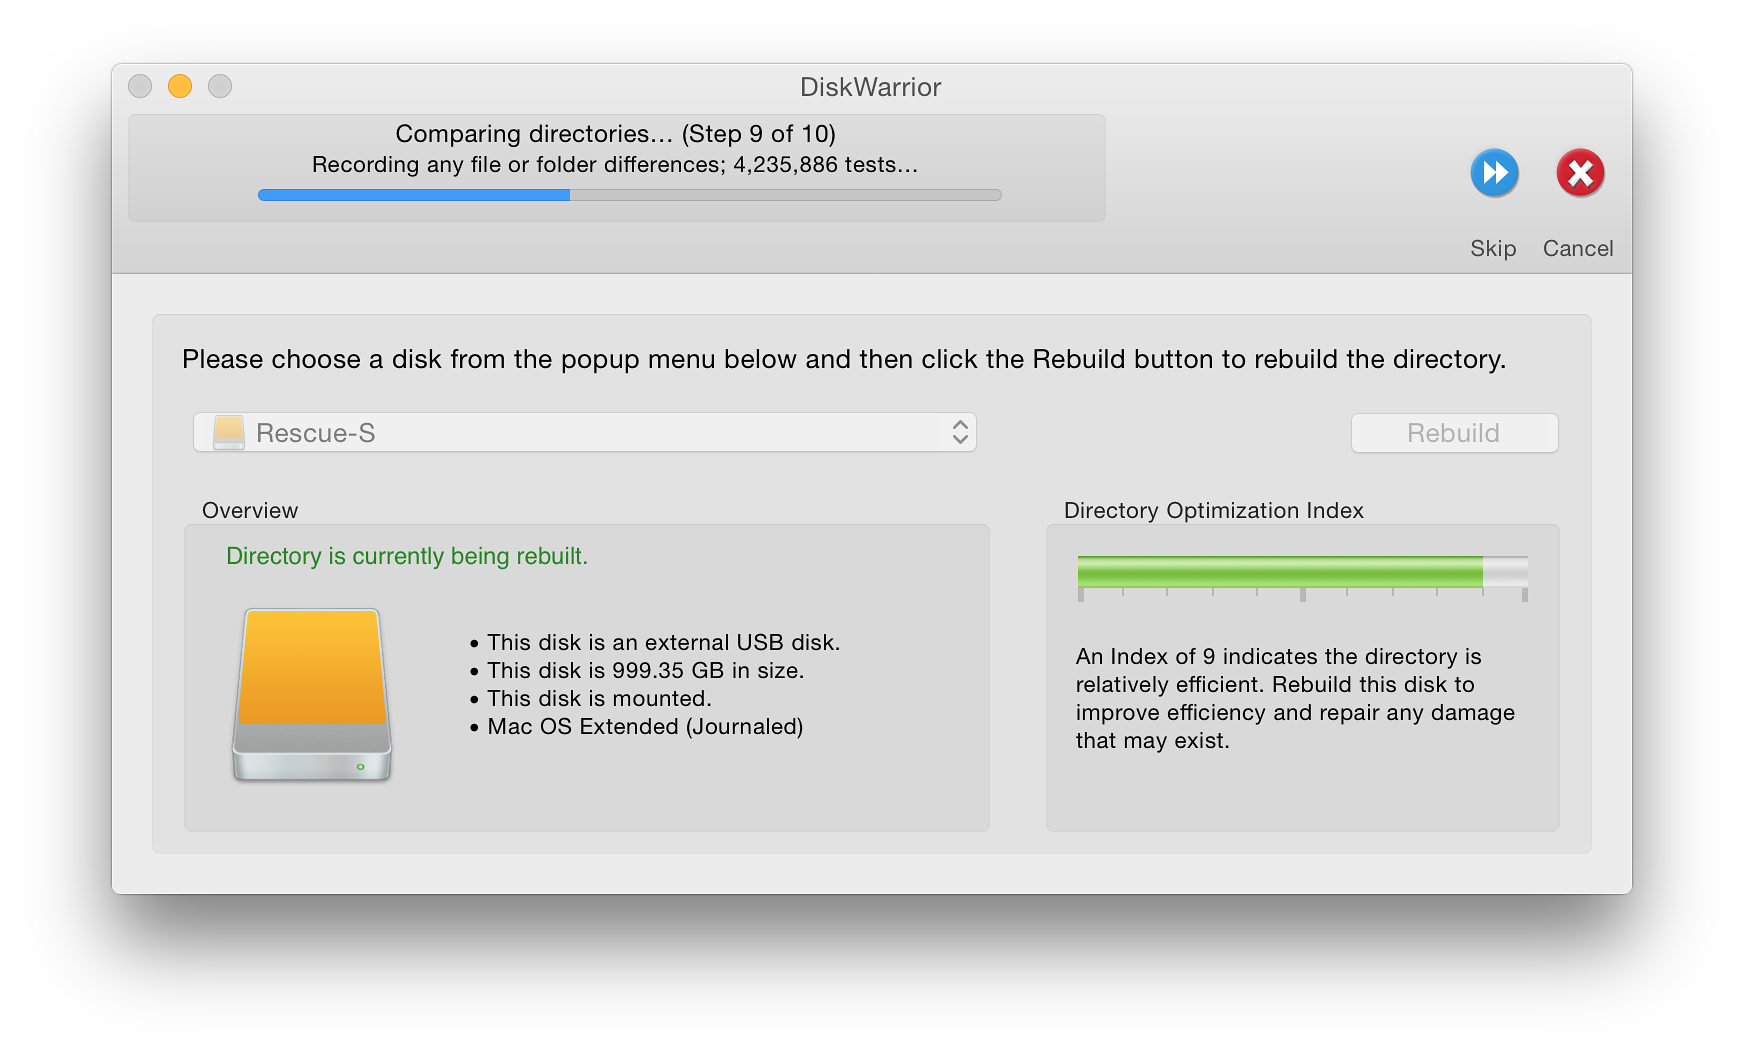
I ran the Rebuild process and, perhaps with the low amount of use the disk has, the time for checking and creating a replacement directory was less than 5 minutes. A report was displayed showing that a couple of minor directory repairs had been made. I pressed the button to Replace the disk: all done quite quickly.
While the disk was connected, I decided to update the version of DiskWarrior there too, but was first prompted to quit the DiskWarrior application. As before, I deleted the old version, emptied the Trash and ran the installer. As with the main disk, I was prompted for the Admin password. Once this was done I was again offered Applications on the main hard as the target, but navigated to the Applications folder on the external disk before clicking on Install. Without the need for the more complex update process for the flash drive needed for my late 2013 MacBook Pro, I was now equipped to make repairs and checks. That USB drive update was saved for the next afternoon.
See Also:
Graham K. Rogers teaches at the Faculty of Engineering, Mahidol University in Thailand where he is also Assistant Dean. He wrote in the Bangkok Post, Database supplement on IT subjects. For the last seven years of Database he wrote a column on Apple and Macs. He is now continuing that in the Bangkok Post supplement, Life. |
|

For further information, e-mail to
Back to
eXtensions
Back to
Home Page