|
By Graham K. Rogers

In macOS, Sierra, some System Preferences panels have seen changes. iCloud arrived in an update to OS X 10.7 at the same time iOS 5 was released. We are now using iOS 10. As more features have been added to iCloud, so the panel has evolved, although it retains the same basic design.
As part of the setup process for a new Mac includes registration for (or logging in to) an iCloud account, most users will see the normal preferences panel which helps with the services to be used. For a new account, or a computer which skipped the iCloud setup, there is a sign up when the iCloud preferences panel is accessed for the first time.
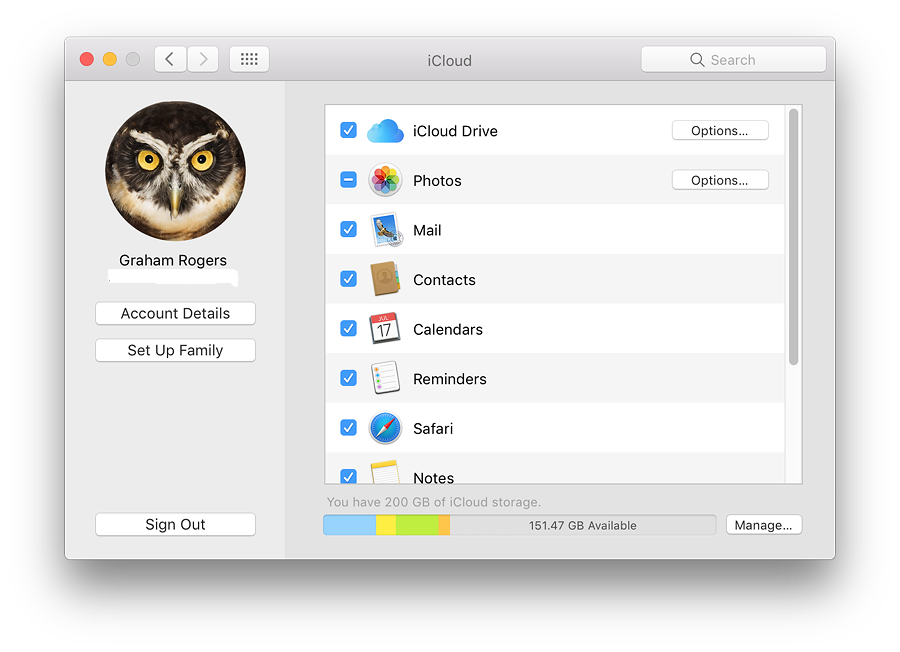
When the user has already signed in - and remains signed in (see below) - the normal panel is in two distinct parts: account information to the left with services in a larger window to the right. The left part is now dominated by the user's picture or icon. This is independent of the user account image and may be edited from within this panel. Beneath that is the user name and below that the account name (email) in grey. Two buttons are available immediately below the name: Account Details; and Set Up Family.
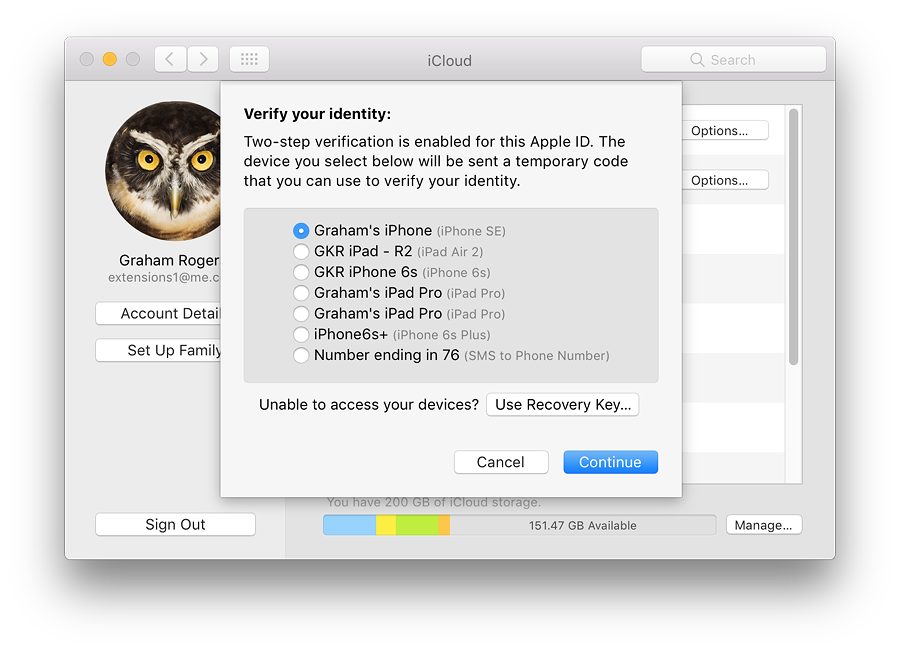
Pressing the Account Details button brings up a small panel that allows access to information once the password is entered. If two-step verification is used (set up on a browser page in the iCloud account) the user will need to enter a code. If a number of devices are authorised, make sure that the correct one for the current situation is selected in the panel that opens. Note also the the Recovery Key, generated when the two-step verification is set up. This is an identifying code that cannot be recreated or recovered if lost. I have written this on paper and locked it away in a secure place.
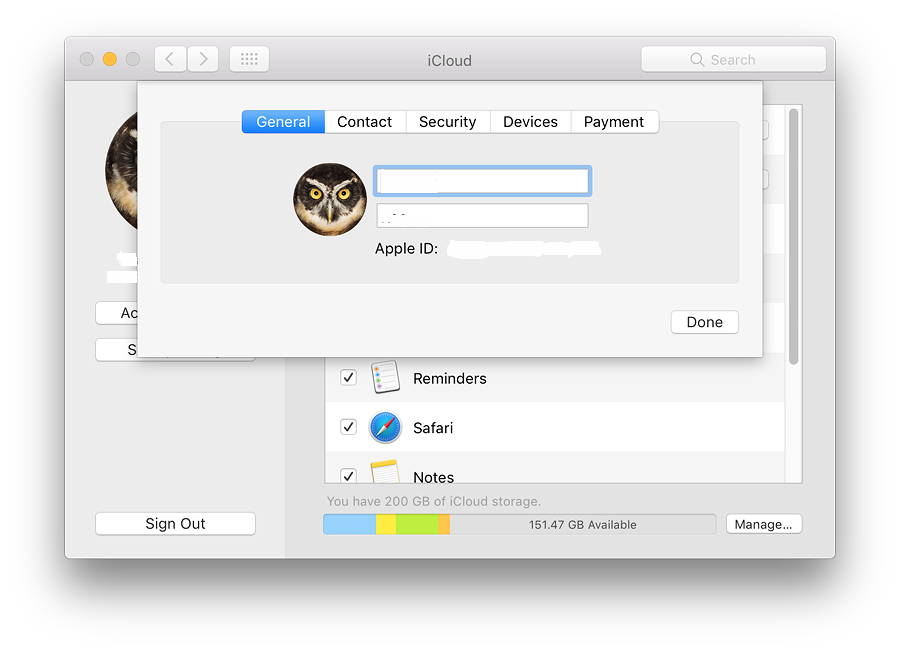
Information about the account is displayed on a panel with four tabs that allow the user to manage aspects of the account: General, Contact, Security and Payment.
The newer two-factor verification will need two-step verification turned off before it can be set up. While I have been using two-step verification for a while, I have not yet tried two-factor authorisation. Nonetheless, two useful articles are shown here that will outline the lengthy steps involved. Much patience is needed.
- How to protect your Apple ID with Two-Factor Authentication (Christian Zibreg, iDownloadBlog)
-
Unlocking a Mac with an Apple Watch requires two-factor, not two-step, iCloud protection - what? (Glenn Fleishman, MacWorld)
Set Up Family allows the use of the new feature of Family Sharing: purchases of movies, apps, music and books; photos and videos in a family photo stream; events via a family calendar; location sharing; finding family devices. A button marked, Details, opens a web page with more information.
A Continue button allows the head of family to start setting up this service.

Sign Out will return the preferences to an information pane that is only usually seen when starting a new account (above): setting up OS X from new includes the iCloud registration process. Before a user is able to sign out, a warning panel appears. Logging out will delete the information from the Mac and limit other services (see below).
The main panel shows the services that are currently available for users. These are shown in a list of icons and names. The order is not alphabetical on my computer and starts with the new iCloud Drive. Other services I have available are: Photos, Mail, Contacts, Calendars, Reminders, Safari, Notes, Keychain, Back to My Mac, and Find My Mac. To the left of each is a checkbox indicating whether it is currently active or not (see below).
In my installation, iCloud, Keychain and Photos also have Options buttons alongside. The iPhotos options button opens a panel that turns On (or Off) iCloud Photos options, which may also be seen in the Preferences panel of Photos. The Keychain Options panel allows users to enter a phone number that can be used for security purposes (like 2-step verification). Other important features here include,
- iCloud Drive allows a number of applications services to be activated using an Options button that reveals a two-part panel:
- Documents, which shows applications that are also able to use iCloud Drive. My installation shows Automator, Preview, QuickTime Player, Script Editor, Terminal, TextEdit, Messages, iMovie, Keynote, Pages and Mail. Any third party applications that can use iCloud Drive will be shown here as well.
This also now includes the Desktop and Documents folders, which can be set up when Sierra is first installed (or later in iCloud). This allows synchronisation of these folders across all devices. Users with more than one Mac may want to exercise some caution. Early comments from Adam C. Engst (TidBits) and Jason Snell (6 Colors) are worth considering, along with the problems found by Josh Marshall (Talking Points Memo).
In my case, this is working really well with the MacBook Pro, but I have not turned on this function for other Macs and rely on the single computer. I am able to access the synchronised files on the other Macs and on iOS devices by accessing the iCloud Drive folder on a Mac or the iCloud Drive app on an ioS device.
- Look Me Up By Email - a panel that shows apps that allow others to look up the user's Apple ID - first and last names will be seen. At the time of writing, no apps were listed.
- Back to My Mac has been a feature available on Macs for several years. It allows a user to control a Mac remotely. I wrote about this in 2008 in an item on Screen Sharing in the Sharing Preferences.
An Apple Knowledge Base Document, PH2572 (referring to OS X 10.7.2), has more details about the service in iCloud, but there are two main parts: Browse your remote Mac computer's hard drive, and drag files and folders to your local Mac; and Control your remote Mac just as if you were sitting in front of it.
- Find my Mac has been available for a couple of years. Earlier, this had to be turned on from within the Admin account. Since 10.8, I have been able to activate this from within the user account.
Below the main panel is a bar that shows the amount of iCloud storage currently in use. In the Finder sidebar there is now an iCloud item that opens a window with a number of folders, each related to apps using the feature. Apple provides 5 GB of storage for users, no matter how many devices are used. Additional storage is available and the price of this has now been reduced. Details are available on the Apple website -
- 5 GB - free
- 20 GB $0.99 per month
- 200 GB $2.99 per month (99 baht)
- 1 TB $9.99 per month (349 baht)
- 2 TB $19.99 per month (699 baht)
A button to the side of the capacity display is marked, Manage. This loads a two-part panel with apps to the left (both Apple and 3rd party) and basic details to the right when an app is highlighted. There is also an icon for Backups which shows the amount of data used by the iPad and iPhone. As well as Apple software like Keynote and Numbers, several iOS apps are shown.
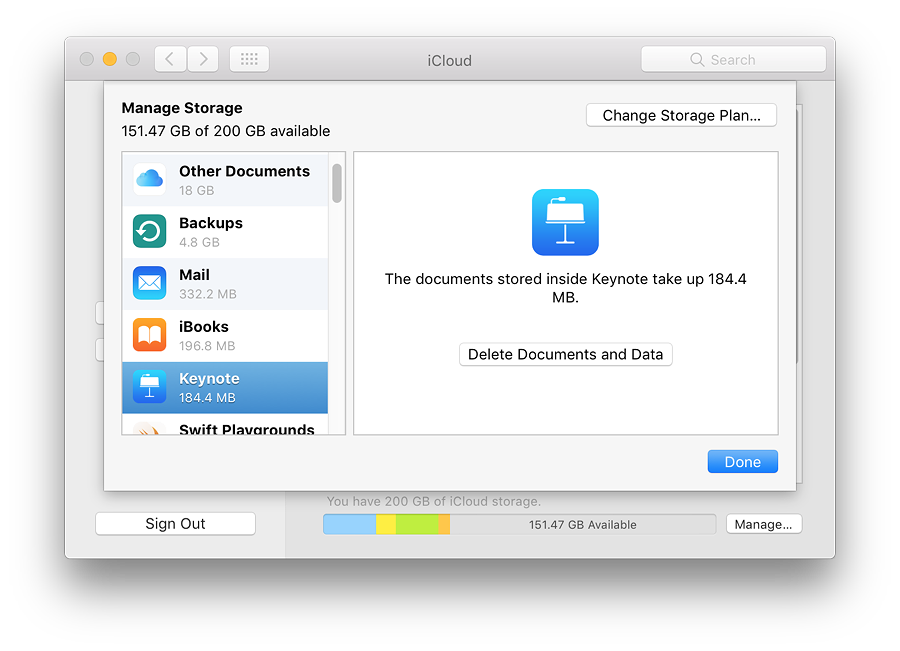
Information for the apps outlines the amount of storage being used, with an explanation of how to free up more data. Not all the applications listed have folders in iCloud Drive.
Each of the highlighted applications in the "Manage Storage" panel has a button marked, "Delete Documents & Data"
See Also:
Graham K. Rogers teaches at the Faculty of Engineering, Mahidol University in Thailand. He wrote in the Bangkok Post, Database supplement on IT subjects. For the last seven years of Database he wrote a column on Apple and Macs. He is now continuing that in the Bangkok Post supplement, Life. He can be followed on Twitter (@extensions_th)
|
|