Mother's Little Helpers (2): Application Switcher and the Apple Menu - Bangkok Post, Life (amended)

AMITIAE - Wednesday 16 April 2014
|
Mother's Little Helpers (2): Application Switcher and the Apple Menu - Bangkok Post, Life (amended) |
|
|
|
By Graham K. Rogers
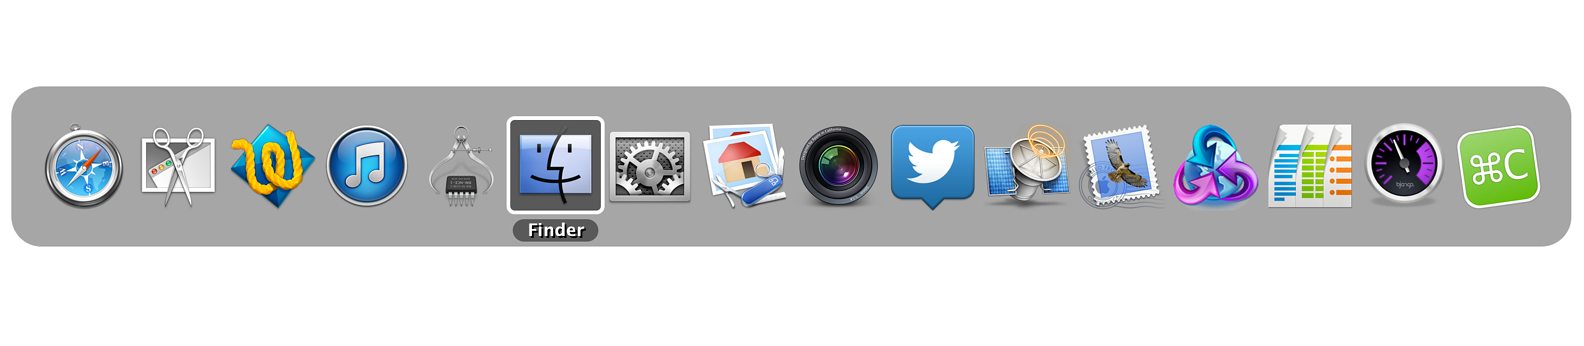
Application SwitcherThe Dock is fine for access to applications we use often, but it is not always easy to see those little dots under the icons. If a user wants to switch applications, using the Dock wastes time. A simple solution uses two keys: Command and Tab. Long-time Mac users tend to eschew menus for keystrokes which are much faster. For example, most computer users are familiar with Cut, Copy and Paste commands: much faster than wading through menus.Either side of the spacebar is a Command key. Pressing this and the Tab key brings up a panel with all active applications shown. Icons, such as the one for Mail, also show unread items in a red circle. Pressing the Tab key again and again (with Command still pressed), moves the guide along the line, so a user can move quickly to another application. Pressing Shift, reverses the direction of the selector. When the panel is displayed Left and Right arrows can also be used.
The Apple MenuAt the top left of the screen in OS X is an Apple icon. The Apple menu used to be blue. Now it is black with the bottom half grey. Clicking on that icon in the menubar, reveals a menu with several useful features including Software Update and controls for Sleep, Restart and Shut Down. There are now no key commands for these. On my Mac, this menu has 12 items.
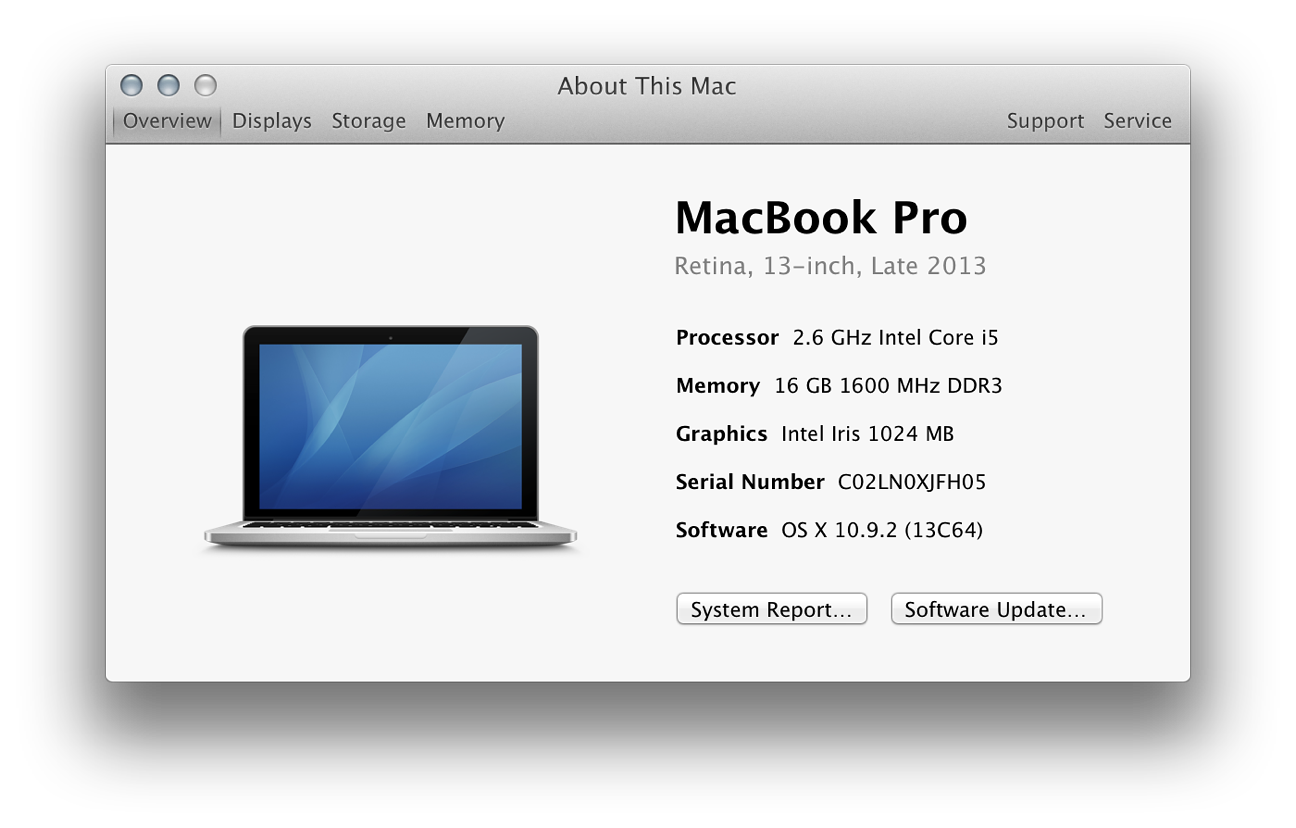
Put the cursor above the grey Version number and click. The display changes to show the build number, which may differ depending on the Mac being used. This could help with problem-diagnosis. Click a second time and the Serial Number of the computer is displayed. That will save you looking at the back (iMac) or the tiny print underneath (MacBook Pro). The serial number is also available via the More Info button.
Further down, above Sleep, Restart and Shut Down, is Force Quit. This opens a panel and can be used to close a recalcitrant application, when all else has failed. Applications that are not responding are listed in red. Force Quit can also be done using Activity Monitor in the Applications > Utilities folder. If OS X is showing some slowness, I sometimes use Force Quit to restart the Finder.
Graham K. Rogers teaches at the Faculty of Engineering, Mahidol University in Thailand where he is also Assistant Dean. He wrote in the Bangkok Post, Database supplement on IT subjects. For the last seven years of Database he wrote a column on Apple and Macs. He is now continuing that in the Bangkok Post supplement, Life. |
|

For further information, e-mail to

|

|

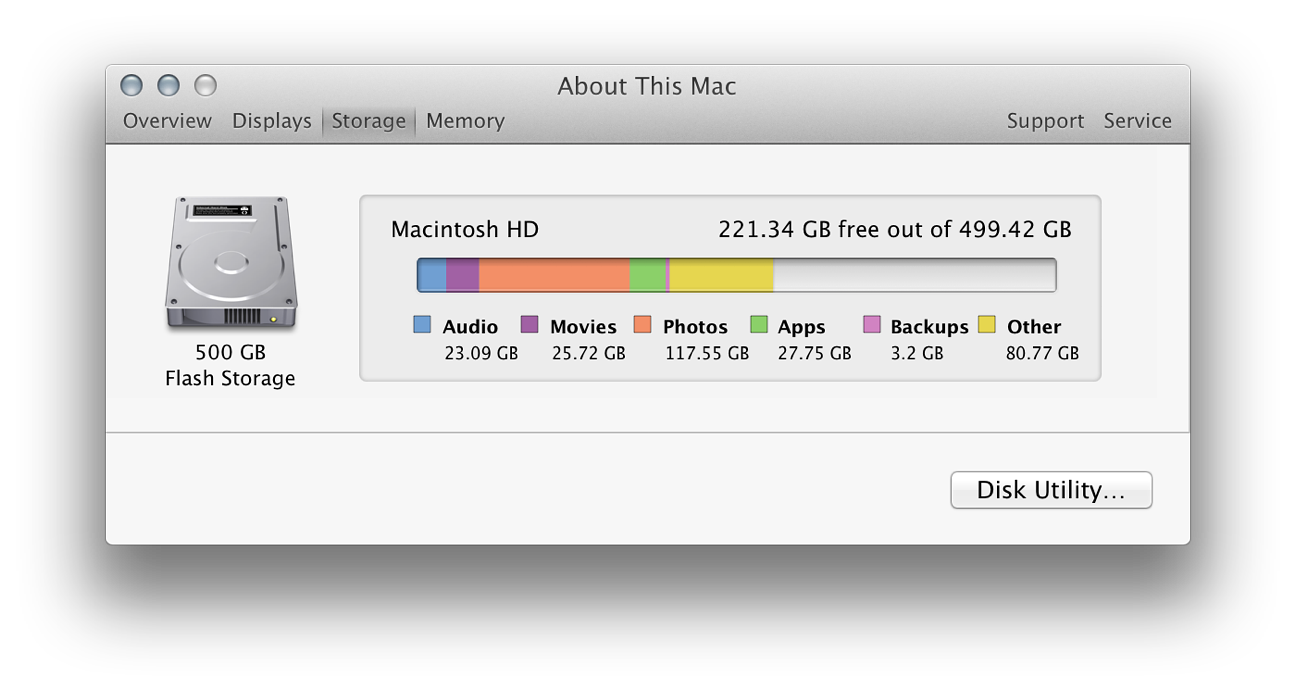
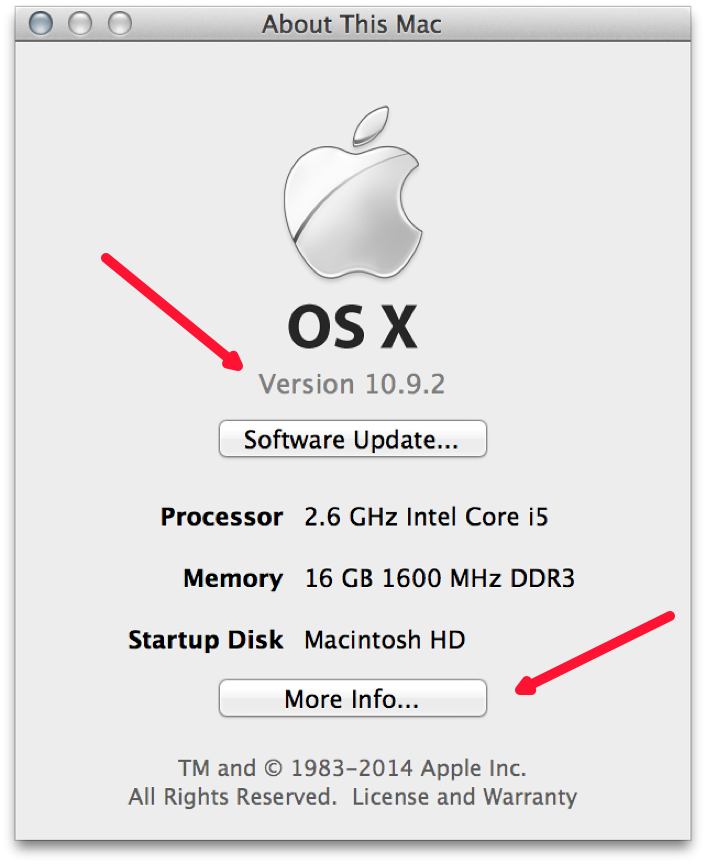 At the top is the deceptively simple, "About this Mac", which leads to a treasure-house of information. A small panel opens with a display of the OS X version, a button with another way to Software Update, basic data about the computer, and a "More Info..." button.