System Preferences in OS X 10.8, Mountain Lion: Users & Groups

AMITIAE - Sunday 9 September 2012
|
System Preferences in OS X 10.8, Mountain Lion: Users & Groups |
|
|
|
By Graham K. Rogers
Some changes to System Preferences with the latest version of OS X 10.8, Mountain Lion are obvious, with others less so. Users & Groups preferences remains almost the same as in the previous version of OS X, with some minor text changes the only initial sign of any differences.
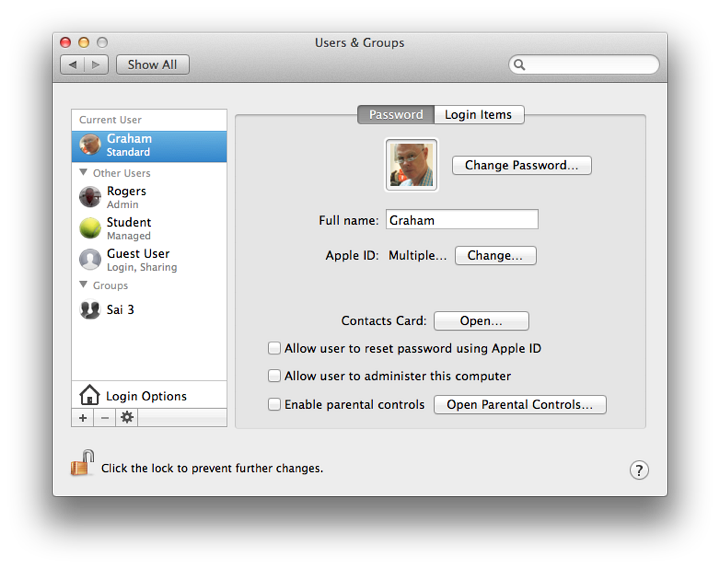
IntroductionWhen a user opens the Users & Groups preference panel, there are certain similarities when compared to what was available in 10.7, Lion. The pane has two main sections. The left panel displays basic information of the user accounts. To the right is a panel containing information about the highlighted account with two buttons for additional account information: Password (the default account information; and Login Items. In addition, below the list of users (left panel) there is a further data entry access: Login Options.As with many of the other preferences panels a padlock icon in the bottom left restricts access and we must have an Admin username and password to open this. At the bottom of the left panel below the Login Options selector are plus (+) and minus (-) signs to add or delete accounts; and a gearwheel icon to access a single item: Set Master Password. This is an overarching password for FileVault which is turned on in Security & Privacy Preferences. It allows access to FileVault if a user has lost or forgotten the password. If the Master Password is forgotten, however, all data encrypted by FileVault will be inaccessible.
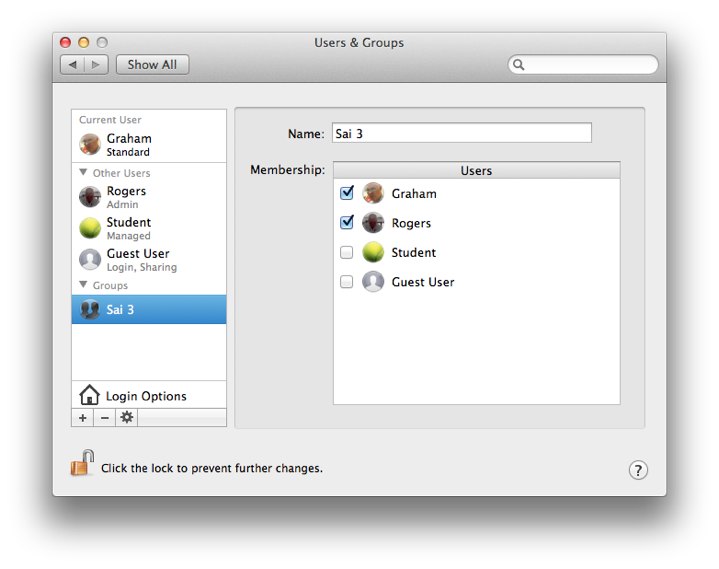
Users (1)By default, if there is a single user account in OS X that will have Administrator privileges. Clicking on the Add icon (+) displays a panel with the type of account selected by a button and pull down menu. These are Administrator, Standard, Managed with Parental Controls or Sharing only. In that same menu, below a dividing line, is Group (see below).
A password is entered at this time and needs to be verified. To the right of this sub-panel is a small key icon, which brings up a utility that can help a user select a password from the simple to highly complex. A color bar indicates a security rating from red (poor) to green. Unfortunately some users try to use the Enter/Return key instead of a password. This is a dangerous way to try and avoid password use: a warning is given if this is used. I am aware that some users here, for whatever reason, ask the iStudio retail outlets to set up their computers. When this is done, the store will use the account name, Apple, and the Enter/Return key instead of a password. This was done when my iMac recently had a hard disk replaced, but I installed Mountain Lion immediately and set up two proper accounts, deleting the one named Apple when this was done. Many users do not change either of these, leaving their machines vulnerable.
At the bottom of the panel used to create the account is a Password hint panel. We can enter information to help us remember the password should it be forgotten. This information (which should be a hint and not the password itself) will appear in the main login screen after three failed attempts.
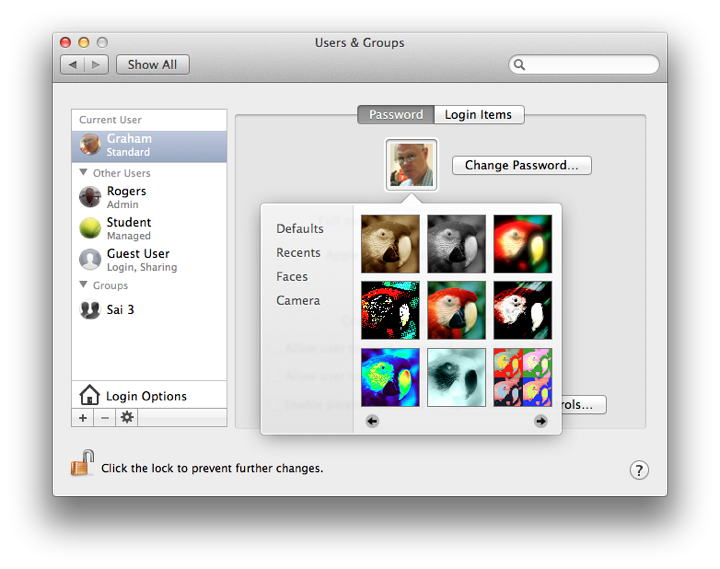
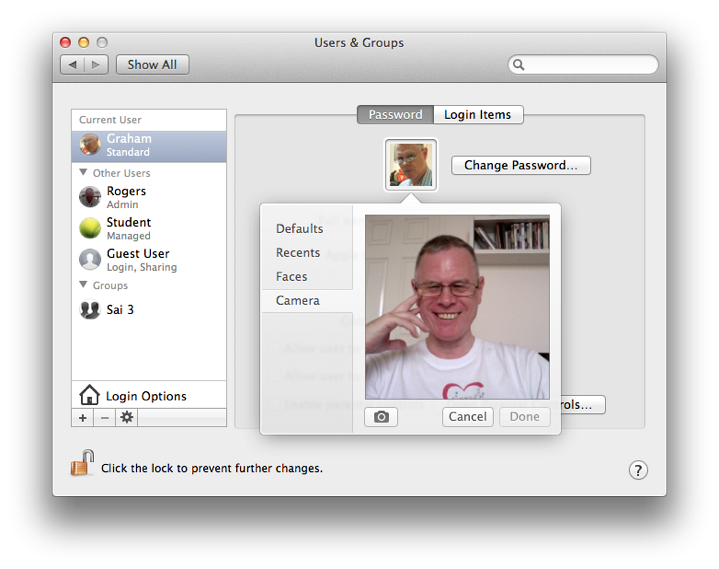
Users (2)To the right of the list of users is a panel with information about the current user (or a highlighted user when the padlock icon is open). At the top is the users icon - displayed in the list of users at login. When the cursor is passed over the picture, a small arrow appears (bottom right) and clicking that allows the selection of another image in a redesigned panel that appears.The panel for selection of an image or icon is now in four sections (listed to the left): Defaults, Recents, Faces and Camera. When any of the first three are selected, a panel appears with thumbnails of any suitable images shown. When one of these is selected as well as the Cancel and Done buttons, an edit icon (a pencil) is available. The Edit panel has a slider for adjustment of the size, and an icon will allow a user to apply an effect (from 46).
In Lion, version 10.7 of OS X, a button below was marked Address Book. This has now been changed to "Contacts Card". When pressed this opens at the user's card in the renamed Contacts application. This can be used for entering data in forms. Finally in the Password panel there are three checkboxes:
Login OptionsAt the bottom of the user panel there is a house icon marked Login Options. Clicking on this opens a panel for more fine-tuning of the account. At the top is the Automatic Login button. This is on by default (when the computer is new) and should be disabled (Off) for best security: users must enter passwords to access their accounts. It may be selected for specific accounts, so that when a computer is turned on, that account is always opened. This could be a useful strategy for preventing access to accounts with sensitive or private data and drawing others to a safe account: a honeypot.
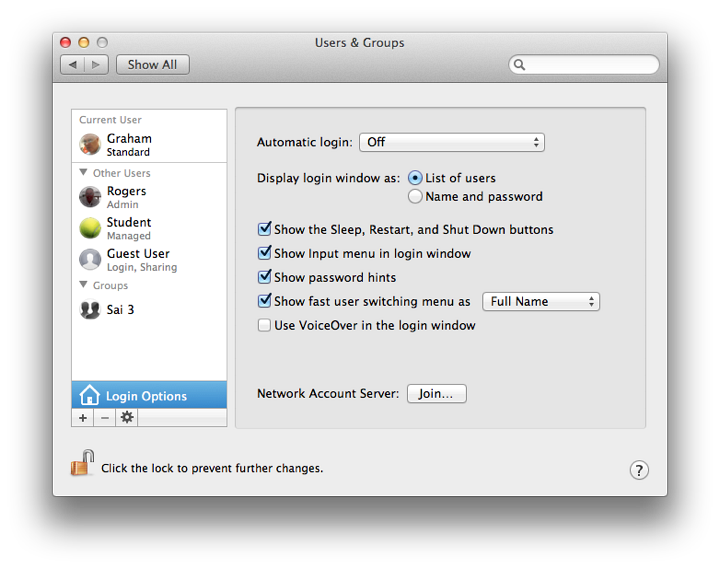
Below are five check boxes:
With fast user switching it is possible to switch between accounts without logging out or closing applications each time. A menu to effect the switch to another account is on the menu bar.
A button to the left of this panel opens Directory Utility, revealing panels with Services, Search Policy and a Directory Editor. Users should be careful of adding, altering or deleting any information in Directory Services unless they are fully aware of what they are doing. It is suggested that this is only used under the guidance of a System Administrator. Also see Notes, below.
Login ItemsThe Login Items section displays a panel with a list of those items that a user requires to be available at startup (see Notes, below). The list is in three sections: a checkbox to allow the application to be hidden; the name of the application; and the type (usually, Application).Below are the + and - icons. Pressing + brings up a Finder window and we may select an application or file (e.g. mp3) to open at startup. The - icon will delete a highlighted item.
Notes
Graham K. Rogers teaches at the Faculty of Engineering, Mahidol University in Thailand. He wrote in the Bangkok Post, Database supplement on IT subjects. For the last seven years of Database he wrote a column on Apple and Macs. |
|

For further information, e-mail to

|

|

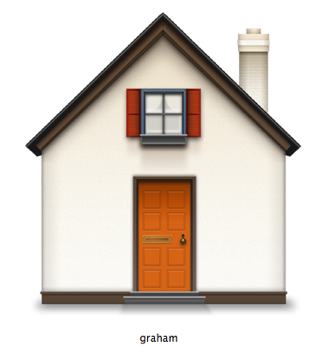 Text boxes are available for Full Name, Account name, Password (Verify), and Password hint. The full name may be anything the user wants. The Account name was formerly called the Short name. It is critical that, once entered and the account created, that this is not changed: this affects the behavior of the Home directory and any related functions, including access to data. This is the name the system will use. It will appear as the name beside the Home icon.