iPhoto for iOS: A Curate's Egg (excellent in parts)

AMITIAE - Friday 9 March 2012
|
iPhoto for iOS: A Curate's Egg (excellent in parts) |
|
|
|
By Graham K. Rogers
Unlike the recently released Adobe Photoshop touch, iPhoto can be installed on the iPhone (and iPod touch) as well as the iPad. This may have been ambitious as the slight differences that the smaller screen impose add some unwelcome limitations. Owing to my own scheduling on the day the app arrived, I ran it first on the iPhone. I was not able to try it on the iPad until the following day.
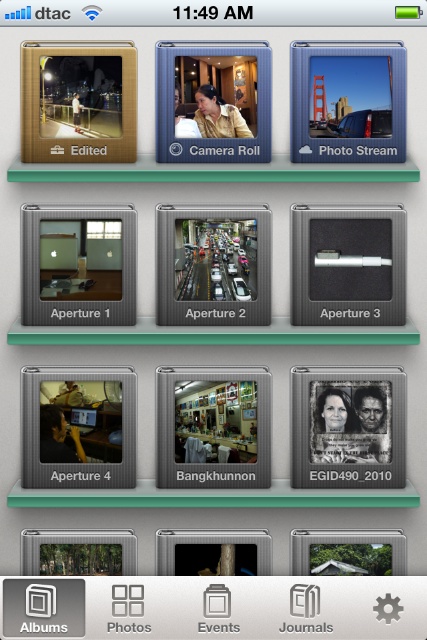
Installation on the iPhoneApple really does work hard at times on interfacing and iPhoto on the iPhone gave me one of those, "Wow" moments when the app first opened, followed by an almost instant deflation as a blue panel appeared telling me the library was being updated. Over the next few hours that panel became intrusive it appeared so often. This may be as I have Photo Stream activated so the Photo Album is seeking out any updates there.
We are familiar with the idea of organising photos in events as this has been a feature of iPhoto on the Mac for a while, however, the new item here, Journals, is like a carry over from the now-gone iWeb. It allows a user to make a web page on the go and upload to iCloud.
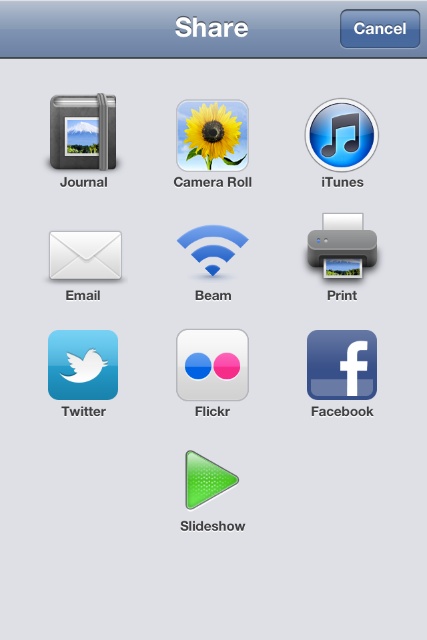
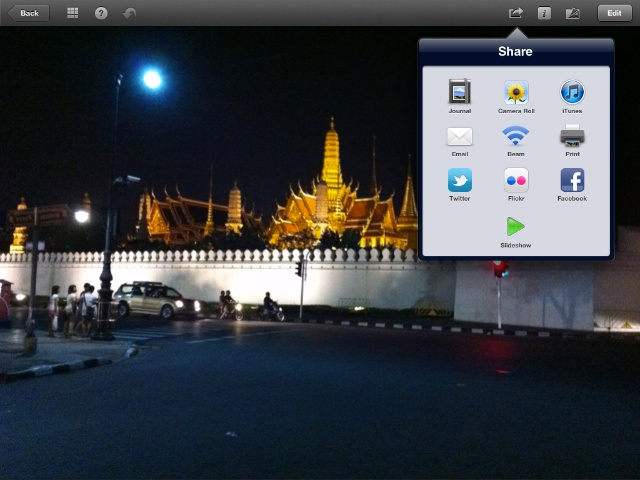
EditingPart of the purpose of an app like iPhoto is editing images. I found the interfacing here, mixed and confusing. We select a photograph either from Albums, Photos or Events. When the image is displayed, there are several tools at the top of the screen: Back, an icon like a grid which also allows the display of thumbnail images (at the bottom in portrait mode or to the left in landscape), an Export arrow, "i" for information, a greyed out sheets icon and an Edit button.The Export or Share icon brings up a panel with options for Journal, Camera Roll, iTunes, email, Beam (to any suitable iOS devices around), Print, Twitter, Flickr, Facebook or to a Slideshow. The Beam (and Print) access the wifi network. I could not make this work with a Bluetooth connection, which might be useful in some cases. Information displays metadata for the photograph which is useful for some. On the iPhone this is full screen, while it comes in a pull down panel on the iPad. There is also a Comments section here but the image must first be Shared to Facebook or Flickr.
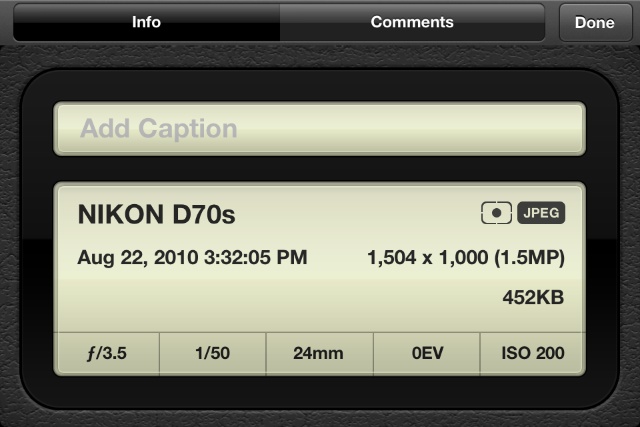
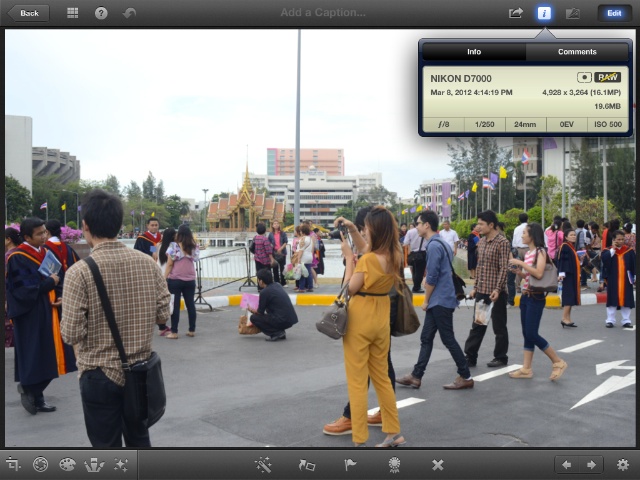
Info (image from the iPad)
Another difficulty was trying to understand what each tool would do without the benefit of seeing Phil Schiller's demonstration. Again, a learning period will improve this, but in the meantime I had a number of edited images with poor results. Editing is supposed to be non-destructive: the original is untouched, the edited version is saved in a an album for the purpose. However, this was not so in every case and I had to revert to an earlier version of one photograph and save that in the Camera Roll.
The toolbox has several tools for use in more detailed editing. From the left: a crop tool, which gave a rectangle round an image that was simple to drag to the desired size. This was intuitive and beautifully thought out. At the bottom of the screen was an arc with degrees (plus or minus) that allowed a rapid and accurate rotation. An options icon showed 6 preset sizes for images (e.g. 3 x 2, 16 x 9). The presets also showed a thumbnail preview of the image. A circle icon gave access to a slider setup for Exposure adjustment. There were two ways this could be used, which -- for the smallness of the device -- seemed an unnecessary complication. I am not sure if the secondary sliders were for blackpoint or recovery (or neither). There is no indication. The same is so for this tool on the iPad. A pallet icon indicates colours. This reveals four small panels in landscape mode: saturation (which may also be adjusted by sliding a finger up the screen), and then what appear to be RGB or in this case, BGR (blue, green and red). I may be wrong as the icons on each of these were a rainbow for saturation, a blue cloud, a green leaf and then a person which may be more related to skin tones than red. The addition of the extra screen slider was unnecessary. Using these controls in portrait mode was a little clearer. Tapping each of the separate rainbow or color icons displayed a panel with its own slider.
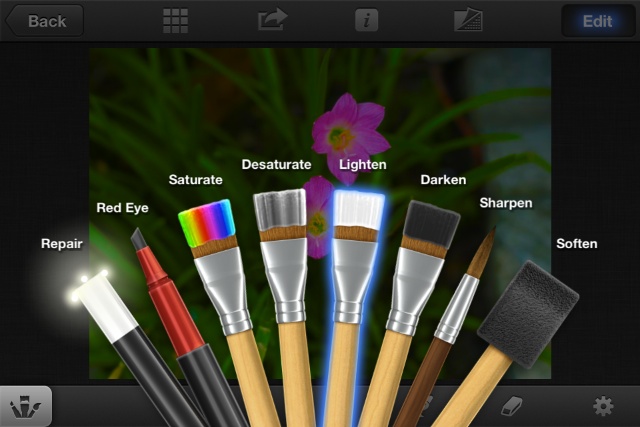
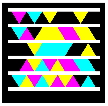
The last icon in the toolbox, gave me six sets of effects or filters that were displayed in a slide film-like fan. This is just the sort of thing that Apple does so well. Pressing any of the strips, displayed it at the bottom of the screen, allowing the filter to be touched and the effect applied. The options allowed Lift and Stamp to be used.
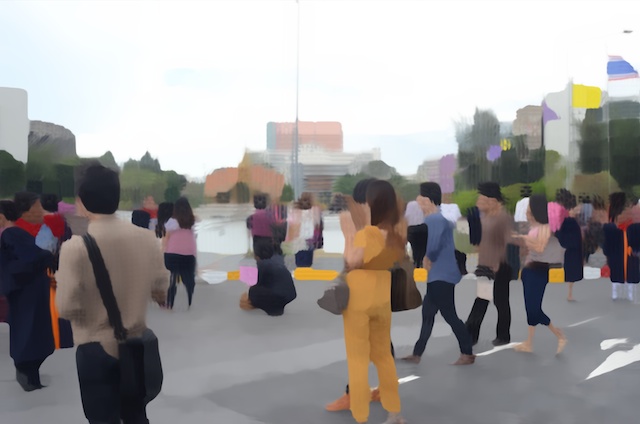
Applied Effect (image from the iPad)
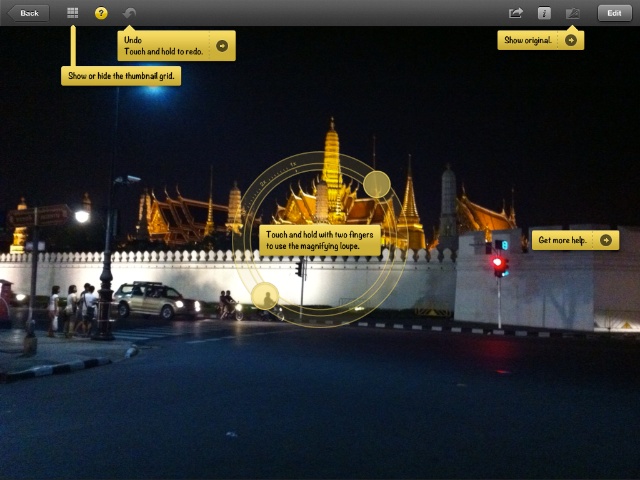
Installation on the iPadThe size of the screen on the iPad does make a difference. It is easier to work with an image and the tools are better spaced although because of this, there is no Toolbox: the tool icons are already on the screen. There is also an Undo arrow available when editing.
Along with these are two loupe tools, that adjust white balance depending on what is within the magnified section. The way changes are applied with this part of the White Balance tool are instant: highly useful and one of the better-made parts of this app for me. The same loupes are available on the iPhone accessed via the Options icon to the right of the bottom toolbar when using the colour tool.
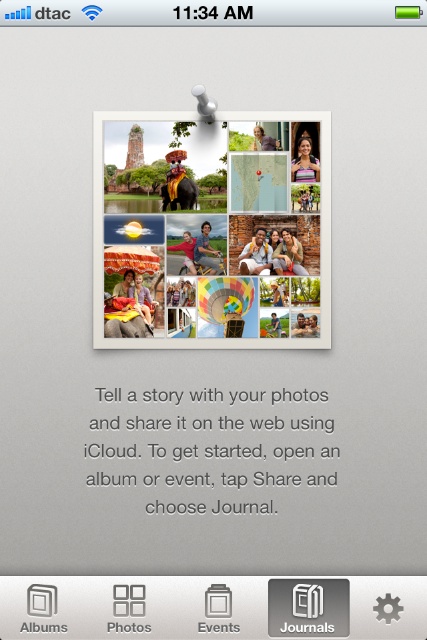
JournalsSelecting a series of images on the iPhone (by tapping and holding for a second), or an event, then pressing the Export icon gives several options including Journal (see Editing, above). When that icon is used, a user is prompted to enter a title for the journal entry, and select a themes from 5 available. When done, a page appears with the selected images. From the navigation icons at the top of the screen, there might be several pages, so more photographs than the 5 that I selected as a test could be used. It is possible to add more images at a later stage, using the same process: adding to the existing journal rather than "new".The Journal export icon gave me 3 options: iCloud, Slideshow, or iTunes. With the latter, there is some processing, but I have no idea where it was stored. I thought that perhaps it was to be transferred to the Mac in a later synchronisation, but still nothing obvious has appeared. Publishing to iCloud needs an account for that service. All I had to do was press the ON button in a panel and the upload was done. A button allowed me to tell a friend or view in the browser from where I could send the URL or save it as a bookmark. This was far easier than the earlier iWeb application on the Mac and indicates the degree of integration that Apple is brining in with iCloud and its tools. The uploading from the iPhone was seamless, and the end result online quite pleasing when accessed via an email that has a button with the page title displayed. Sending that to a friend will make a good impression.
CommentsI had most difficulties using iPhoto for iOS with the interfacing. Other annoyances came from the lack of information about what each tool or icon would allow and, particularly on the iPhone, the uneven way in which any editing could be applied or removed. I was also unsure why some edited photographs would change the original while others would not, needing me to save an extra copy when I had been running through some changes.The interface is the best and the worst of the app. While it shows Apple's often careful attention to detail, it looked as if a number of teams had been working on the separate parts and only made the app a whole product at the beginning of the week. My students do this with senior year projects and wonder why they don't work properly first time all the parts are connected. The app has some interesting, useful and also some stunningly attractive sections, but as a whole it fails to please in its current form. Like The Curate's Egg, it is excellent, but only in parts.
Graham K. Rogers teaches at the Faculty of Engineering, Mahidol University in Thailand. He wrote in the Bangkok Post, Database supplement on IT subjects. For the last seven years of Database he wrote a column on Apple and Macs. |
|

For further information, e-mail to
|

|