
With the latest iPhoto the editing window now opens via an Edit icon beneath the Events or Photos windows. As before the image opens in a window with a strip-panel above showing other images: we can see what is next.
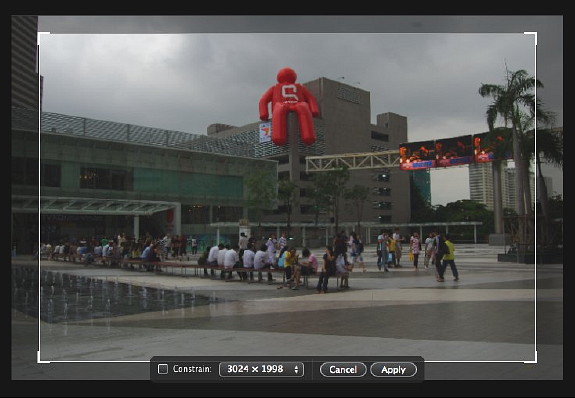
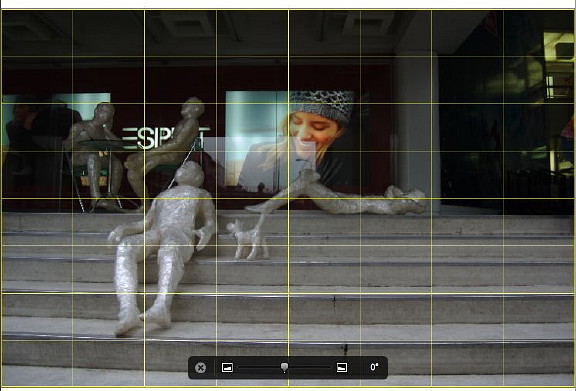
Several tools are available. The Rotate button direction is set in Preferences, but it may be changed by pressing the Option button. Crop has been significantly altered. Pressing the icon reveals an adjustable area round the image. As with other functions, we press an Accept button when done. One of these tools is the Straighten button. A grid laid over the image guides us when using this. Its slide controls make the finest adjustments easy.
Enhance is a tool intended to make an instant improvement with one click. Red eye, adjacent, has either Automatic or Manual settings, with the latter allowing the diameter of the cursor to be adjusted.
 Retouch also has an adjustable cursor. Initially, when dragging this over a blemish, the area is totally white (which may cause some concern), but this disappears and the area is filled in with the correct colour. If an error is made the process can easily be reversed.
As before, there is a panel of eight effects (such as "Sepia") to make overall changes to an image.
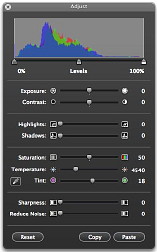
The final panel, Adjust, is where most changes have been made. Exposure is now at the top along with Contrast (there is no brightness). Below are two new controls: Highlights and Shadows.
Significant changes to image light effects can be made. Saturation, Temperature and Tint are retained. Sharpness is coupled with a new control: Reduce Noise.
There are a number of changes to image exporting. Simply clicking Print brings up a new dialogue which allows several types of printing from the single page to a contact sheet; it also allows selection of different borders. Clicking on any of these gives an instant preview of the images. It offers a small choice of paper sizes, but should we want something like A3, the dimensions would need entering.
Export itself has many more ways to produce images for further use. As before Quicktime creates slideshows from a selection. The web page now includes a small frame round a thumbnail image plus a neat menubar above each of the main images. This export produces a main html file and four folders: images, pages, resources and thumbnails. The new resources folder contains the artifacts for the web pages, such as those tidy menubars.
Photographs may be exported in different file types (Original, TIFF, JPG), at different qualities (maximum, high, medium and low) and at different sizes. It is also a simple task to create a file name and then have several images exported sequentially, or use other data entered into iPhoto (album, title, filename).
Clicking on the Book icon, now gives a choice of book type: hardcover, softcover or wirebound softcover. With the softcover books there are also a number of sizes listed. The panel also allows selection from up to thirteen styles. In Thailand it is not possible to order the book online, but a printing service, Hi-Res behind the Emporium in Sukhumvit Road 24 has the facilities for an equivalent service if one takes along a PDF of the book.
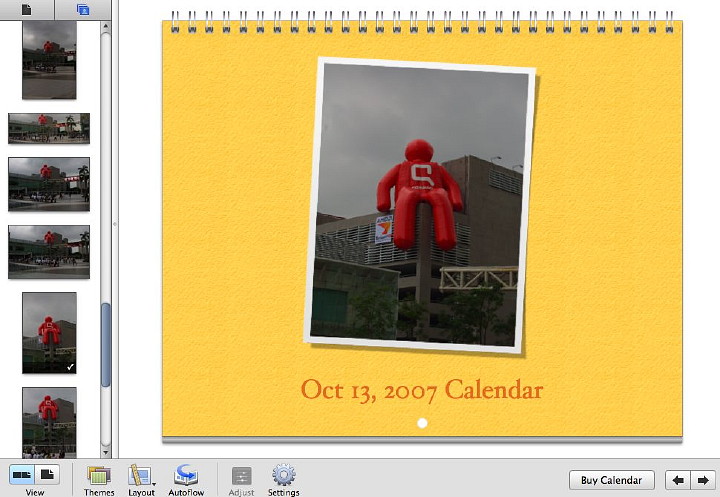
The Calendar export also allows selection from a number of styles for a small calendar. With a bit of cut and paste it is possible to produce a larger version (e.g A3), but it would be useful if Apple would increase the templates to allow this in iPhoto.
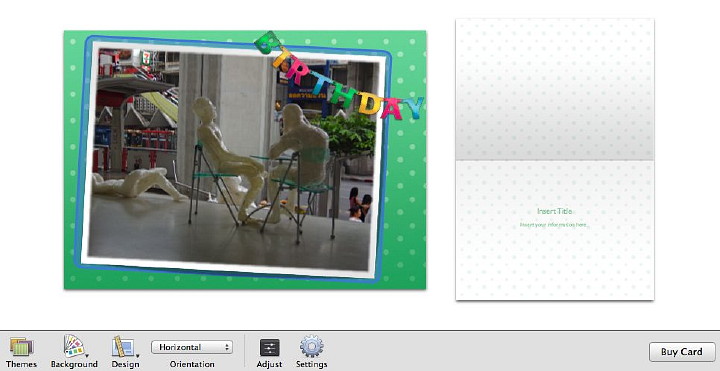
Similarly, the card is created from one of 56 templates (either portrait or landscape) and in the absence of an online print service, a PDF taken to a print shop such as the one in Siam Discovery Centre will produce a fine card.
Of the remaining icons, print is a shortcut to the menu item (above), while Mail exports images directly to the user's email application with a number of image sizes available. One needs to be careful if working in Events not to send all images. Open a panel and select those images needed.
Using the Web Gallery icon will send selected images to a .Mac account and display them there. Using this service allows friends to view the images in their own version of iPhoto. The final icon, iWeb, links directly to that new part of iLife and exports images for assembly into a photo blog.
As with most aplications the preferences can be used to fine tune the operations of iPhoto, to change the behaviour and allow certain additional functions, such as sharing on a network or handling of image types.
While not in the same class as Aperture or Adobe Lightroom, iPhoto allows excellent organisation of photographs and has increased its capacity to make effective improvements to images for users of digital cameras. In many cases it is all one would need.
See also, Part One of this look at iPhoto
|
