Cassandra - Medium Format and 35mm Negatives: Scanning with Canon, VueScan and the Mac
By Graham K. Rogers
I like working in the medium of film. It reduces the immediacy of digital photography. As with anyone taking photographs, I have my own workflow. Although I do not develop my own output, I like to scan the negatives as part of a process that ends with editing.
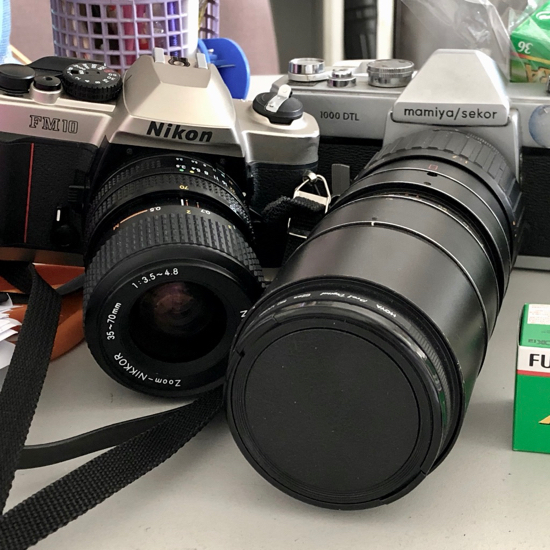
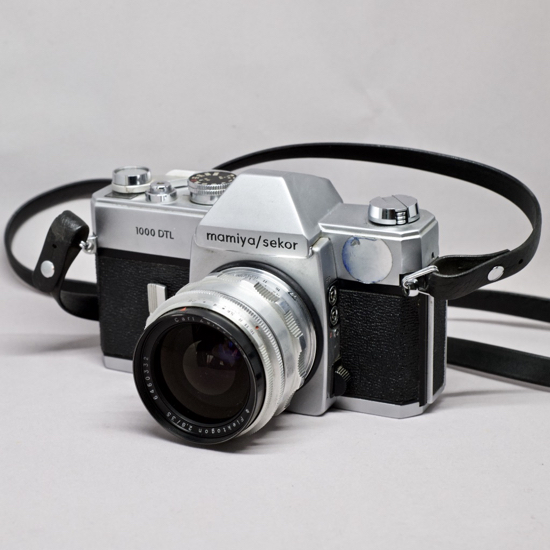
I have been using a medium format camera for about 4 years, but recently, with a growing interest in film, I added a couple of 35mm cameras to my small collection. The first was a slightly dented Mamiya/Sekor 1000 DTL that came with an unnamed (perhaps Minolta) 100-200 lens. I now have a 35mm Zeiss Flektagon lens for this. The other was a Nikon FM10. I bought this camera partly because it has the F-type lens mount and I can use some of the lenses I already have for my DSLR. The Mamiya was a pleasant surprise; the Nikon a disappointment: it was not the model I had hoped it was (do your homework before buying). A week after it arrived, I dropped it in a deep river: fate perhaps.
Nikon FM10 and Mamiya/Sekor 1000 DTL with Flektagon Lens (right)
I did manage to take one roll of film with the FM10 and picked that up last weekend from AirLab in Bangkok, along with two medium format rolls that had also been developed. With the arrival of the 35mm cameras I had not used medium format much recently so made an effort when giving the FM10 its first (and last) outing. Four rolls of film from the Mamiya which I had taken a week or so earlier had already been scanned using my Canon 9000F flatbed device. At the time I had to find the plastic film-holder which was still unopened in the box the scanner came in.
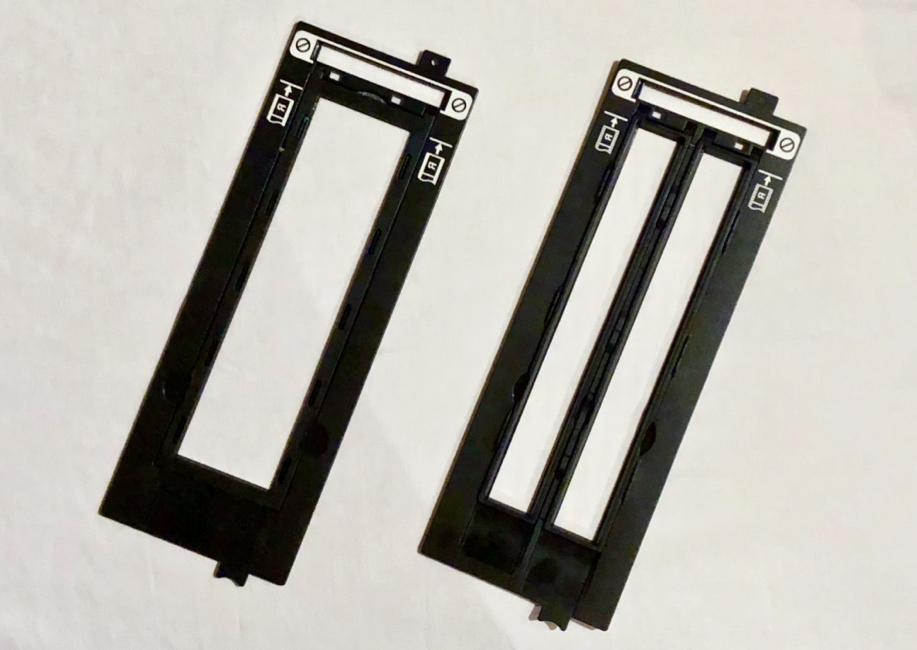
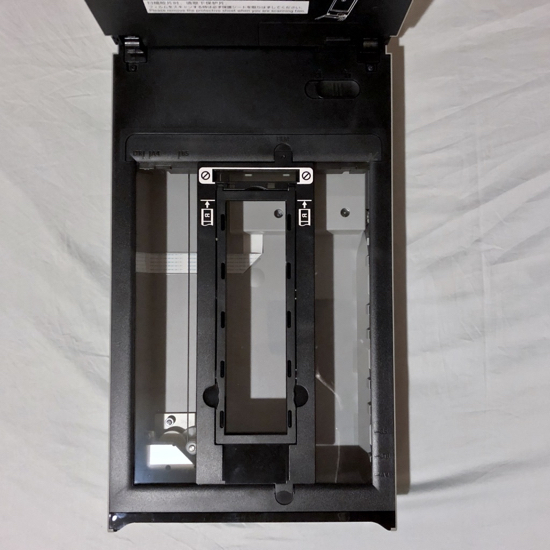
Film holders - Medium format (left) and 35mm
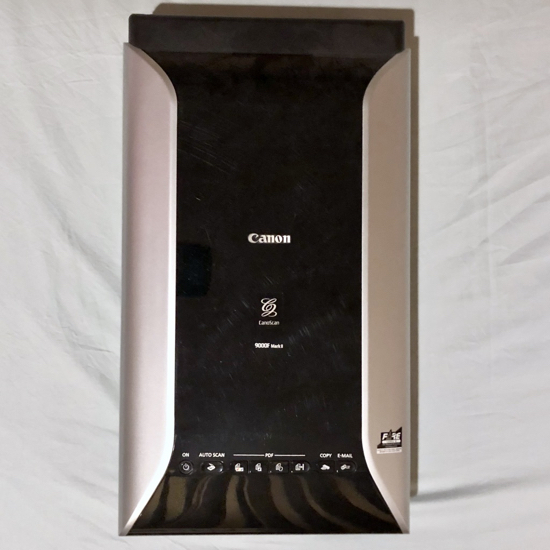
I had bought the scanner about 4 years ago (the first scans date from January 2015). Although Canon provided software on a disk, the Mac I was using then (and the current model) had no optical drive, so I would need to download any software. Instead I went for VueScan, from Mike Hamrick (also available for Windows and Linux). Initially it allowed me to run in a test mode, but after a few weeks, I was asked to pay and ended up with the full Pro version, which has all the features I would ever want from the scanner, and more. Despite all the updates from Apple, including the use of beta software, this has never missed a beat. The interface resembles pre-OS X software, but it is clear; and once set up operates perfectly, as does the Canon.
Canon 9000F MkII scanner
The scanner itself is fairly straightforward, featuring the normal options, most of which I do not use. It connects to the Mac via a USB Type B to USB Type A cable. Type A is the most easily recognizable connector and I would think everyone has at least one device (I am thinking of my mother here . . . bear with me) that uses this USB connector.
The most recent notebook Macs use USB-C ports so I use an adapter to link the cable to the Mac. Many have been derisive about the need for adapters (sneeringly referred to as "dongles"") when using USB-C, but I have always needed adapters (VGA, HDMI) and removed the reliance on adapters in many cases by the use of USB-C to Micro-USB cables. I have also been critical of retail outlets that have devices with Micro-USB ports and sell Macs, but never have these cables.
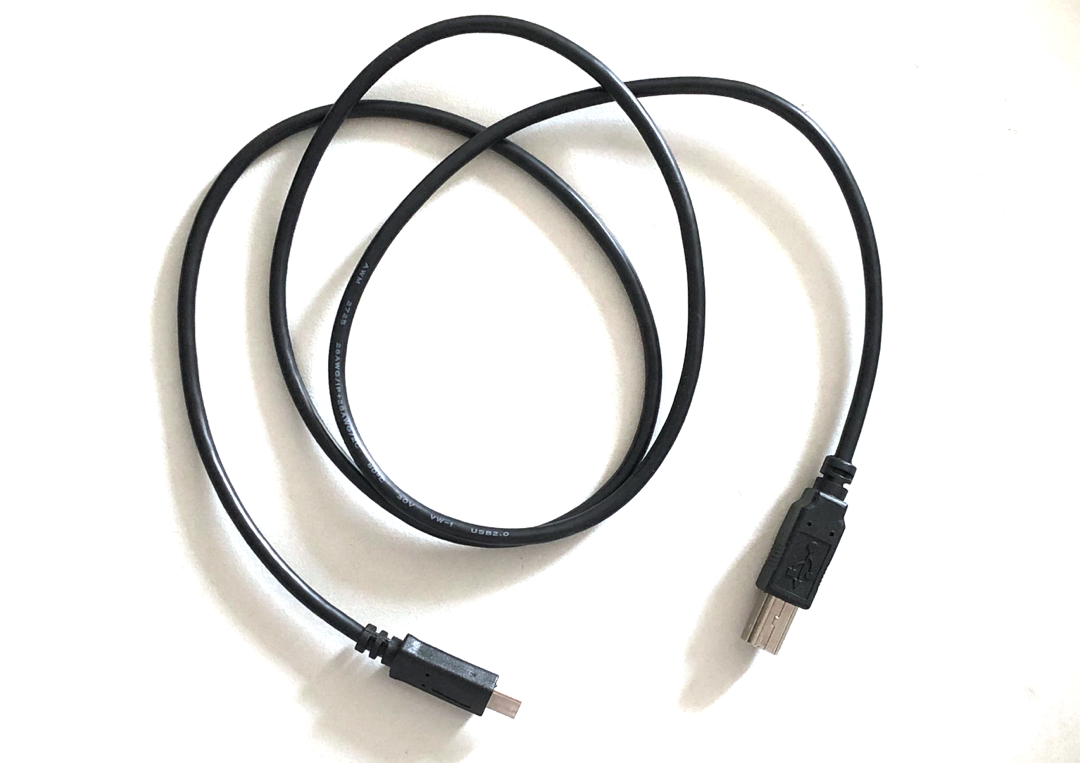
USB Type B to USB-C cable
I buy mine online from Lazada and Amazon. I have now found from the Belkin USB-C information page that there is also a USB Type B to USB-C cable. Although it is mentioned by Belkin and sold in the USA, the Belkin version does not appear to be available here. I ordered one from another manufacturer (via Lazada), and this arrived today.
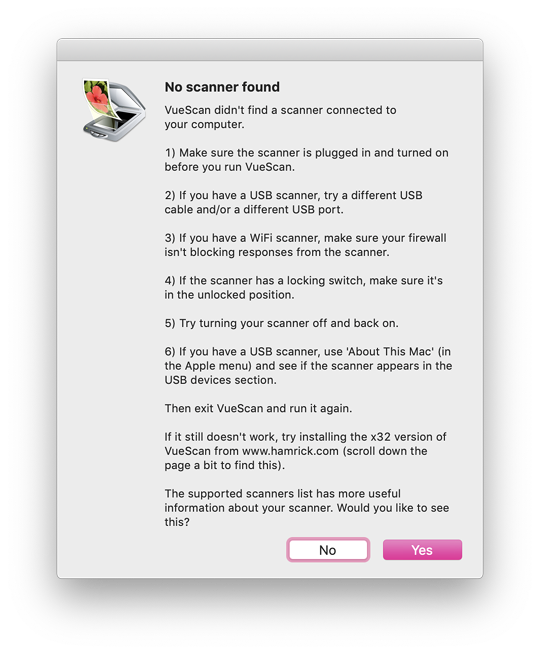 My process is to connect the scanner to the Mac, turn the scanner on, then start VueScan. If I run this without the scanner, it gives me a warning, with some trouble-shooting suggestions. I can ignore this, but there is a link to a list of supported scanners. If there is an update, notification will usually appear when the app is started, but there is a link for this available in the Help menu. VueScan has just been updated (9.6.26) and there are some changes to the Preview screen.
When I scanned the negatives at the weekend, I removed the 2-strip, 35mm film holder and put the medium format holder in place. A roll of this film usually has 12 images. There are 24-image rolls but these are rare now. The negatives are cut into strips of 3 frames. Putting them into the holder and closing the securing hinge is quick, although the specific film being used might have minor quirks: Ilford, for example, lies flat; other films may curl.
I scan the images one by one and I find this part of the process quite satisfying as first a Preview, then a full scan appears. For black & white film I have this set for two passes. This can be increased easily if needed. I have VueScan set up to produce a TIFF image and the results are stored in a folder.
I use Pictures, then drop the completed scans into Photos for further editing. With the basic tools and access to third party software using extensions, I find this enough for my basic needs, but have additional editing software if needed. Color film takes longer to scan as there are more passes (RGB), although I usually stick to black & white for the Hasselblad.
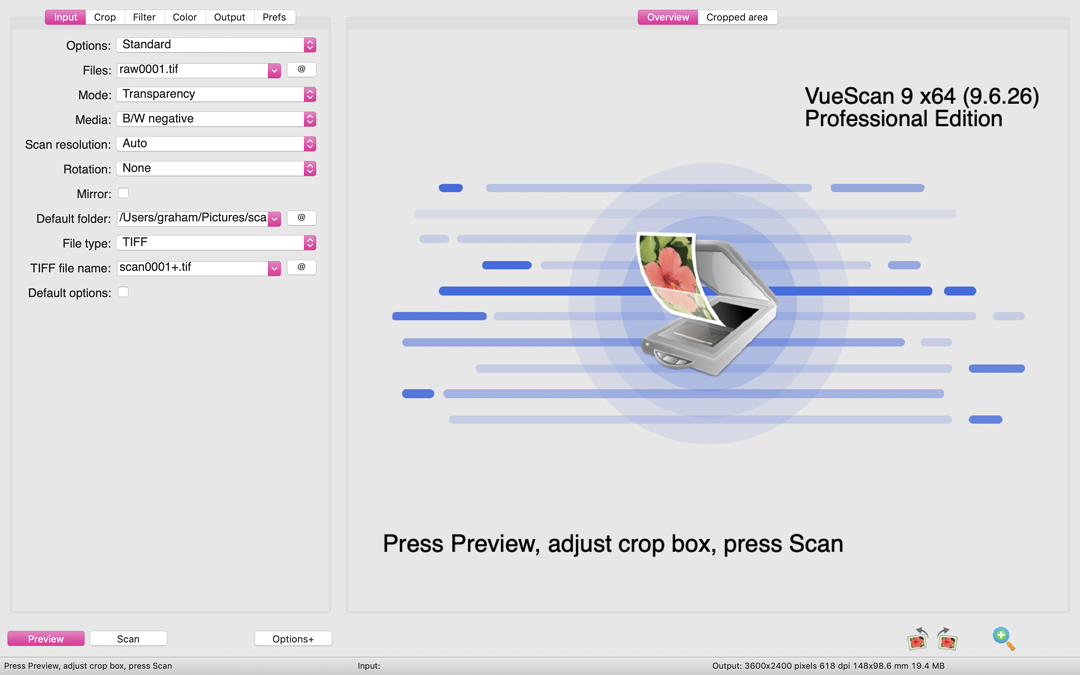
Part of the VueScan Interface
When the two medium format rolls were done and dropped into Photos, I retrieved the 35mm film holder and started to ready the first strip. I removed it from the cellophane envelope and placed it in the holder, then repeated this with a second strip, closing the securing hinge on each strip. As I did this I confirmed in my mind just how fiddly this was in comparison with the medium format film. When I had scanned the first 35mm rolls a couple of weeks earlier, I thought the minor frustration I had felt was due to my inexperience in handling the smaller film. Running back to back scans like this suggested that (perhaps) this was not entirely down to me.
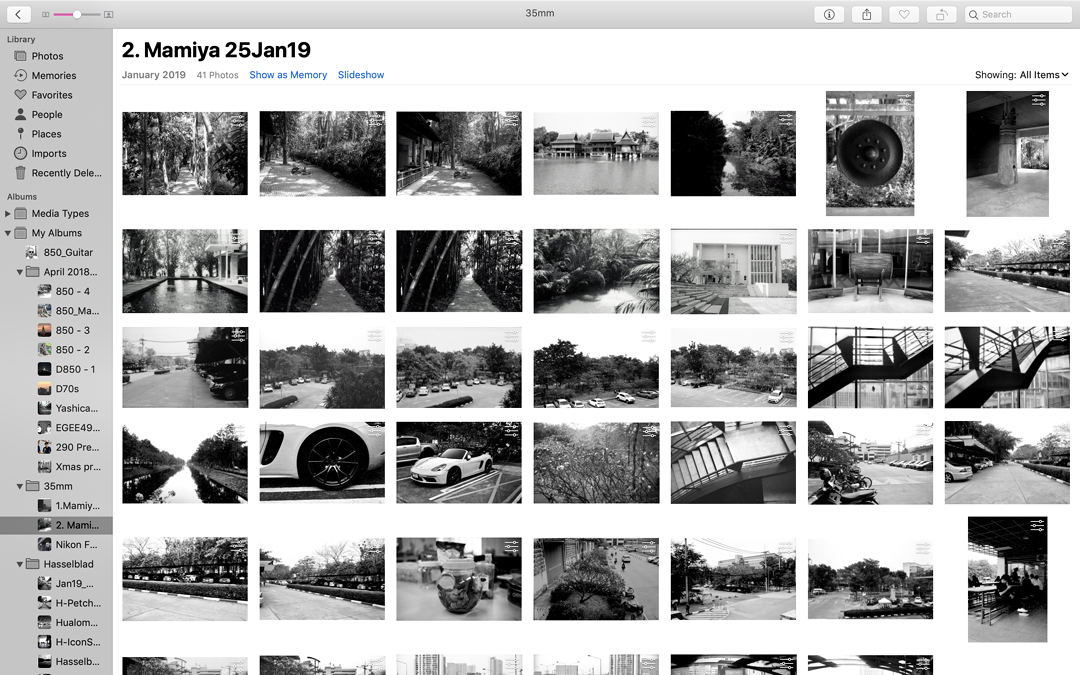
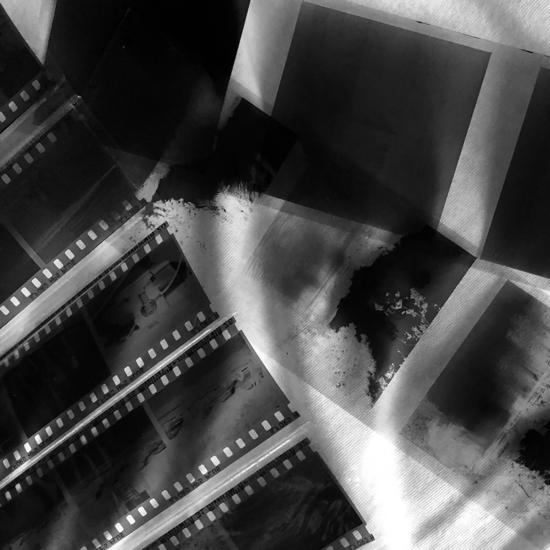
Scanned images from Mamiya/Sekor
A further point about the two film types has been mentioned by many: the larger format will always produce a better image (as long as the photographer has it right) as the negative has more content. There is about 4 times the surface area in comparison, so the quality is more likely to be better with medium format. A quick comparison can be made by holding the two types of negatives side by side: while it is relatively easy to judge the content of the medium frame, the smaller image of the 35mm negative is less easy to see. Some have suggested that better results may be had from 35mm film with a drum scanner and I have tracked down a shop that could do this.
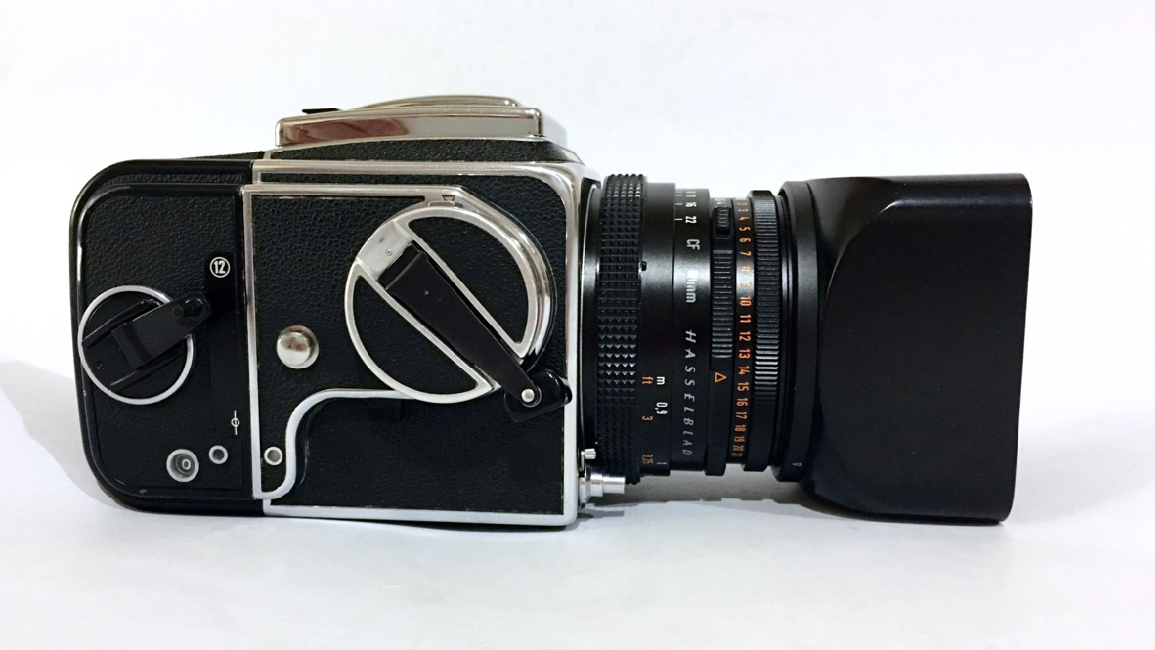
Hasselblad Camera
Carrying the Hasselblad in the streets is more awkward than the smaller 35mm cameras: these are far less obtrusive. The image quality from medium format film is far better, however. One interesting point is that when I use the Hasselblad, complete strangers recognize it and start conversations. I may do that if I were to see someone with a Leica, but the Hasselblad is so recognizable. Most of my output these days is from the DSLR (Nikon D850) I now use and from iPhones. However, I find the more deliberate processes from framing a subject through to scanning and viewing a result as it appears on the screen, far more satisfying than the instant feedback from digital photography, despite all its other advantages.
See also:
Graham K. Rogers teaches at the Faculty of Engineering, Mahidol University in Thailand. He wrote in the Bangkok Post, Database supplement on IT subjects. For the last seven years of Database he wrote a column on Apple and Macs. After 3 years writing a column in the Life supplement, he is now no longer associated with the Bangkok Post. He can be followed on Twitter (@extensions_th)
|