Taking Screenshots of a MacBook Pro with a DSLR Camera

AMITIAE - Sunday 1 February 2015
|
Taking Screenshots of a MacBook Pro with a DSLR Camera |
|
|
|
By Graham K. Rogers
There is also a utility called Grab that will allow timed screenshots that are useful in a couple of difficult situations. For iOS, the screen can be captured holding the screen Off button, then pressing the Home button (a little less easy with the iPhone 6).
The 13" MacBook Pro with Retina display that I use has a refresh rate of 60Hz: the screen is redrawn 60 times a second. With normal camera speeds of 1/125 or 1/100 that will produce an image that has a number of artifacts: ripples or wrinkles in the image - especially any white sections - that are signs of an imperfect picture. With the old types of televisions - those with CRT (cathode ray tube) - the refresh rate was around 50Hz; and computer displays that used CRTs might have refresh rates of 70Hz. HDTVs may be up to 120 Hz.
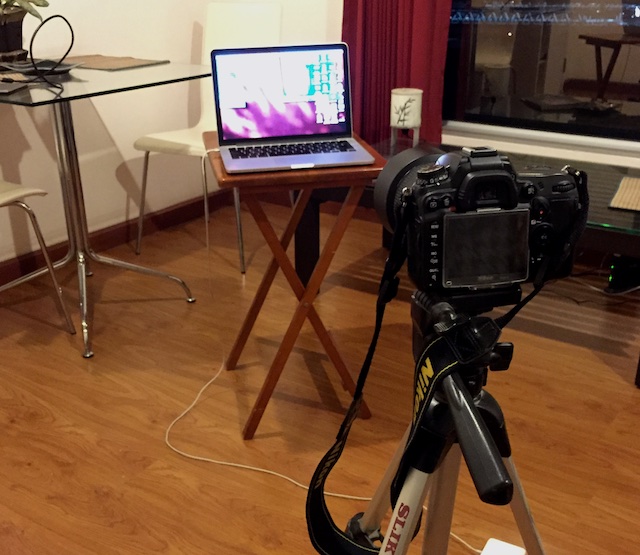
I went back to analog roots with a book I have used on several occasions: Michael Langford's 35mm Handbook. I remembered that when I had used film, I had followed the information about how to take photographs from "a television or Visual Display Unit (VDU)." I used the Nikon D7000 that has been my main camera for the last couple of years. It was obvious that I would need to change to Manual mode, from the usual P (Program) setting. That done, I followed Michael Langford's instructions and set aperture to 5.6, with a time of 1/8 second. That slow speed obviously means camera shake is guaranteed, so a tripod is essential. I lowered that to almost the same level as the computer screen, with the Mac on a writing table I always use.
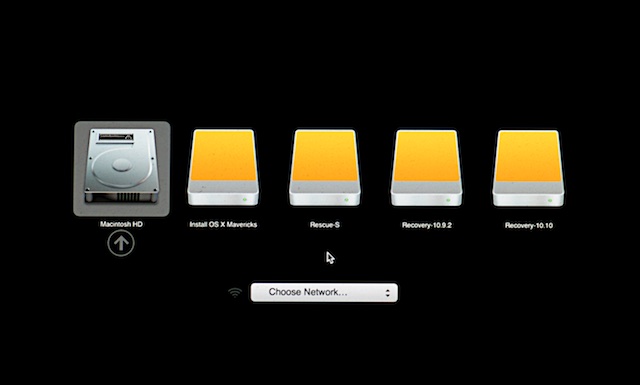
Once I was fairly happy with the setup, I turned out the lights and restarted the Mac. I was taking shots of the recovery partition display, an Option key startup with different bootable disks connected and Single-user mode.
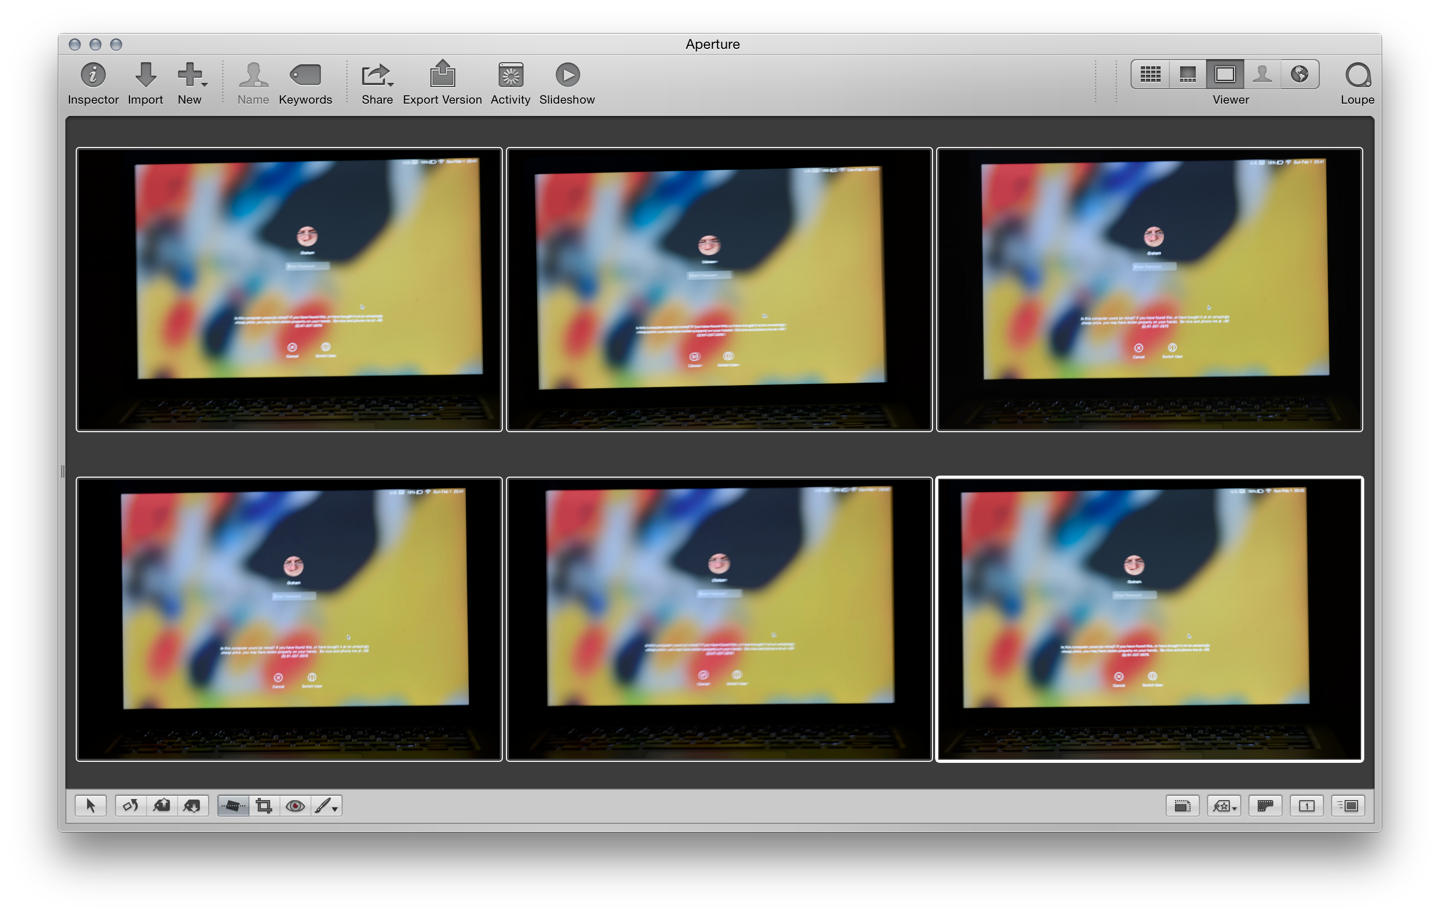
Each time I rebooted into another startup mode, I checked the position and settings, taking a couple of photographs of each screen for safety. When the images were transferred to Aperture on the Mac, I found that I needed to reduce Exposure considerably and increase contrast. A final sharpening was the finishing touch.
Graham K. Rogers teaches at the Faculty of Engineering, Mahidol University in Thailand where he is also Assistant Dean. He wrote in the Bangkok Post, Database supplement on IT subjects. For the last seven years of Database he wrote a column on Apple and Macs. He is now continuing that in the Bangkok Post supplement, Life. |
|

For further information, e-mail to
Back to
eXtensions
Back to
Home Page
