Transferring Photographs to Macs and iOS Devices from iPhone and DSLR Cameras (Bangkok Post, Life)

AMITIAE - Wednesday 20 August 2014
|
Transferring Photographs to Macs and iOS Devices from iPhone and DSLR Cameras (Bangkok Post, Life) |
|
|
|
By Graham K. Rogers
When I use my iPhone, images are automatically sent to the Mac via PhotoStream, but not everyone uses this. There are a few iOS apps that allow transfers of images using a WiFi network and a link to a browser. Both solutions need the devices to be connected to a network; sometimes there is no WiF,i and some providers only allow one device online at a time. There is, of course, the Personal Hotspot that a number of photo-transfer solutions make use of.
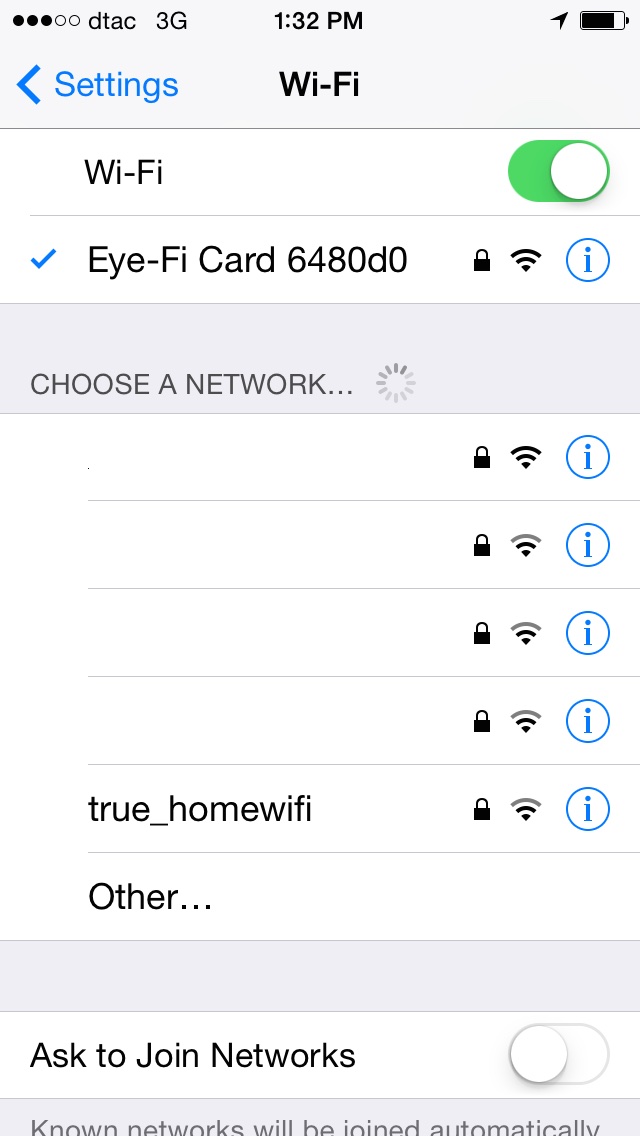
At the bottom of the start page a browser link is shown which uses port 6688. Users should enter the exact URL, including http. Just entering the IP number adds WWW to the address which does not work. I tested Send first and chose the Computer option. iPad, iPhone and Android are also available. A screen indicates two options: with iTunes, the name of the phone plus port number; without iTunes, an IP number. The number changed depending on whether I used WiFi or the Personal Hotspot. The browser gave me a display of library contents. Entering one folder, I was able to select one or more images using checkboxes. Images were downloaded in a ZIP file when I pressed a button at the top of the page.
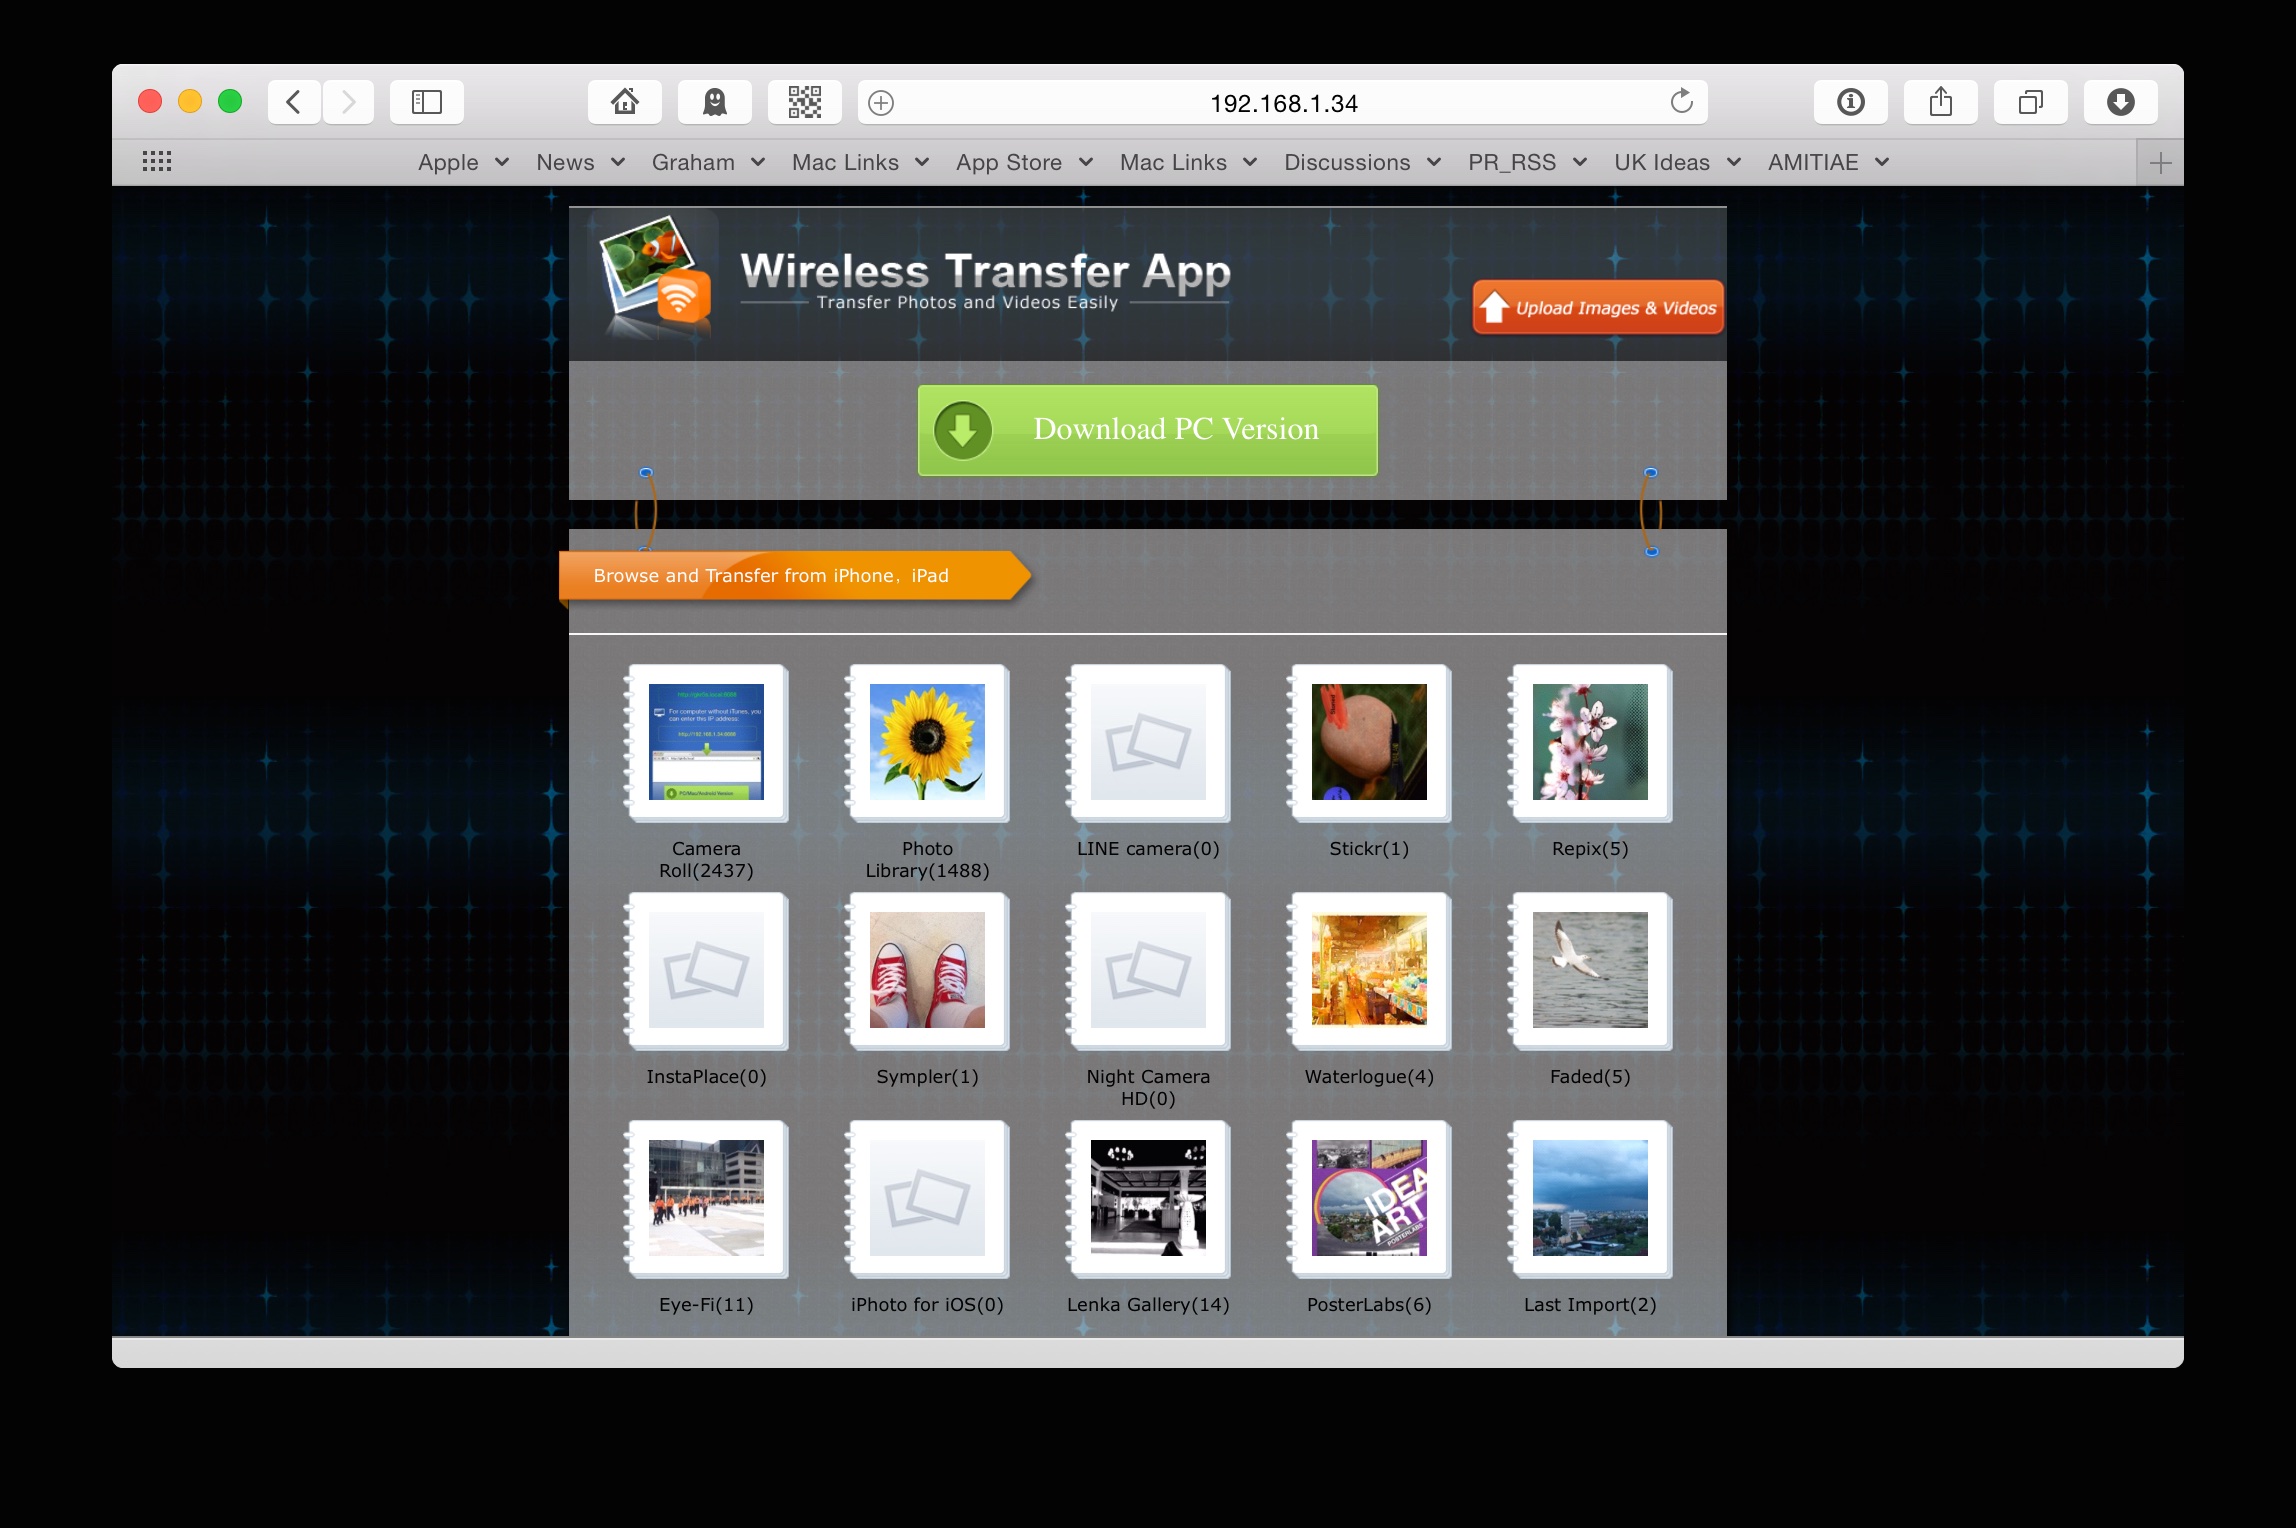
Wifi Transfer Page (left) and Linking to Eye-Fi Card in Network Settings
I have been using an SD card with WiFi from a company in the USA called Eyefi. The card works just like a normal SD card (Class 10) when taking photographs: even with burst mode, when several photographs are taken in a second or so. I initially thought this would be perfect for transfers of pictures to my Mac, but when the card arrived, I revised my plans. I work in RAW images: the digital negative. The Eyefi system only works with JPEG. Using the iOS app and opened up a number of possibilities, although I did have to change the camera settings to take RAW + Basic (JPEG). This still allows me over 800 images on the 32 GB SD card: the maximum I have ever taken is 450 in a day; and I have a spare 32 GB card in my bag.
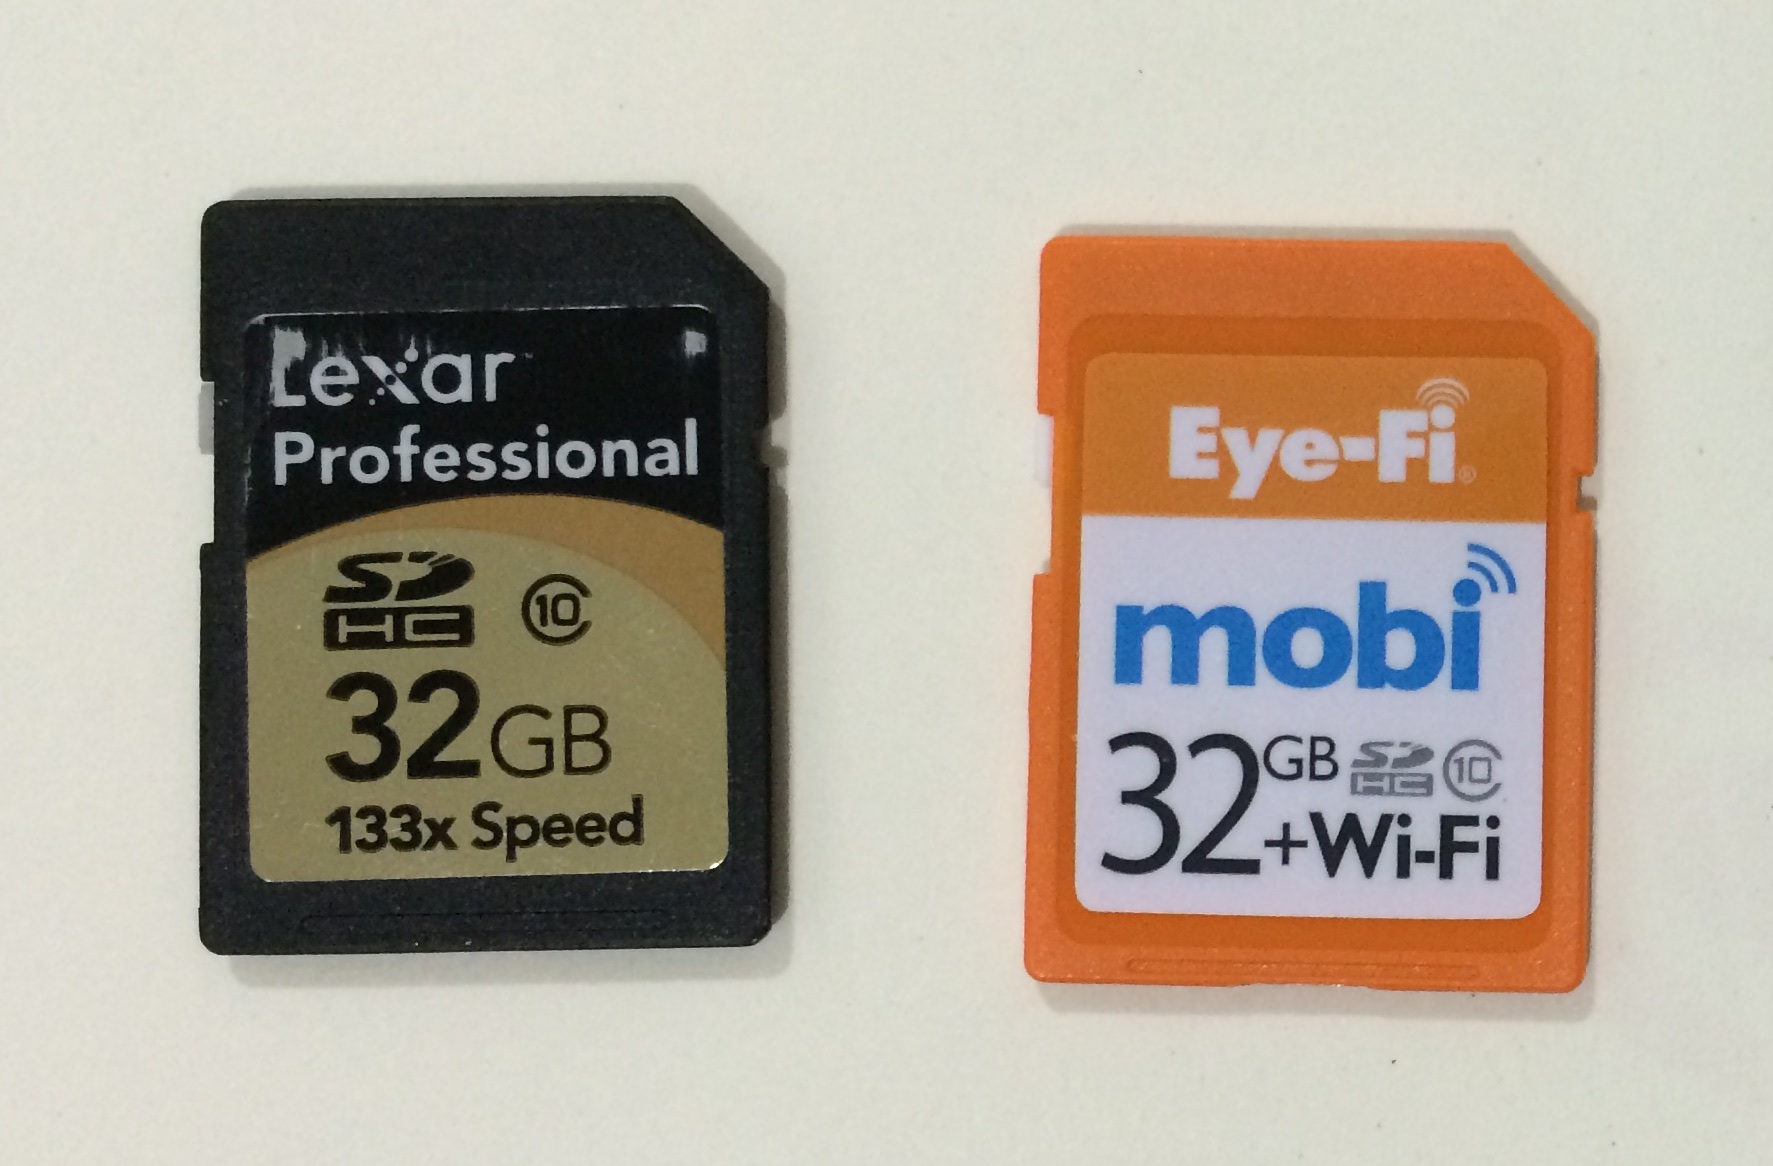
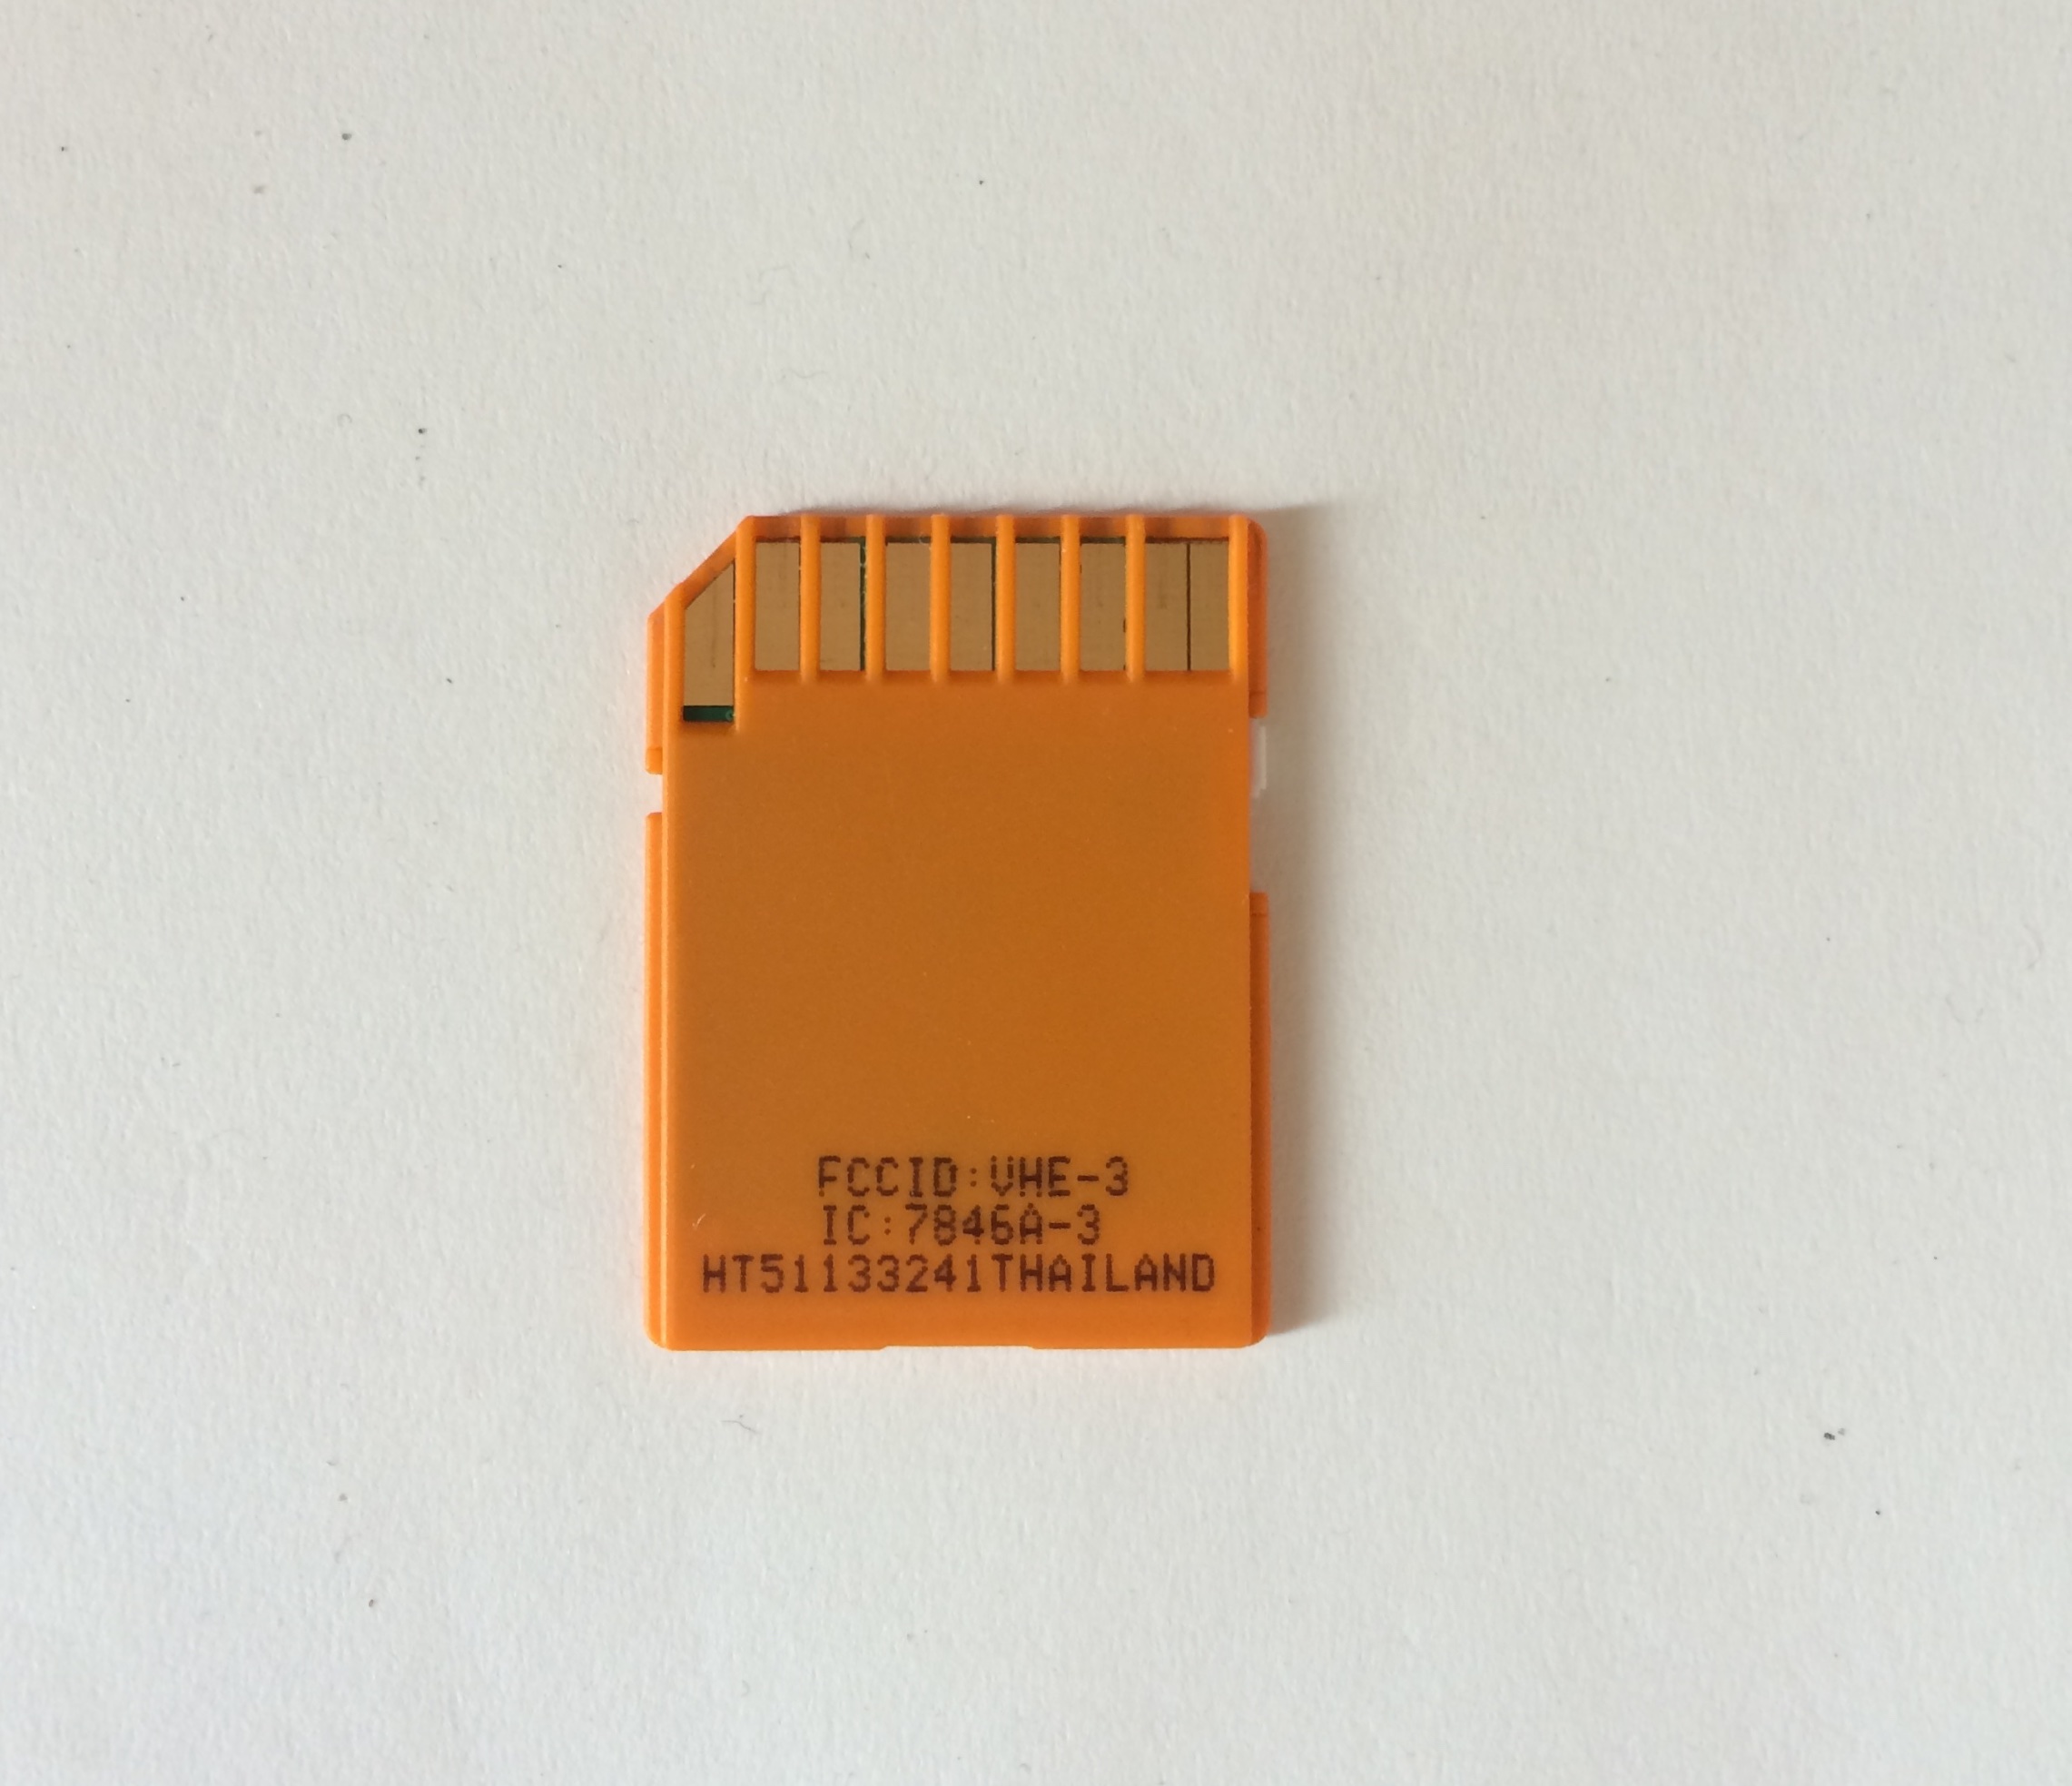
Standard Class 10 Wi-Fi Card (left) and Eye-Fi Class 10 SD Card
It took a bit of concentration when I first used it. When I am ready, I take a last photograph, start the app, and tap on the Eyefi network in Settings. I then go back to the app, which immediately starts downloading all the images.
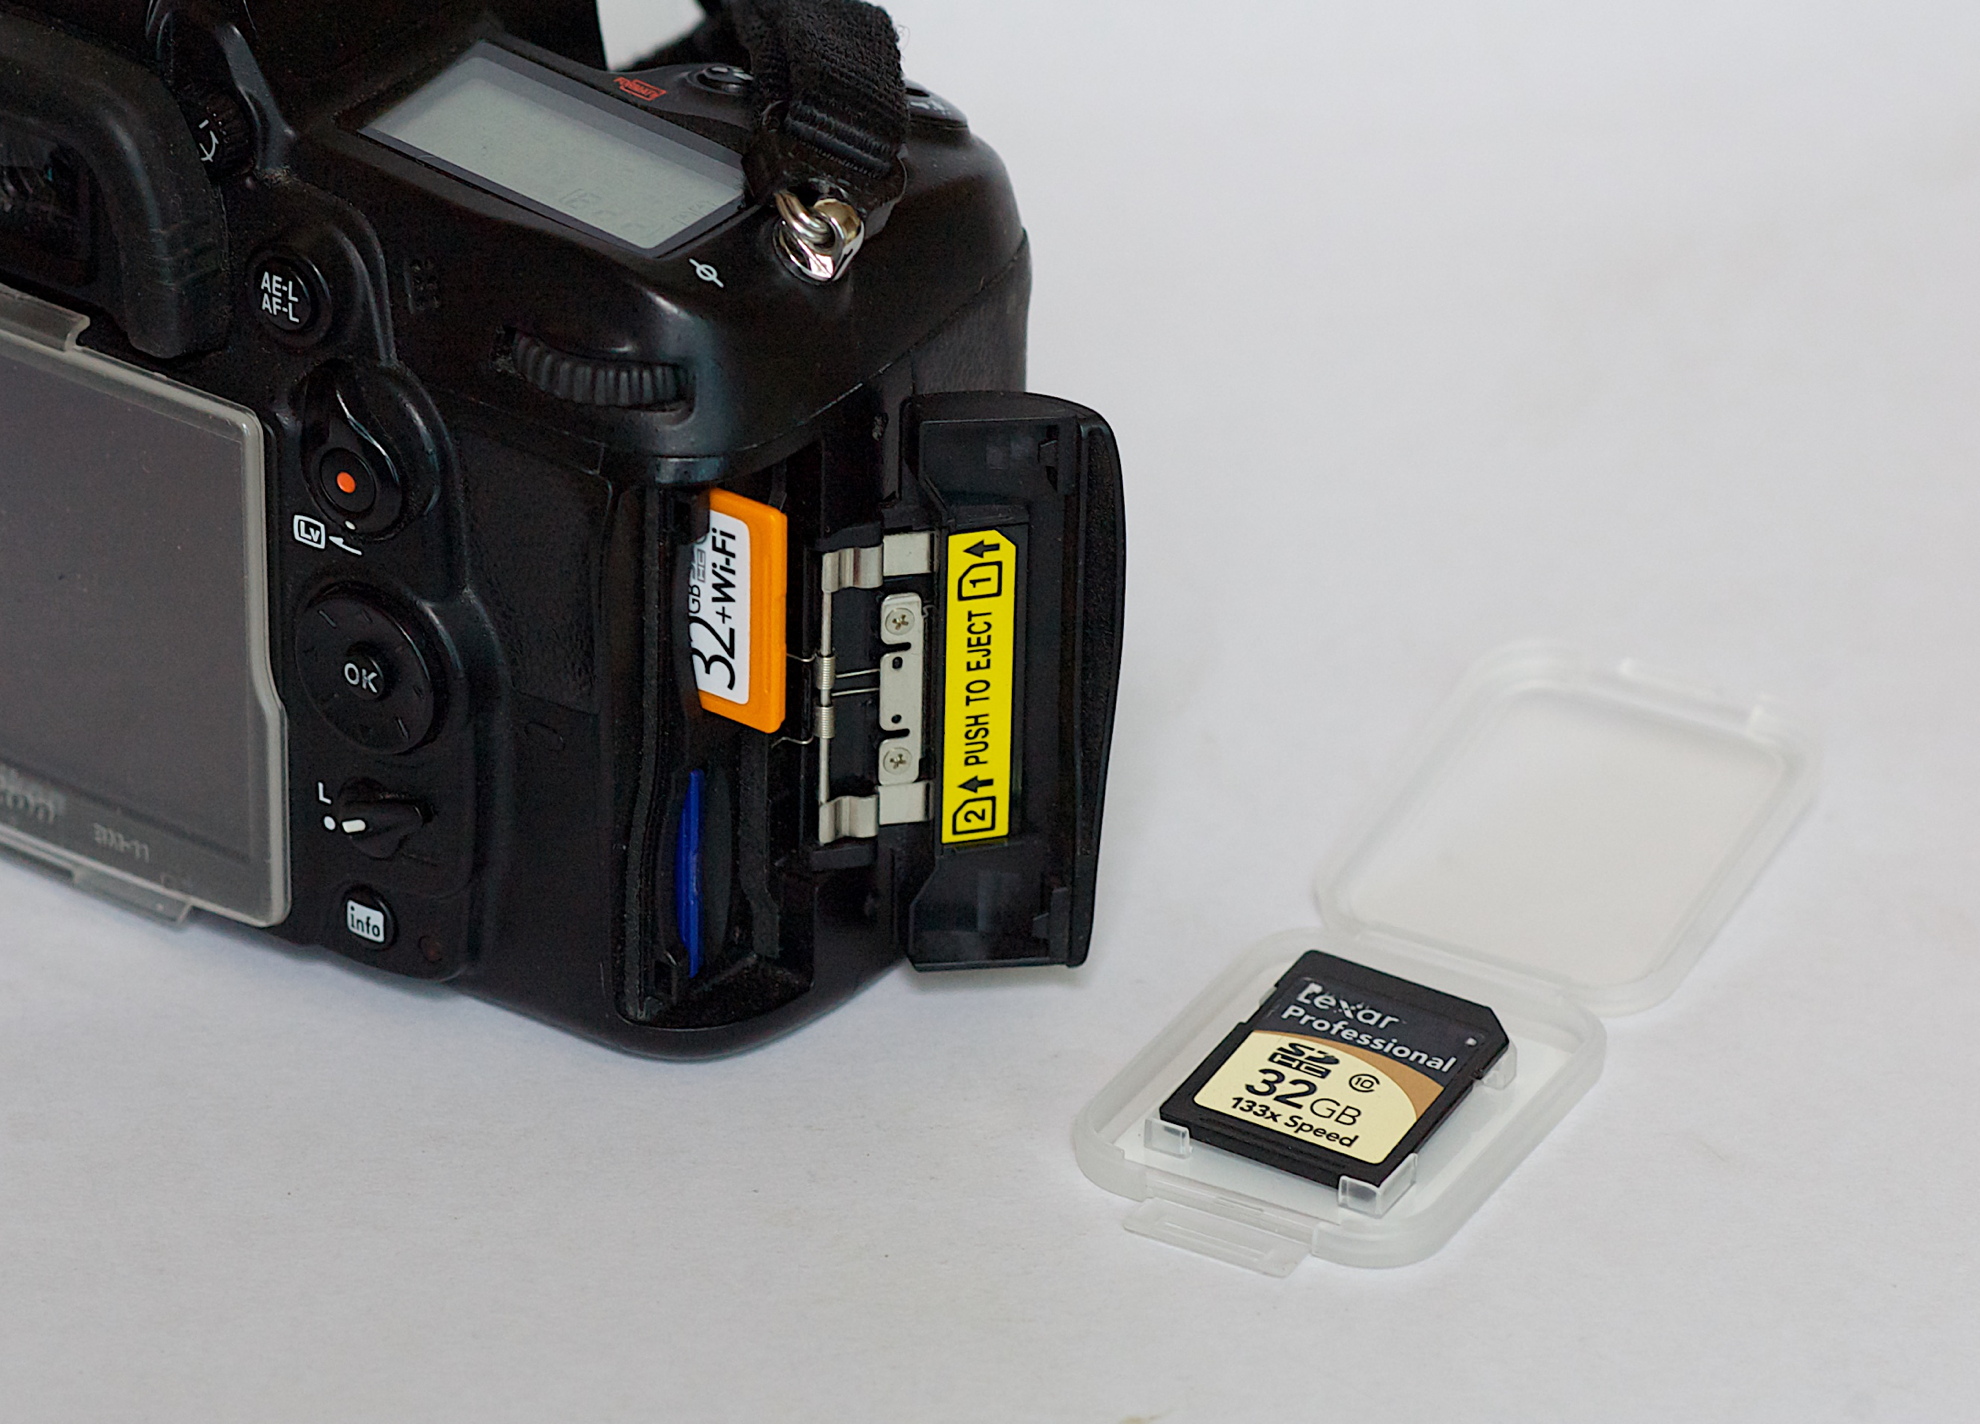
Nikon D7000 with Eye-Fi SD Card - Standard SD Card Alongside
At home, I upload the photographs to the Mac, via Aperture, which allows me to import only the RAW images, saving some space.
When it arrived, I noticed that, as well as FCC coding it was clearly marked as a version for use in Thailand. Not all cameras are covered by Eyefi.
Useful Links
Graham K. Rogers teaches at the Faculty of Engineering, Mahidol University in Thailand where he is also Assistant Dean. He wrote in the Bangkok Post, Database supplement on IT subjects. For the last seven years of Database he wrote a column on Apple and Macs. He is now continuing that in the Bangkok Post supplement, Life. |
|

For further information, e-mail to

|

|

 I downloaded the $2.99
 When I am happy that the files are all on the Mac, I reformat the SD card.