|
By Graham K. Rogers
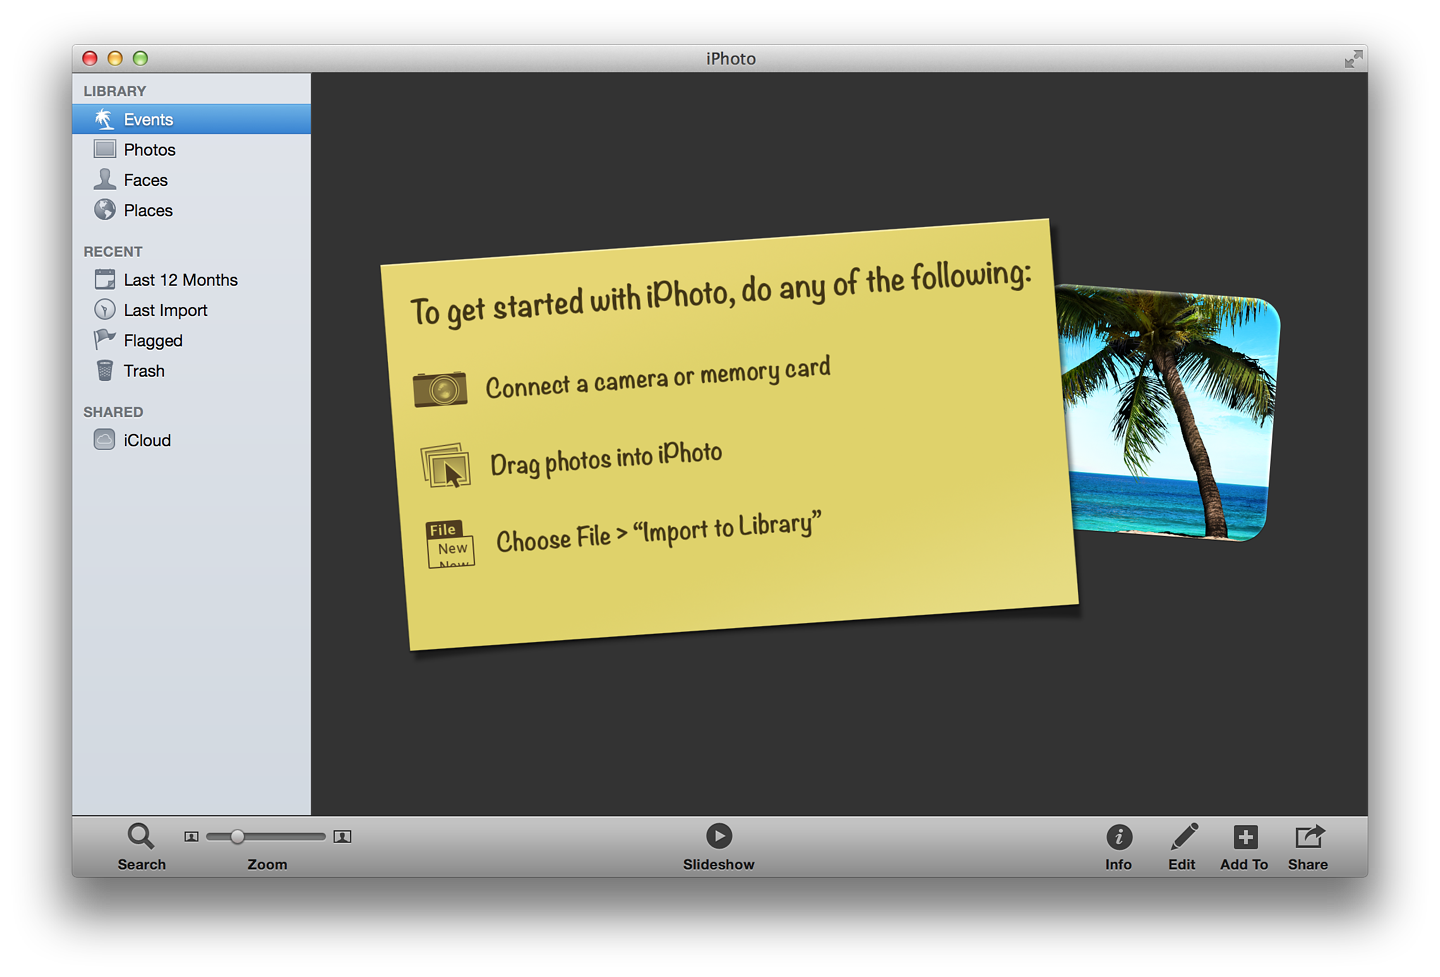
Apple's iPhoto, available on all new Macs, allows organization of photographs and basic editing. There are also a number of export methods. When first started, three import options are offered: connect a camera or memory card; drag photos into iPhoto; or import using the File menu item. We can also import by dropping images onto the iPhoto icon in the Dock. Users are also asked to authorise assigning locations to photographs using GPS information.
iPhoto will open when a camera is attached. All photos taken on one day are placed into an Event. Photographs can be moved to a different Event and Events can be merged or split.
Organizing
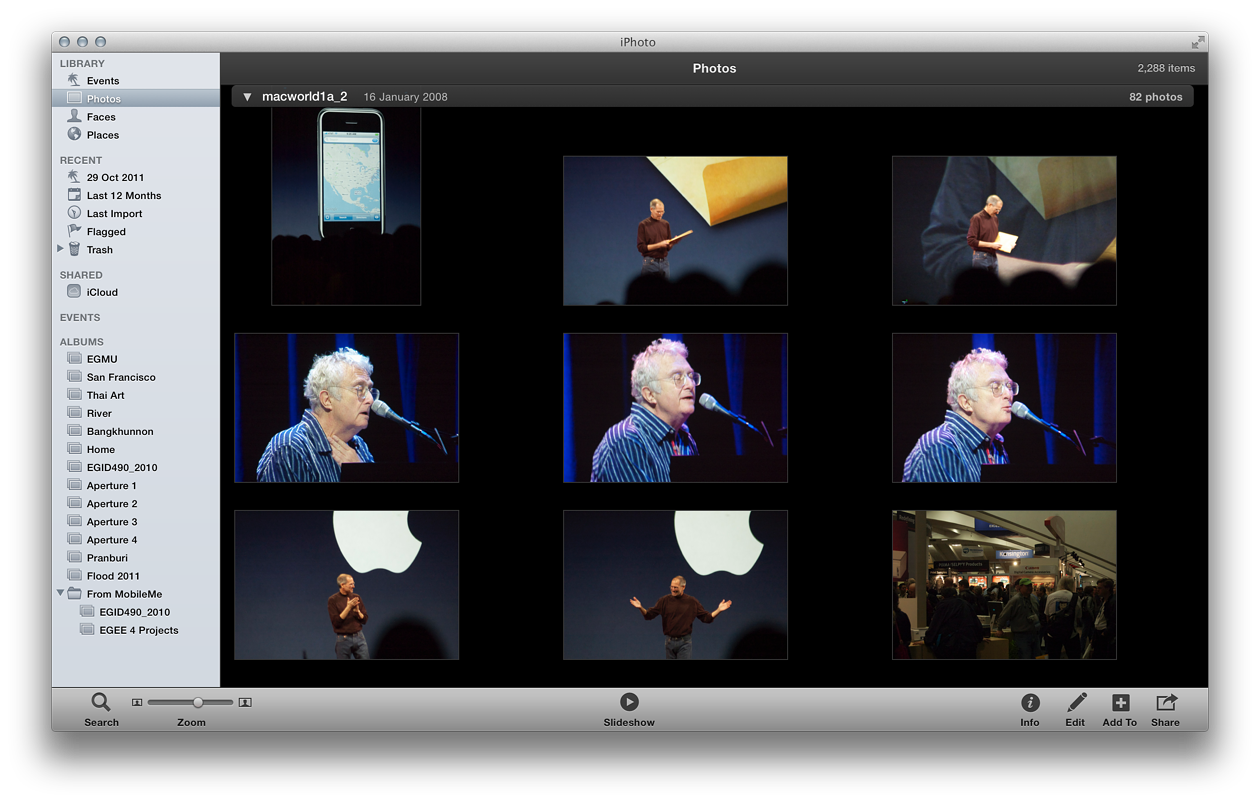
The Library shows four ways to organize images: Events, Photographs, Faces and Places.
Events, separates the photographs into separate dates. Photographs shows all images in the main panel in date order. Thumbnail images can be adjusted using a slider so that (on my Mac) between 2 and 10 images are displayed on a single horizontal line.
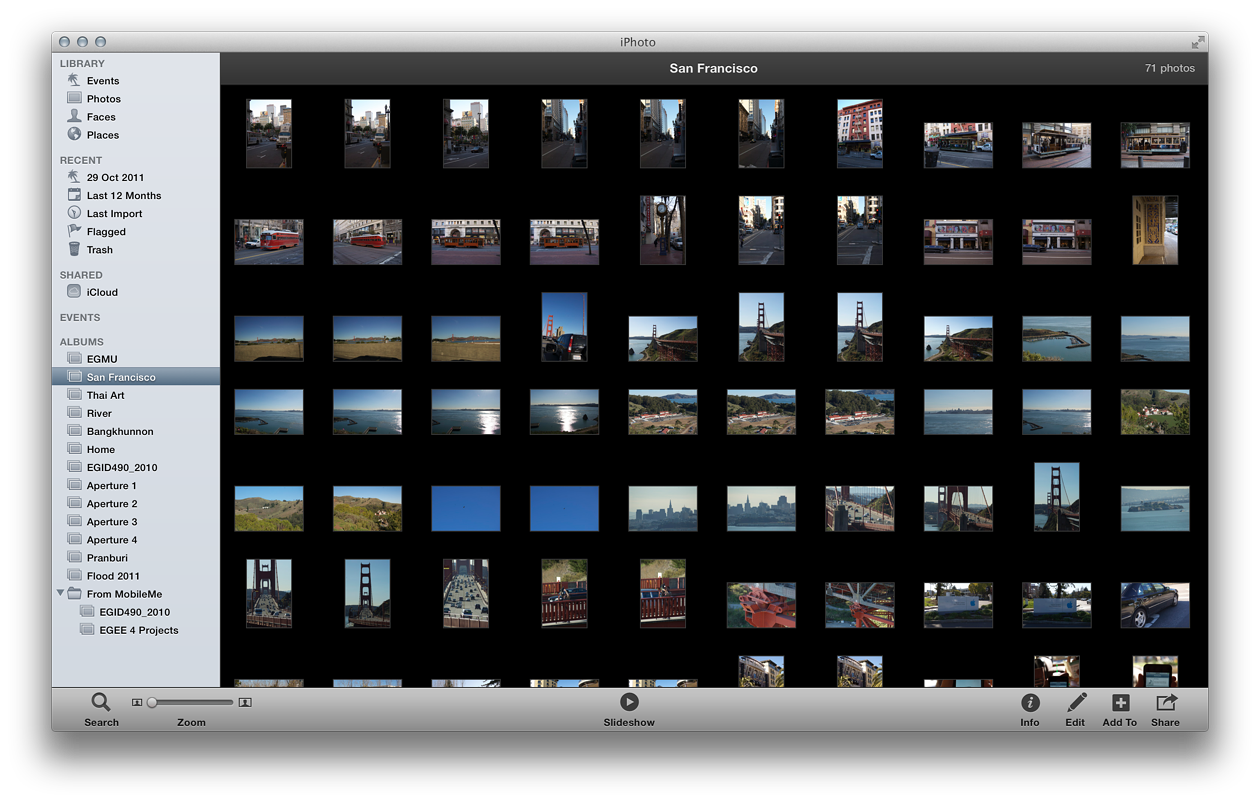
Faces makes use of face recognition software and the user's own naming input, to group images of a person in one display. Similarly, Places groups photographs taken in specific locations in one display. The location may use GPS input, for example with iPhone photos, or the location may be added by the user. A map displays pins. Each links to images taken in that place.
Below the Library is a section marked Recent. Here are the most recently used (Event or folder), Last 12 months, and Last import. These help find images quickly. Below these, also in the Recent section, are Flagged (a command in the Photos menu, or Command + .) and Trash. It is advisable to empty Trash from time to time as this eats up disk space.
We may choose to organise images in specific folders. For example, I may take images at one location over several days. That could be separate Events, or I can put the images into a named folder. They are still in Events (and Photographs).
Tools
At the bottom of the screen are some tools, starting with Search. I could search with just a year, but that brings up too many results. Refining the date, using keywords, or other criteria, will limit the result. In the middle of the screen is Slideshow. Highlighting an Event (or folder) or selecting certain photographs then pressing this button will create a slideshow. There are options for display style and music.
To the right of the bottom display are four more tools: Info, Edit, Add To and Share. I will examine these as they work for an individual image.
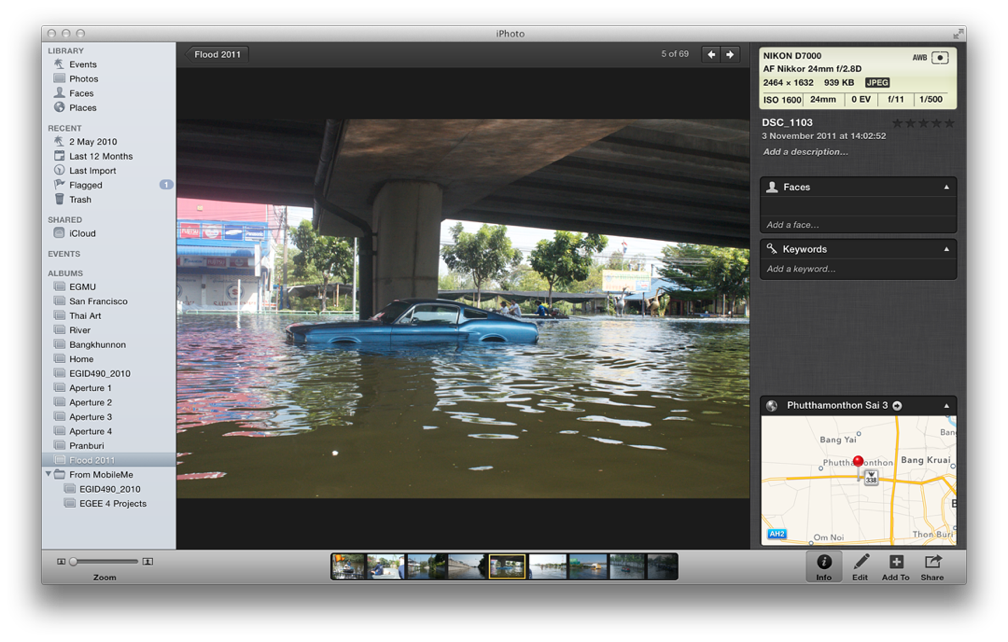
- Info gives a user several important details about the photograph, including camera and lens information. If not already entered, a user can add Faces information, Keywords and the location.
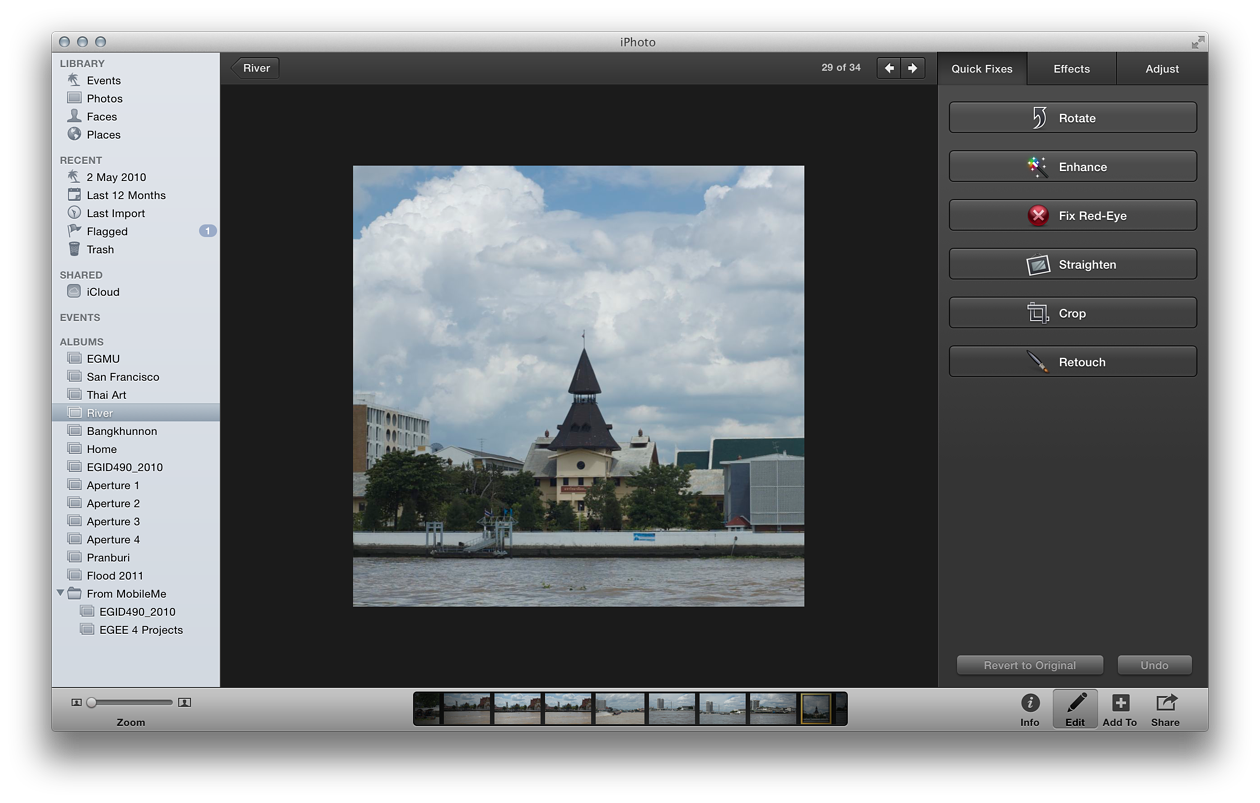
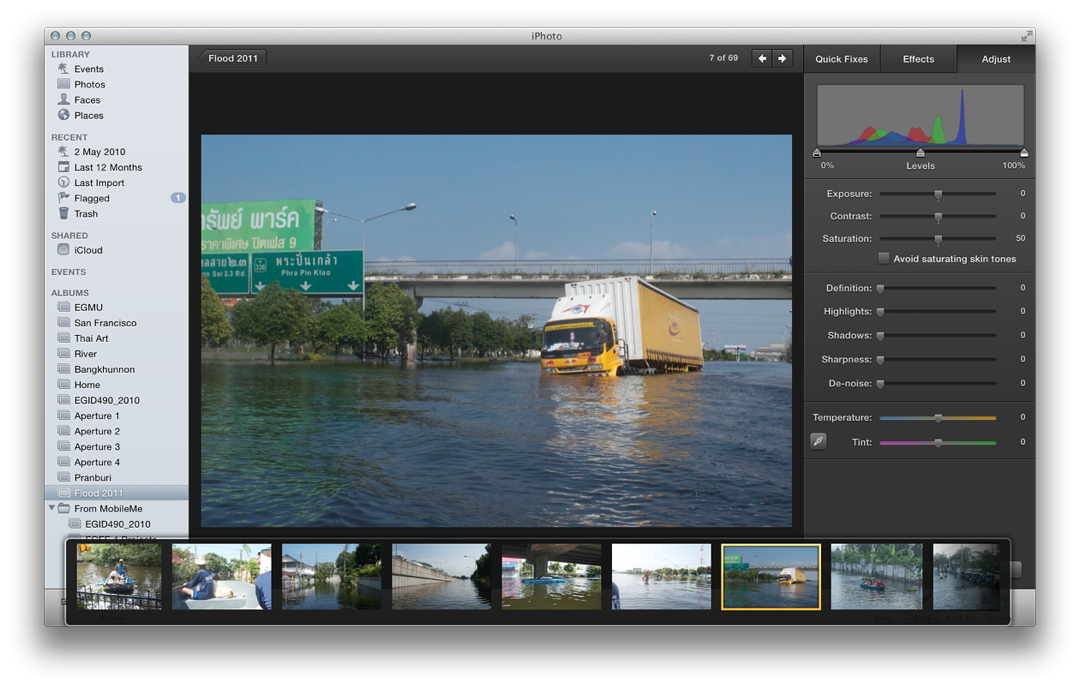
- Edit has three main sections for adjusting images: Quick Fixes, Effects and Adjust (see below).
- Add To gives the user options to use an image in an Album, Slideshow, iCloud, Book, card or Calendar.
- Share displays ways in which photographs may be used and includes Add To items, plus Messages, Mail, Facebook, Flickr, Twitter as well as Print and Order Prints. Some services are not available in all countries.
Editing
The Edit feature has tools in three groups (Quick Fixes, Effects, Adjust) from basic click and fix options up to more sophisticated sliders. Each has several options.
- Quick Fixes has buttons for Rotate, Enhance, Fix Red-Eye (this reveals a slider), Straighten, Crop and Retouch. Any of these can be undone either via a button at the bottom of the panel, the Edit menu or using Command + Z. There is also a button marked Revert to Original, which takes us back to where we started.
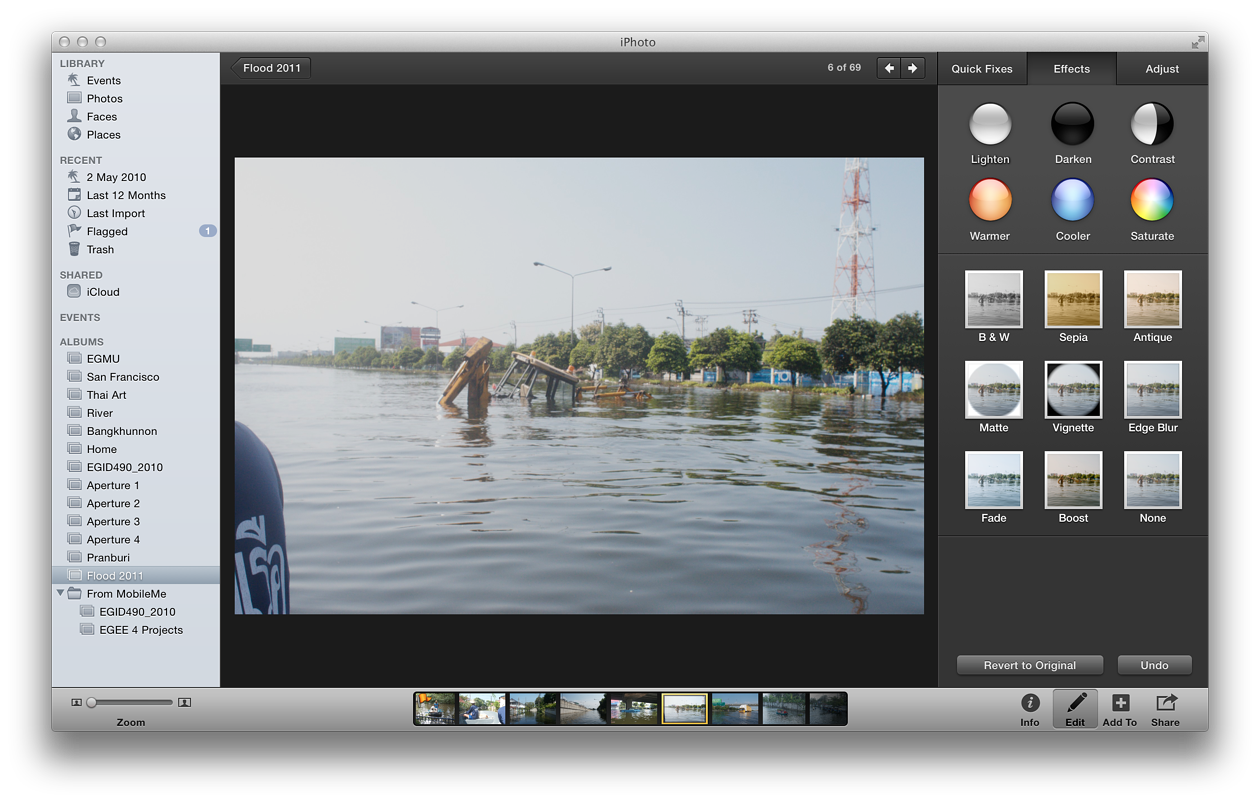
- Effects is in two sections. At the top are simple buttons for making a change: Lighten, Darken, Contrast, Warmer, Cooler and Saturate. Each click adds the effect a little more. Lower down are filters: B&W, Sepia, Antique, Matte, Vignette, Edge Blur, Fade, Boost and None. Pressing a filter applies the effect. As with the buttons, pressing again and again applies the effect more. None, undoes the effect. At the bottom of the panel are Undo and Revert buttons.
- Adjust has a fairly useful toolset and displays a histogram at the top of the panel with a Levels slider below. For more information about use of Histograms, there is a useful MacWorld article by Ben Long. Below this are three sections, each with sliders.
- Exposure, Contrast, Saturation (iPhoto has no slider for Brightness). A check box avoids saturation of skin tones.
- Definition, Highlights, Shadows, Sharpness and De-noise.
- Temperature and Tint. There is also an eye-dropper icon here that can be used to correct white-balance.
The tools in iPhoto are enough for basic editing needs.
Graham K. Rogers teaches at the Faculty of Engineering, Mahidol University in Thailand where he is also Assistant Dean. He wrote in the Bangkok Post, Database supplement on IT subjects. For the last seven years of Database he wrote a column on Apple and Macs. He is now continuing that in the Bangkok Post supplement, Life.
|
|