Eye-Fi SD Cards: Wi-Fi solution for DSLR Cameras - (1) Connecting to iOS Devices

AMITIAE - Friday 30 May 2014
|
Eye-Fi SD Cards: Wi-Fi solution for DSLR Cameras - (1) Connecting to iOS Devices |
|
|
|
By Graham K. Rogers
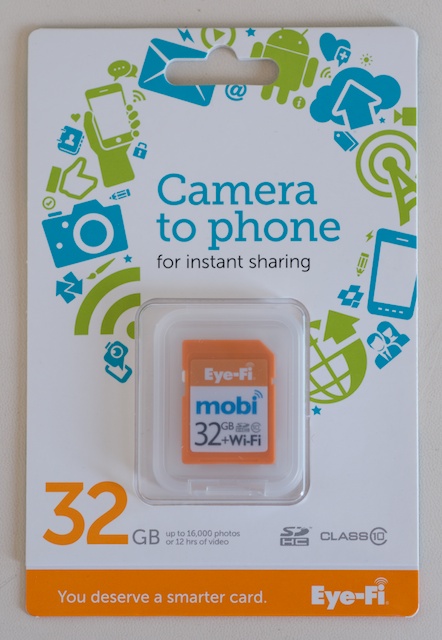
One of the queries concerned delivery. I ordered in mid-April, but the card was sent via the postal service and usually takes 20-30 business days to arrive. The package arrived in the first week of May. With the cost of $99.99 including shipping, I would gladly have paid more for EMS which did not appear to be an option.
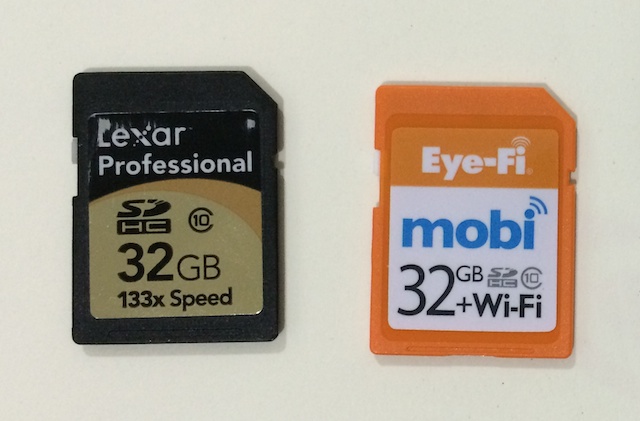
I imagined a situation in which the transfers could begin as I walked through the door. I could be ready to work in a short time. A lesson was learned: read the small print. While I work in RAW, the Eye-Fi system recognises only JPEG images. It took me a while to identify that problem. I still wanted to use RAW, so changed settings on the camera so that images would be saved in RAW and Basic (JPEG). That meant I would still have to connect the SD card to the Mac physically so my priority changed from using Eye-Fi with the computer to downloading images to the iPhone. There was a certain attractiveness to this, especially in light of public order problems in Bangkok currently. I tend not to go in search of such action - that is the job of the news services and they have my respect for this - but if something were to happen in front of me, I carry a camera to take pictures. While the iPhone also has a camera, images taken with a DSLR are better quality. If these could be transferred quickly to the iPhone, they would be available for upload (say to FaceBook, or other sites) far more quickly. I had already downloaded the iOS app (there is one for Android sufferers too) so set to work.
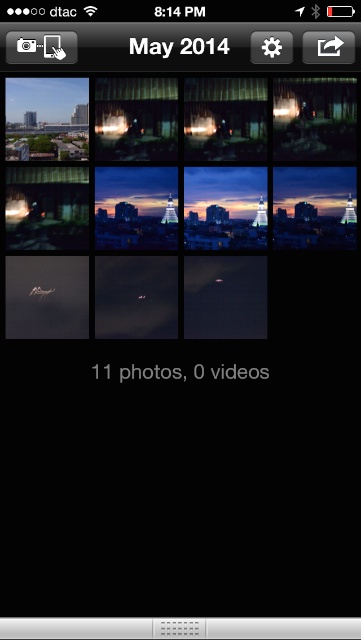
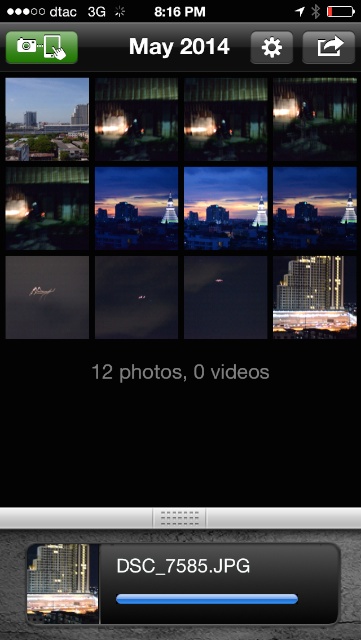
The main control for the app is a button at the top left of the screen. In normal (inactive) conditions it is black. Pressing it opens a panel that displays information about the connection. I found that after taking a few shots, unless the camera was in range, it was necessary to bring the iPhone closer and then take a couple more shots (in most cases I just pressed the shutter button, wasting shots - digital is not like film). Taking a shot, makes the wifi active: a power-saving feature. If it were on all the time, the camera battery would be drained. The very first time, the user has to use Settings > Wifi to link to the card. Once that is done, future uses of the system should automatically access the Wi-Fi card and, if the app is active, transfer images to then iPhone. I write should as once or twice I have had to give it a nudge: entering Settings to make sure the card was connected; or making sure the Eye-Fi app was running. It took me a few tries, but eventually I was able to establish a basic workflow with the camera and the iPhone. When the iPhone was connected to the Eye-Fi card, the normal Wi-Fi connection was not available and the phone switched to 3G. Not long after the transfers were completed, the Eye-Fi card stopped transmitting and the normal Wi-Fi reconnected. I could hurry this up by turning the camera off and highlighting the desired Wi-Fi in the Settings panel of the iPhone.
If I took more photographs (or used another device), only the new photographs were downloaded, which was a useful time-saver and more efficient use of resources. In addition, the basic JPEG versions of the images were available on the Mac via PhotoStream. I also tried this with the iPad and the operations worked in the same way. Perhaps I had learned how to use the app and the camera, but the connection seemed quicker. As the app is universal, it displays full screen on the iPad so this would be a useful solution for those moving from a computer-iPhone-iPad setup like I have, to the iPad only.
This cuts out part of that process and provides the user with a reasonably sized image on the iOS device. For example, I sent one of the transferred Nikon photographs by email from the iPhone and the largest option was 755KB. That is reasonable. As an example, the Bangkok Post asks me to send images of around 800KB for my eXtensions column. Even when the screenshots fall below that (say, 300 KB) they are accepted. For Facebook and other social networking sites, the image size is fine. The iOS app also has a feature to share one or more images directly from the app, so if speed is needed, exports can be made the moment the image is on the iPhone. Options shown for me were Mail, Twitter, Facebook, plus Print and Copy.
See also:Eye-Fi SD Cards: Wi-Fi solution for DSLR Cameras - (2) Connecting to the Mac
Graham K. Rogers teaches at the Faculty of Engineering, Mahidol University in Thailand where he is also Assistant Dean. He wrote in the Bangkok Post, Database supplement on IT subjects. For the last seven years of Database he wrote a column on Apple and Macs. He is now continuing that in the Bangkok Post supplement, Life. |
|

For further information, e-mail to

|

|