Handy Photo: A Well-written and Unusual Photo Editing App for iOS Devices

AMITIAE - Tuesday 2 April 2013
|
Handy Photo: A Well-written and Unusual Photo Editing App for iOS Devices |
|
|
|
By Graham K. Rogers
Step One: draw the customer inA problem with the iTunes store (although not really a criticism) is that there is so much there that it is difficult to find the gems. Quality however shines and while I was scanning through the list of New & Noteworthy apps for the iPad, one app stood out with the dark blue background with its red and orange hand icon: Handy Photo, from ADVA Soft. I clicked on the icon, undeterred by the price and the fact of it appearing to be just another photo app. It isn't.
Step Two: Intrigue the customerHaving entered the page, it was quite clear from the excellent screen shots that this was not just another photo editing app. The concept of the editing wheel reminded me of the interface of a number of apps I have, especially the drawing applications, ArtRage for the Mac and ArtRage for the iPad. There is also a version for the iPhone ($1.99).
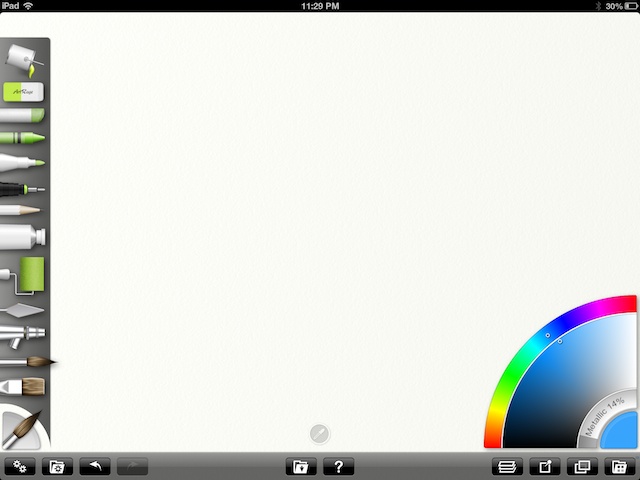
ArtRage for iPad
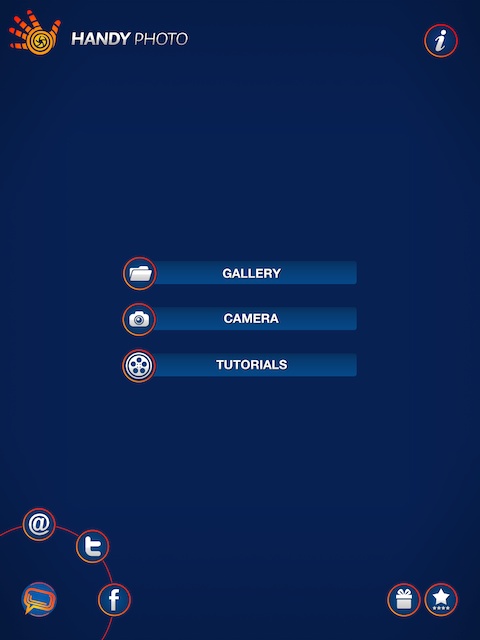
Handy PhotoAlthough I saw this in the iPad section of the App Store, when I looked at my iPhone I saw that it had been installed there too. Opening the app, I saw a neat (and polite) welcoming screen. This gives way to a screen on which buttons access Gallery, Camera or Tutorials. This last section links to YouTube where there are 10 videos available, beginning with a General Overview and then focussing on specifics. These are nicely done and add to the overall impression of a job well done from top to bottom.
Similar screens on iPhone and iPad
Editing OutlineWhile some apps have a few filters and frames and others may have a complex series of adjusters, there is a happy medium here with easy to select controls and a usefully wide range of ways in which each may be fine-tuned. Certain of the features are easier to use than those in iPhoto or in the Adobe PhotoShop Touch app, both of which have their own strengths.
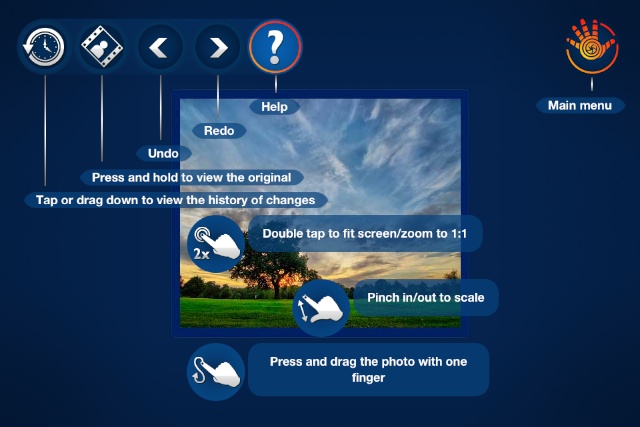
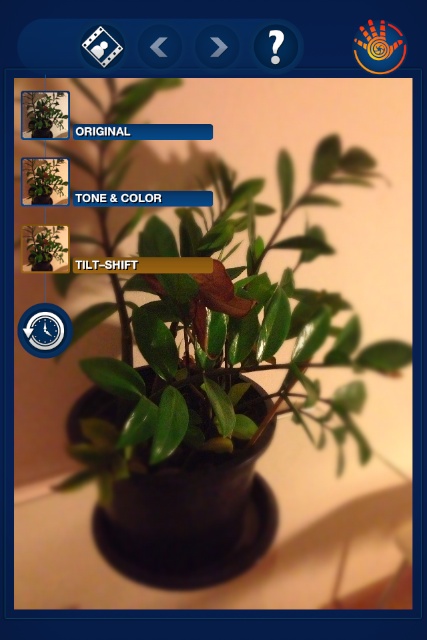
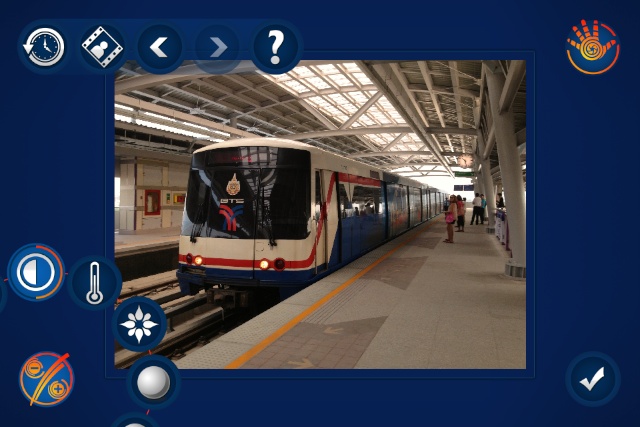
At the top of the screen are a number of white icons that are available while editing: History, so that versions of the image can be viewed as effects are included; a button to toggle between the current version and the original; back and forward arrows; and a (?) for Help. When an image is loaded, a user may double tap the screen to make the image fit (the app works in portrait or landscape modes). Using the "pinch" the image size may be adjusted up or down. While editing the image may also be made larger so that specific effects can be applied exactly.
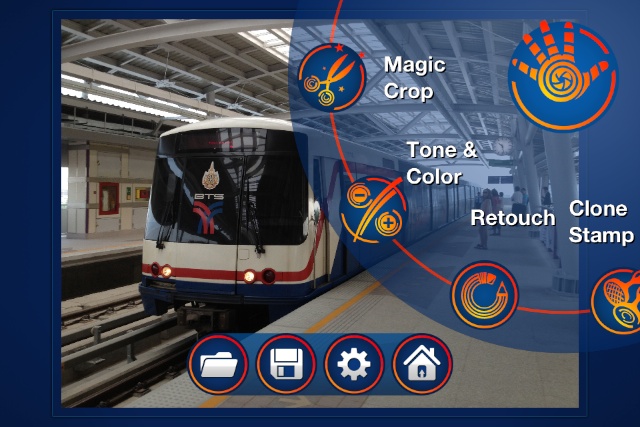
Editing DetailsThe core controls of the app are accessed using the red and orange Hand icon that is in the top right corner while editing. Tapping this reveals the options both for effects and for file handling. With the iPhone, the file handling icons appear at the bottom of the screen, while on the iPad the same icons are within the editing dial, revealed when the Main (hand) icon is pressed.There are several options available for editing images: Magic Crop, Tone & Color, Retouch, Clone Stamp, Move Me, Filters, Textures and Frames. As well as a text description, each is indicated by a nicely designed red and orange icon. With this attention to detail, it is clear that the app was designed by someone who cares.
The Tone & Color selection has 8 options: Auto Levels, Brightness, Contrast, Warmth (temperature), Saturation, Shadows, Highlights, and Sharpness. Each of these is adjusted by sliding the finger across the screen - right for increase, left to decrease. Retouch only has three options: Lasso, Brush and Eraser. This is identical to the option marked Move Me (with similar functions). When the last two are used, a fine tuning menu for each appears to the right of the image. Similar options appear for the Clone & Stamp features (Classic Clone Stamp, Pattern Clone Stamp) which also has an eraser. This feature needs some care and I had less confidence in using this. However three points are worth considering: the image can be enlarged by a double tap on the screen, for fine detail working; the back arrow will undo all changes; and if a user wants to start again there is no need to press the Accept button.
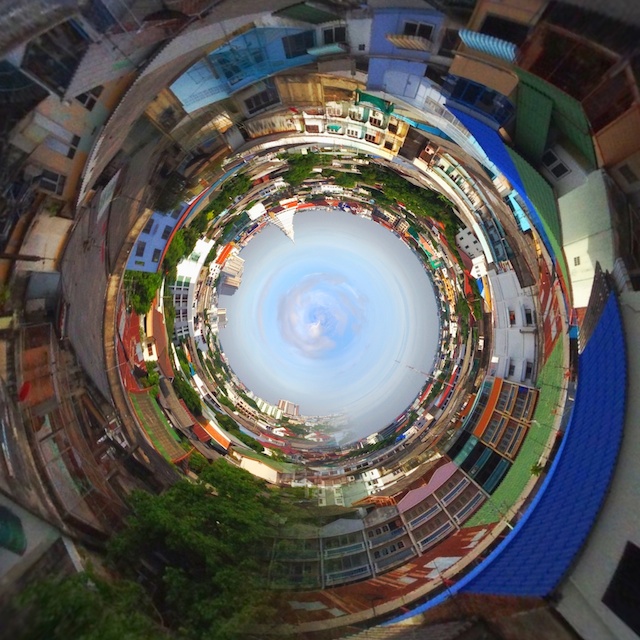
Editing AdditionsThe last three features available in the Main menu are ways in which additional effects may be applied to an image: Filters, Textures, and Frames. Unlike the editing options, these open on the bottom right of the screen on the iPhone. However, another icon is displayed on the left side. This is the same on the iPad and occurs in either portrait or landscape modes. The reason for this apparent difference becomes clear when one of the specific options is selected.There are a reasonable 23 filters (plus None). When any one is selected, the icon on the left will reveal a number of further options allowing the image to be adjusted with some fine effects. These options are specific to the filter selected. For example, the Black & White filter can be adjusted using Drama, Channel Mixer, Vignette, and Strength. Each is applied by dragging the finger across the screen. The Cross Process filter has additional options of Channels, Vignette, and Strength. One of the filters here - Tiny Planet - is unique and twists the image giving a spiral effect and changing it totally.
There are eight frames (plus None) which, like a number of the other features, may be a matter of taste, although useful additional options for this feature include Frame Size and Color. Certain frames have additional (or fewer) options showing how the app does not have a one-size-fits-all approach and that each of these effects have been thought through.
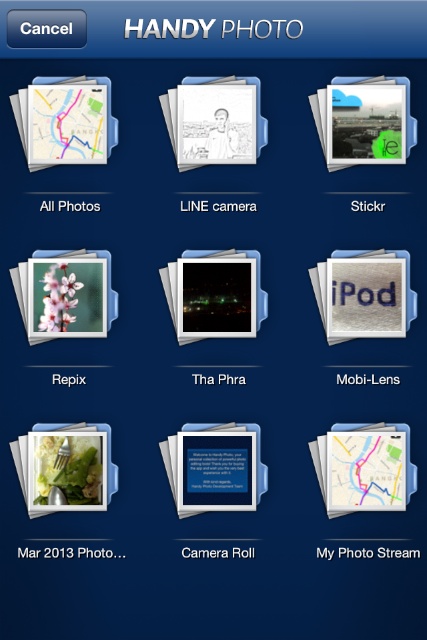
Files and SettingsThe four icons that are used for controlling the app and its output are: a folder icon that accesses the Gallery or Camera for imports; A floppy disk icon for exports, a Settings icon; and a Home icon that returns a user to the top level, with Continue, Gallery, Camera and Tutorials buttons.In the Settings a user may change a number of features. Three are controlled by On/Off icons: Auto-Hide Menus, Allow Photo Uncropping and Keep History. Below this is a button for clearing the History. This also displays the current space being used by the app for such storage (when I checked it showed 92 MB). As many apps use memory for storing data, it is useful to have a reminder and an easy way to clean things up. The first button in Settings is for Maximum Resolution. By default it was set just below the maximum at 25.0 MP (megapixels). I changed this to the highest, 36.0 MP. Also available are 16.0 MP, 12.0 MP and 8.0 MP. There are four options for export of images: gallery, Email, facebook and Twitter. I saved images to the Gallery from where they were made available in Aperture via PhotoStream. I also exported a number of images using email from the iPhone and the iPad. The images were saved as JPEG files. A photograph taken with the iPhone was 3.3 MB with a resolution of 1500 x 2000, while a photograph from the iPad was 5.8 MB and 1493 x 2000. However, the resolution was 144 pixels/inch (twice the normal for such apps). Adjusted to 72 pixels/inch for the web, images were approximately 20" x 27" and were quite clear. An image imported from the Gallery of the iPhone was exported with a resolution of 2000 x 1500 and a file size of 4.5 MB, while an iPad image from the Gallery was found to be 2000 x 1324 and 2.8 MB. The iPhone image was identical in size and resolution (144 pixels/inch) as the photos taken with the camera. The same images (taken with the camera) exported to the Gallery were (iPad) 1936 x 2592 (5.0 MP) with a file size of 5.28 MP, and (iPhone) 2448 x 3264 (8.0 MP) with a file size of 4.56 MB. These had also been exported as JPEG images. Exporting the iPhone image from Aperture at full size, gave me a photo of 34" x 45" at a 72 Pixel/inch resolution. With the nature of the format, an image saved after using the Tiny Planet filter is saved in a square format and the size here was 2048 x 2048 (4.2 MP) with a file size of 2.44 MB.
CommentsAlthough I use the iPhone most of the time and it is with me wherever I go, like several other editing apps, this just looks better on the iPad. That does not detract in any way from its value as a useful editor on the iPhone: you work with what you have.The developers have made good use of the touch features of the iOS devices and incorporated these into the editing process, so that there is almost a feel of painting an effect on: sliding the finger back and forth to adjust a level is more natural than visual sliders or arrow icons, for plus or minus values.
The price of $1.99 is very little, especially when compared to some of the other apps available, and unlike some, there is not a different version for the iPad or iPhone requiring a second purchase. I bought it for the iPad but was happy to see it working on the iPhone too. This app is relatively easy to use and the way it displays its features means these are almost intuitive: a user will learn quickly. Effects and options are generous and this has been well thought-out. This is one that goes to the top of my list.

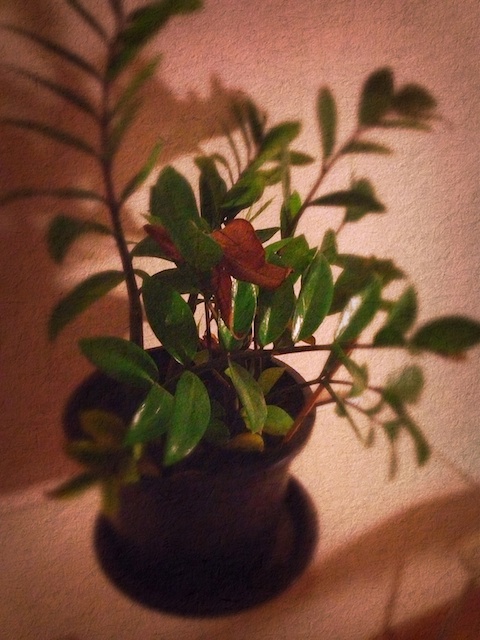
A Quick Shot from the Window with the iPhone and 2 minutes with Handy Photo
Graham K. Rogers teaches at the Faculty of Engineering, Mahidol University in Thailand. He wrote in the Bangkok Post, Database supplement on IT subjects. For the last seven years of Database he wrote a column on Apple and Macs. |
|

For further information, e-mail to
|

|