Background Eraser for iPhone: A Useful iOS Utility

AMITIAE - Monday 29 April 2013
|
Background Eraser for iPhone: A Useful iOS Utility |
|
|
|
By Graham K. Rogers
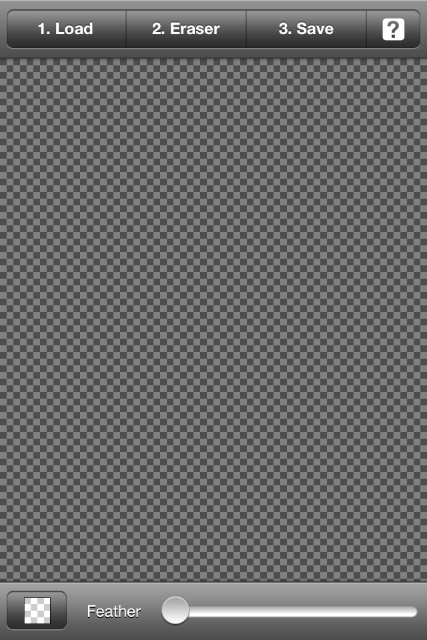
EraserThe app opens directly into the working screen which has a checkerboard pattern, as one would see with an image that has a transparent background. At the top of the screen are three options: 1. Load; 2 Eraser; and 3. Save. There is also a question mark to the right (?).This ? reveals a useful screen with three buttons. The top one (in red) is marked "Report a Problem, Ask" which switches to a part-completed email for the user to enter any query that the developer would be able to answer. The second button is for a Tutorial. This opens Safari and links to the Support pages of the developer HandyCloset. The final, Tell a Friend button allows information to be posted using links to Facebook, Twitter, or via email, or message. The final button here is marked Copy Link.
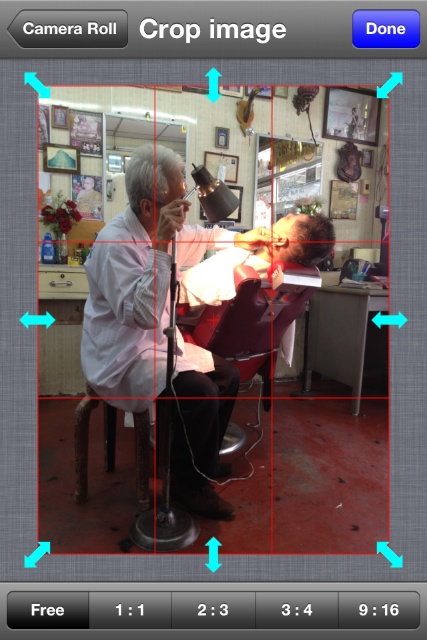
When the size has been adjusted (or not, if the full image is to be used), the Done button is pressed and the image is displayed onscreen. A user should now press button 2 at the top of the screen, Eraser.
EditingThe screen will rotate wehn Eraser is to be used and a number of options are available for editing.
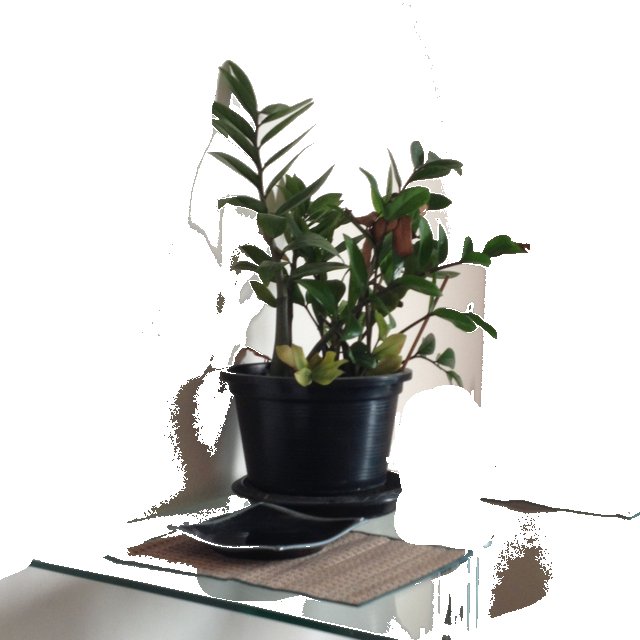
As I tried editing the image, I occasionally (often) erased more than I wanted, so the Undo button (and Redo) at the bottom were most useful, as were the Zoom and Repair functions. A color threshold slider at the bottom also helped in adjustments to the amount of an image that was erased. In Manual mode this changed to allow the radius of the eraser control to be adjusted. When the user is satisfied with the result, there is a Done button, which (again redundant) brings up a panel with a Done button on it. The user is returned to the main screen where the image is displayed. The final button is 3. Save. A panel is opened with two options: a red button with "Save (PNG, Transparent)" on it and a white button with "Save (JPEG, White). Above the buttons is a warning concerning the way the Photo Album displays transparent images (with a black background). It is suggested that to check, the image be reloaded. I saved one of each. The PNG image was indeed black, and was the same when synced with a Mac using Photostream. I exported the image and used it in a web page I wrote to test this. Indeed it was transparent and the erased sections did not block the red background I had used for the purpose.
CommentsThis was a straightforward app and it has been well thought out, making it quite easy to use. However, Background Eraser for iPhone is not an easy app to master. I often admire the cool hand that has created a layer by erasing, quite aware that my clumsiness will not be able to produce such sharp output. This app, however, will allow a user to achieve a fairly good output right away; and after only a little practice, things will improve.
Graham K. Rogers teaches at the Faculty of Engineering, Mahidol University in Thailand. He wrote in the Bangkok Post, Database supplement on IT subjects. For the last seven years of Database he wrote a column on Apple and Macs. |
|

For further information, e-mail to
|

|